Patton electronic 1092ARC User Manual
Page 10
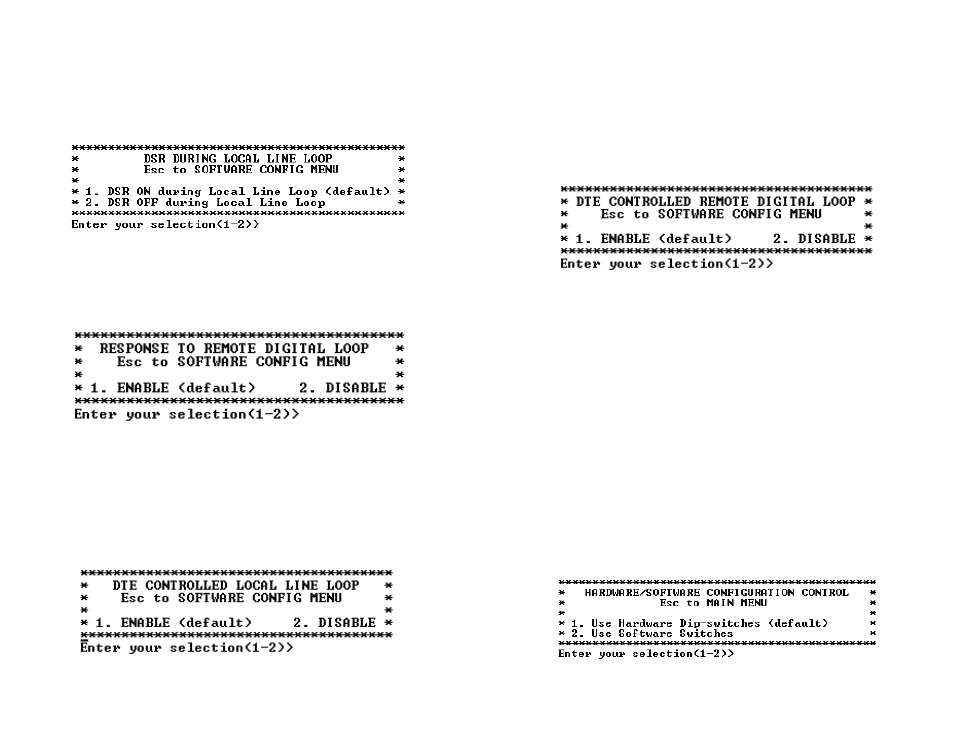
7. DTE Controlled Remote Digital Loop
Select Option 7 in the
SOFTWARE CONFIGURATION Menu to
enable DTE control of the Remote Digital Loop Menu (See below). The
Remote Digital Loop on the 1092ARC can be controlled from the DTE
interface by selecting Enable (Option 1). To instruct the 1092ARC to
ignore this request from the DTE interface, select Disable (Option 2).
8. 2-Wire/4-Wire Selection
Select Option 8 in the
SOFTWARE CONFIGURATION Menu to
configure 2-Wire or 4-Wire operation.
MAIN MENU Option 5: Select Hardware/Software Control
Select Option 5 from the
MAIN MENU selects whether the Model
1092ARC will use the hardware switch settings or the software switch
settings for its active configuration. If Options 1 or 2 are selected, the
1092ARC will use the current hardware or software switch settings as
the active configuration. After changing this setting select MAIN MENU
Option 8 to implement the changes.
18
*******************************************************
*
2-Wire/4-Wire Selection
*
*
1. 4-Wire Mode
*
*
2. 2-Wire Mode
*
*
*
*******************************************************
4. DSR During Local Line Loop
Select Option 4 in the
SOFTWARE CONFIGURATION
to configure
the behavior of the local Data Set Ready (DSR) signal during the Local
Line Loop test mode (below).
5. Response to Remote Digital Loop
Select Option 5 in the
SOFTWARE CONFIGURATION
Menu to
instruct the Model 1092ARC to either respond or ignore the Remote
Digital Loop request from the remote 1092ARC.
6. DTE Controlled Local Line Loop
Select Option 6 in the
SOFTWARE CONFIGURATION Menu to
instruct the Model 1092ARC to either respond or ignore Local Line
Loop requests from the DTE. To instruct the Model 1092ARC to
respond to Local Line Loop requests from the DTE, select Enable
(Option 1). To instruct the 1092ARC to ignore Local Line Loop
requests from the DTE interface, select Disable (Option 2).
17