Edit a timer recording – Philips DVR2008 User Manual
Page 26
26 EN
[ Repeat ]
Select a repeat recording option: (Once,
Everyday, Mon-Fri, Mon-Sat, Sun, Mon,
Tue, Wed, Thu, Fri and Sat).
[ Quality ]
Select a mode of recording quality:
[ HQ ] ~ [ SLP ] – See chapter
‘Before you record – Select the
recording quality’.
[ Language ]
Enable or disable recording of the
optional audio language. (Only available if
the source has dual language broadcast).
5
Once complete, press the Yellow button
[ Save ].
To reset the entry, press the Blue
button [ Restore Default ].
A confi rmation message is displayed.
6
To confi rm the timer recording schedule,
select [ Confi rm ], then press OK.
To cancel, select [ Cancel ], then
press OK.
7
Press BACK to exit the menu.
8
Press 2 to switch the recorder to
standby mode.
•
•
•
Edit a timer recording
Notes
Timer editing is not available during a timer
recording.
If a timer schedule is marked [ LOCK ], it is not
available for editing.
•
•
1
Turn on the TV to the correct viewing
channel for the recorder.
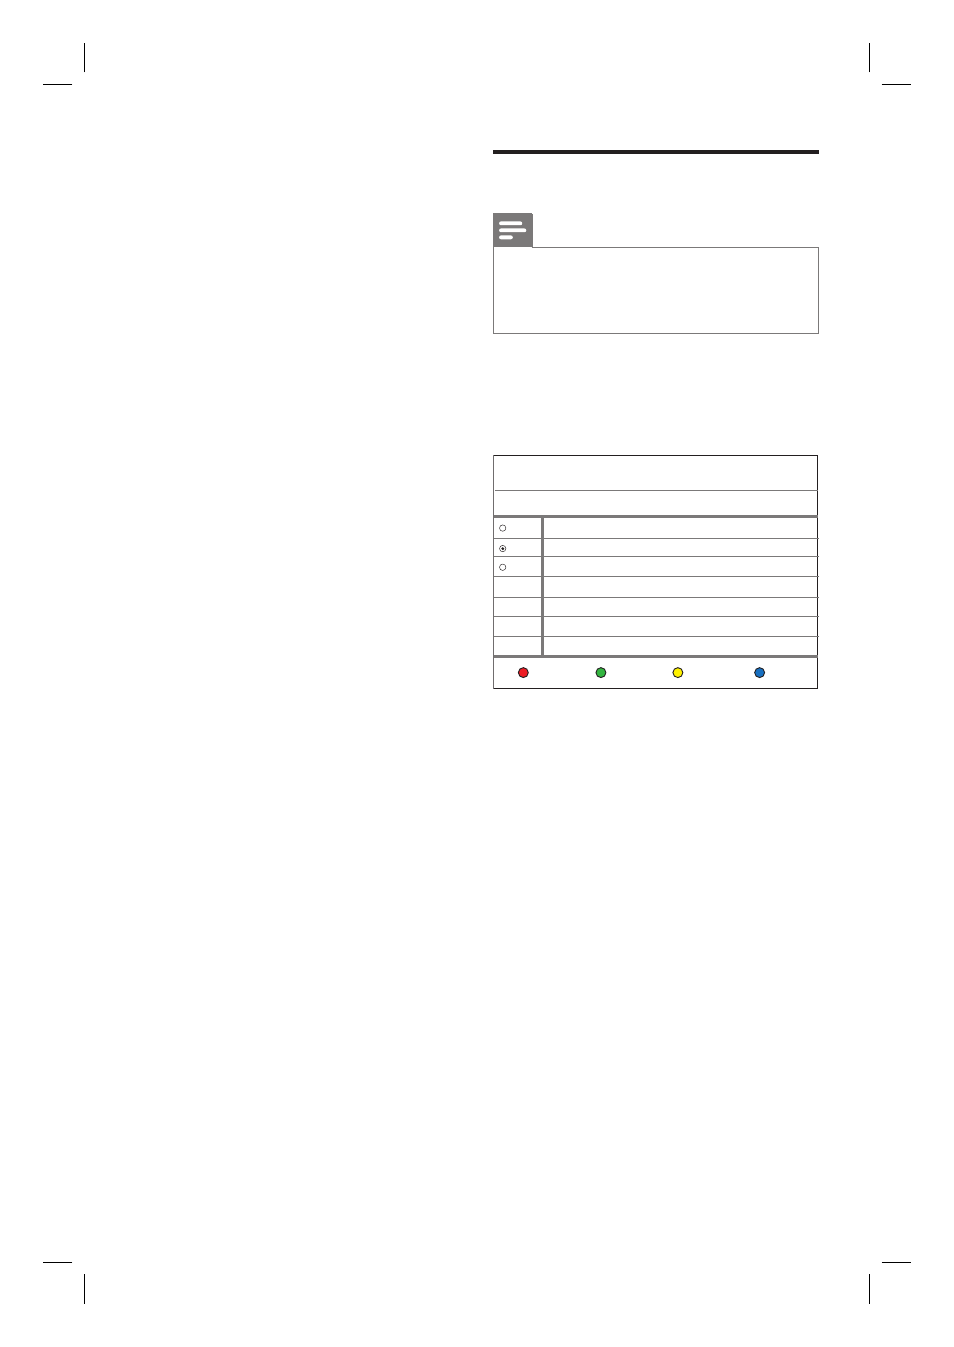
2
Press TIMER.
The timer recording list is displayed.
Timer
No Source Start time Length Status
List 1 PR1 01/05 08:00 (Once) 00:30 Ready
Delete
Status
History
New
2008/1/3 Thu 11:23
List 2 PR3 01/08 10:00 (Sun) 01:00 Ready
List 3 PR4 01/09 09:15 (Mon) 00:30 Ready
3
Select a timer to edit and press OK.
4
Make the necessary changes and press
the Yellow button [ Save ].
5
To confi rm, select [ Confi rm ], then
press OK.
6
Press BACK to exit the menu.
1_DVR2008_97_eng_wk822.indd 26
1_DVR2008_97_eng_wk822.indd 26
2008-05-26 10:29:43 AM
2008-05-26 10:29:43 AM