Pentax MZ-6 User Manual
Page 13
BEFORE TAKING PICTURES
17
• To set the correct date and time, see
ADJUSTING THE DATA BACK on page
42.
• If the imprinting looks too light or if the
Data back’s display looks light or shows
nothing, replace the Data back’s bat-
tery. (
p.40)
• The date or time of the first frame will
be imprinted in the multi-exposure
mode.
Adjusting the viewfinder’s diopter
Adjust the viewfinder’s diopter to suit your eye’s
vision.
1
Look through the viewfinder and
point the camera to a well-lit
scene. Then move the diopter
adjustment lever left or right
until the autofocus frame in the
finder looks sharp.
The diopter can be adjusted from -2.0 to
+1.0m
-1
(per meter).
Memo
Memo
N
OTE
SET UP
THINGS T
O
DO
16
Imprinting the date or time
(OPTIONAL)
If you have purchased your camera as the Date model
Version, or if you have purchased the Data Back F
J
separately, read this section.
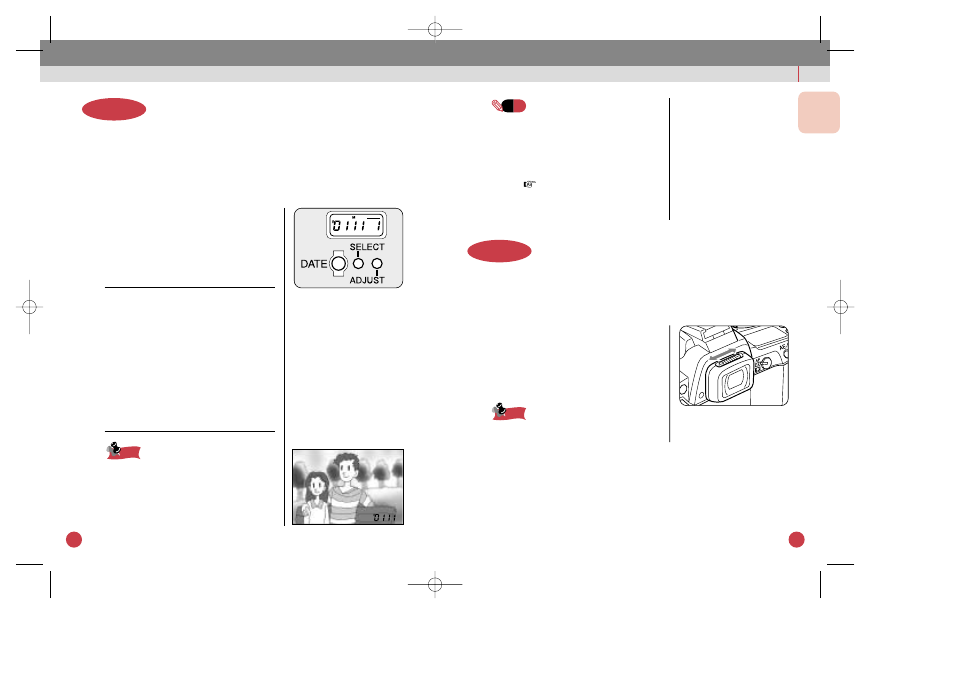
Imprint the date or time within the picture.
1
Press the DATE button on the
DATA BACK F
J
to set the desired
imprinting format.
Each time you press the DATE but-
ton, the display will change in the
following sequence:
* The sample display below indicates
November 1, 2001, 2:10 PM.
YY indicates the year’s last two digits,
MM is the month, DD is the day, hh is
the hour, and mm is the minute.
[YY MM DD]
→[01 11 1]
[DD hh mm]...[ 1 14:10]
[-- -- --]...Blank
[MM DD YY]...[11 1
01]
[DD MM YY]
→[ 1 11 01]
The date or time is imprinted on the lower
right corner of the picture. If this part of
the picture is light-colored (white, yellow,
etc.), the imprinted date or time may be
difficult to distinguish.
Memo
Memo
Step 4
Step 5
MZ-6(E)02 B/011-020 11/8/02 11:55 AM Page 16