Main menu (cont’d), Preferences: banner duration, Preferences: set favorite channels – Philips DSX 5540 User Manual
Page 28: Preferences: a/v matrix, Preferences: remote control id
28
Main Menu (cont’d)
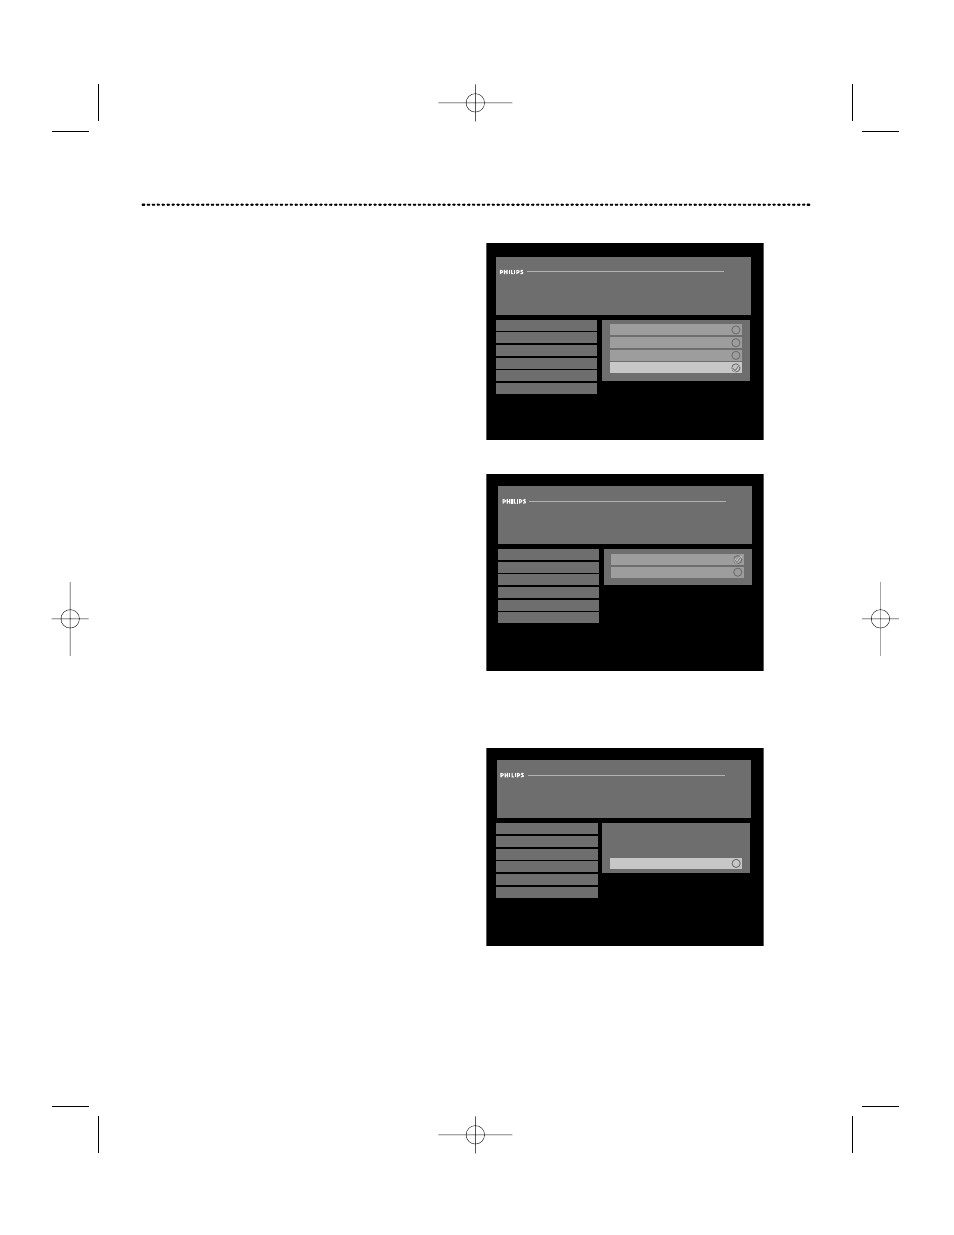
Preferences: Banner Duration
Banner durations define how long the banner remains on the
screen after you press INFO. Options are 5, 10, 15, or 20
seconds. The default value is 10 seconds.
To select the banner duration:
1. Press MENU.
2. Press ▼ to select “Preferences” and press OK.
3. Press ▼ to select “Banner Duration” and press OK.
4. Use the ▲▼ buttons to choose from the options.
5. Once you have made your selection, press OK.
Preferences: Set Favorite Channels
Refer to Enhanced User Features section, page 21.
Preferences: A/V Matrix
If you connected the A/V matrix as described in the
Connections portion of the user manual (refer to page 12), then
you must enable the A/V Matrix in the DIRECTV
®
Receiver
before you can use it.
To enable/disable the A/V Matrix:
1. Press MENU.
2. Press ▼ to select “Preferences” and press OK.
3. Press ▼ to select “A/V Matrix” and press OK.
4. Select “Enable” and press OK.
Once enabled and connected, pressing the SOURCE button on
the remote will switch between the video source(s) connected
to Video IN1 and Video IN2 and satellite programming.
Note: If a video source is not connected or turned on and the
A/V Matrix is enabled, pressing the SOURCE button will still
point to that video input. Your TV will go blank. Hit the
SOURCE button to cycle to the next video input or to satellite
programming.
Preferences: Remote Control ID
If you purchase two DSX 5500 or DSX 5540 receivers and use
them in close proximity of each other, control them independ-
ently by assigning a separate ID number to each remote.
To change the ID number of the remote control:
1. Press MENU.
2. Press ▼ to select “Preferences” and press OK.
3. Press ▼ to select “Remote Control ID” and press OK.
4. The only option available is the alternate ID. Select and press OK.
5. Press and hold down the SAT and MUTE buttons on the
remote until the SAT light stays on.
6. To set the ID number to 1, enter “111” or to set the ID to 0,
enter “000”. The SAT button will blink twice to confirm the
entry.
7. Point the remote at the Receiver and press OK to complete
the process.
Note: It is important at the end of the procedure to point the
remote at the corresponding DIRECTV Receiver and press OK.
Otherwise, the remote control will change its ID but the Receiver
will not and communication will be lost between the two.
Preferences: Banner Duration
Arrow up/down to scroll.
Press OK to select.
BACK to previous menu.
Preferred Language
Screen Format
Banner Duration
Set Favorite Channels
A/V Matrix
Remote Control ID
5 Seconds
10 seconds
15 Seconds
20 seconds
Preferences: A/V Matrix
Arrow up/down to scroll.
Press OK to select.
BACK to previous menu.
Preferred Language
Screen Format
Banner Duration
Set Favorite Channels
A/V Matrix
Remote Control ID
Enable
Disable
Preferences: Remote Control ID
Arrow up/down to scroll.
Press OK to select.
BACK to previous menu.
Preferred Language
Screen Format
Banner Duration
Set Favorite Channels
A/V Matrix
Remote Control ID
Set Remote Control ID to 1
Independently control 2 receivers
in range of each other by setting
a separate ID to each remote.
“Banner Duration” menu options
“A/V Matrix” menu
“Remote Control ID” menu
DSX5500_5540 11/13/02 12:21 PM Page 28