Record on hard disk – Philips DVDR3588H/93 User Manual
Page 35
E
n
g
lis
h
36
A
Connect the DV camcorder to the
DV IN jack on the front panel of this
recorder.
B
Find the footage on the DV camcorder
that you want to start recording from
and set the camcorder to pause mode.
C
Turn on the TV to the correct program
number for the recorder (e.g. ‘EXT’, ‘0’,
‘AV’.)
D
Turn on the recorder and press DV/
USB
twice
on the remote control.
An information box appears.
Press SELECT/CLEAR on the remote
control repeatedly to change the mode of
record quality.
E
Press REC
â
to start recording and
press the PLAY button on the DV
camcorder to start playback.
l
To pause the recording, press
PLAY/
PAUSE
.
To resume recording, press PLAY/
PAUSE or REC
â
again.
F
To stop recording, press STOP
Ç
.
A new title will be created when you
begin another recording.
To record directly to a
DVD recordable disc, see page 37.
Recording from an external
device (Camcorder/VCR/
DVD player)
A copy protection system has been built
into this recorder to prevent the transfer
of data from copy protected DVDs or
other copy protected material onto the
recordable DVD.
Note: Set the preferred mode of record
quality before proceeding, see “Before
Recording - Default Recording Setting
Record on Hard Disk
(continued)
TIPS:
Set the appropriate mode of record quality for HDD recording. The same record quality will be transferred
to HDD or a recordable DVD, see page 37.
System State: DV DV Stage: NO DV
Record to Hard Disc : As SP(25min /GB)
Elapsed Time: 00:00:00 Remaining Time: 31:25:25
Source
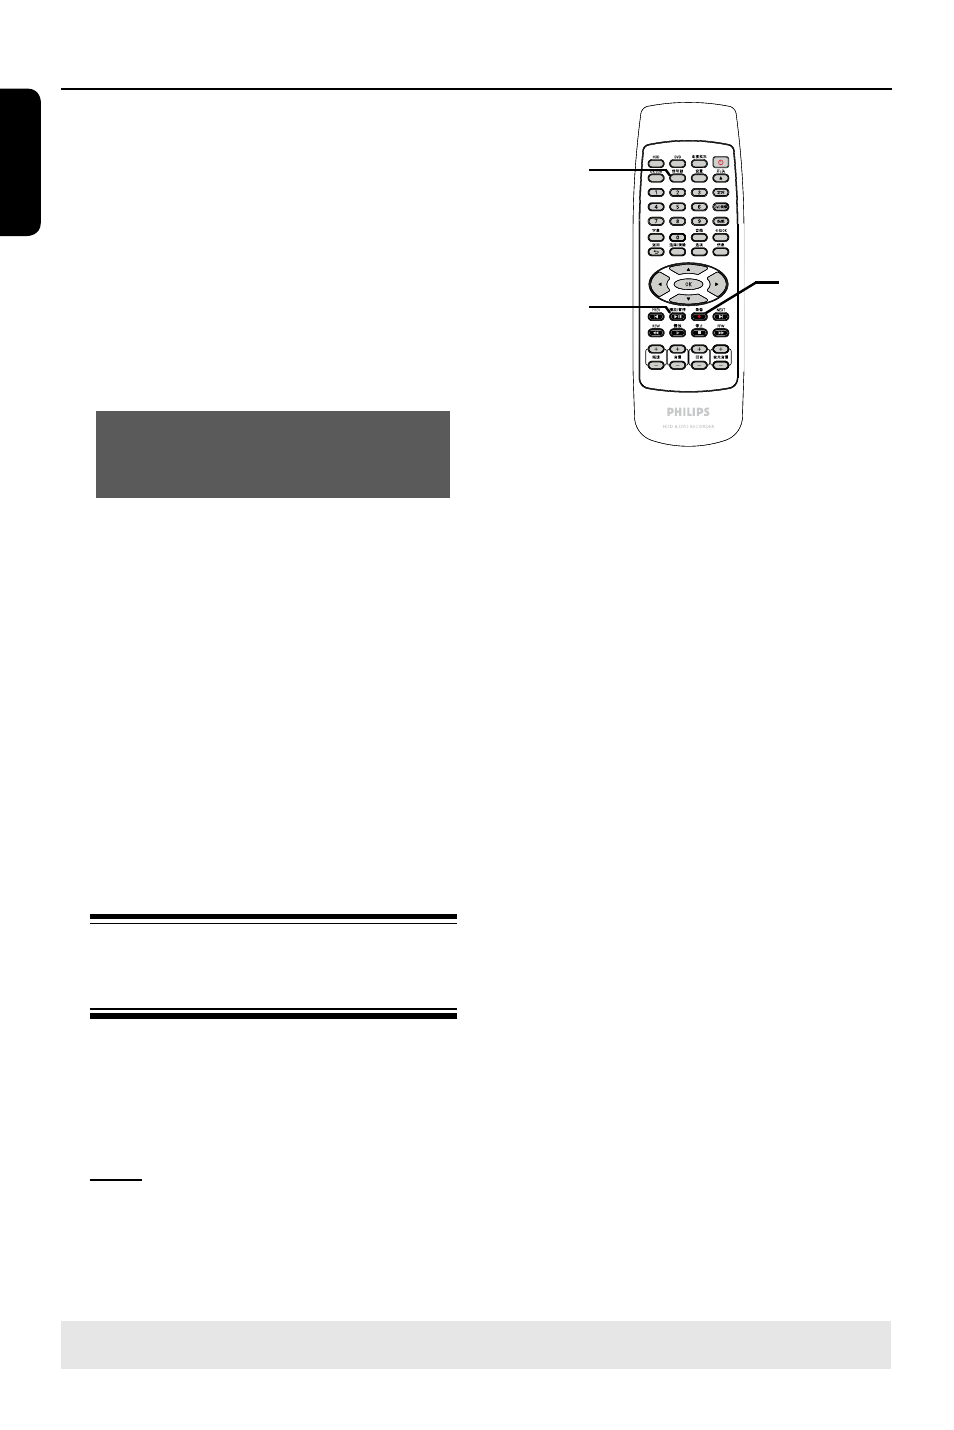
PLAY/
PAUSE
REC
â
A
Connect the external device to this
recorder (see pages 17 ~ 21).
B
Turn on the TV to the correct program
number for the recorder (e.g. ‘EXT’, ‘0’,
‘AV’).
C
Press STANDBY-ON
2
to turn on
the recorder.
If no TV program appears on the
screen, press TUNER on the remote
control.
D
Press SOURCE repeatedly to select the
correct input channel that matches the
connected jack of the device.
{CAM 1 } : VIDEO jack on the front.
{R CVBS }: video jack on the back.
{R Y/C}: S-video jack at the back.
{R YUV}: YUV jack at the back.
{CHXXX}: Antenna In at the back.
E
Press REC
â
to start recording.
You can also press REC
â
repeatedly to increase the recording time
in 30-minute increments.
F
Start playback on the connected device.
To pause the playback on the device,
press PLAY/PAUSE.
To continue, press PLAY/PAUSE
again.
You can use this function to avoid any
unwanted recording .
G
To stop the recording before the
scheduled ending, press STOP
Ç
.
To record directly to a
recordable DVD disc, see page 37