Printing using the dpof settings, Press the 4 button – Pentax Optio E70 User Manual
Page 155
153
5
Editin
g an
d Printi
ng Im
age
s
3
Choose the number of copies and
whether to insert the date or not.
The number of copies and date setting that
you choose apply to all the images.
Refer to Steps 4 and 5 in “Printing Single
Images” (p.150) for details of how to make
the settings.
4
Press the 4 button.
A confirmation dialog appears.
Refer to Steps 7 to 11 of “Printing Single Images” (p.151) for details of
changing print settings.
5
Press the 4 button on the print settings confirmation
screen.
All the images are printed according to the settings.
Press the 3 button to cancel printing.
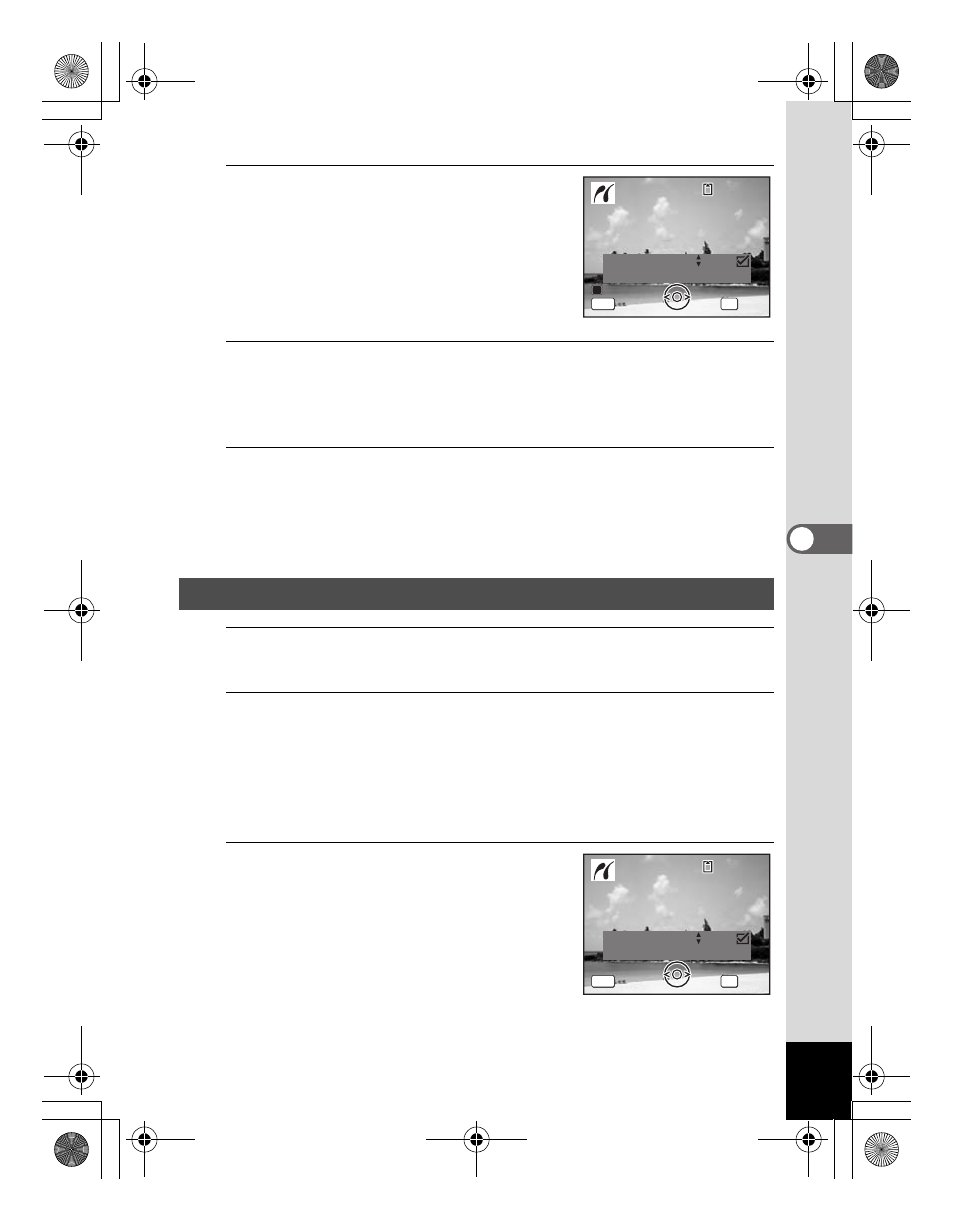
1
In the printing mode selection screen, use the four-way
controller (23) to select [DPOF AUTOPRINT].
2
Press the 4 button.
The DPOF settings you have made appear.
Use the four-way controller (45) to check the number of copies for
each picture, whether to insert the date or not, and the total number of
copies. Refer to p.146 for instructions on how to make the DPOF
settings.
3
Press the 4 button.
A confirmation dialog appears.
Refer to Steps 7 to 11 of “Printing Single
Images” (p.151) for details of changing print
settings.
Printing Using the DPOF Settings
C o p i e s
T o t a l
D a t e
D a t e
D a t e
0 1
P r i n t a l l i m a g e s
P r i n t a l l i m a g e s
OK
2 8
MENU
1 0 0
1 0 0 - 0 0 1 7
0 0 1 7
1 0 0 - 0 0 1 7
C a n c e l
C a n c e l
C a n c e l
C o p i e s
T o t a l
D a t e
0 1
P r i n t w i t h DPOF s e t t i n g
P r i n t w i t h DPOF s e t t i n g
OK
1 0
MENU
1 0 0
1 0 0 - 0 0 1 7
0 0 1 7
1 0 0 - 0 0 1 7
C a n c e l
C a n c e l
C a n c e l
e_kb477.book Page 153 Thursday, November 20, 2008 4:21 PM