System menu options, Analogue channel settings, Continued) – Philips DVDR5350H User Manual
Page 78
E
n
g
lis
h
78
79
System Menu Options
(continued)
System Menu Options
(continued)
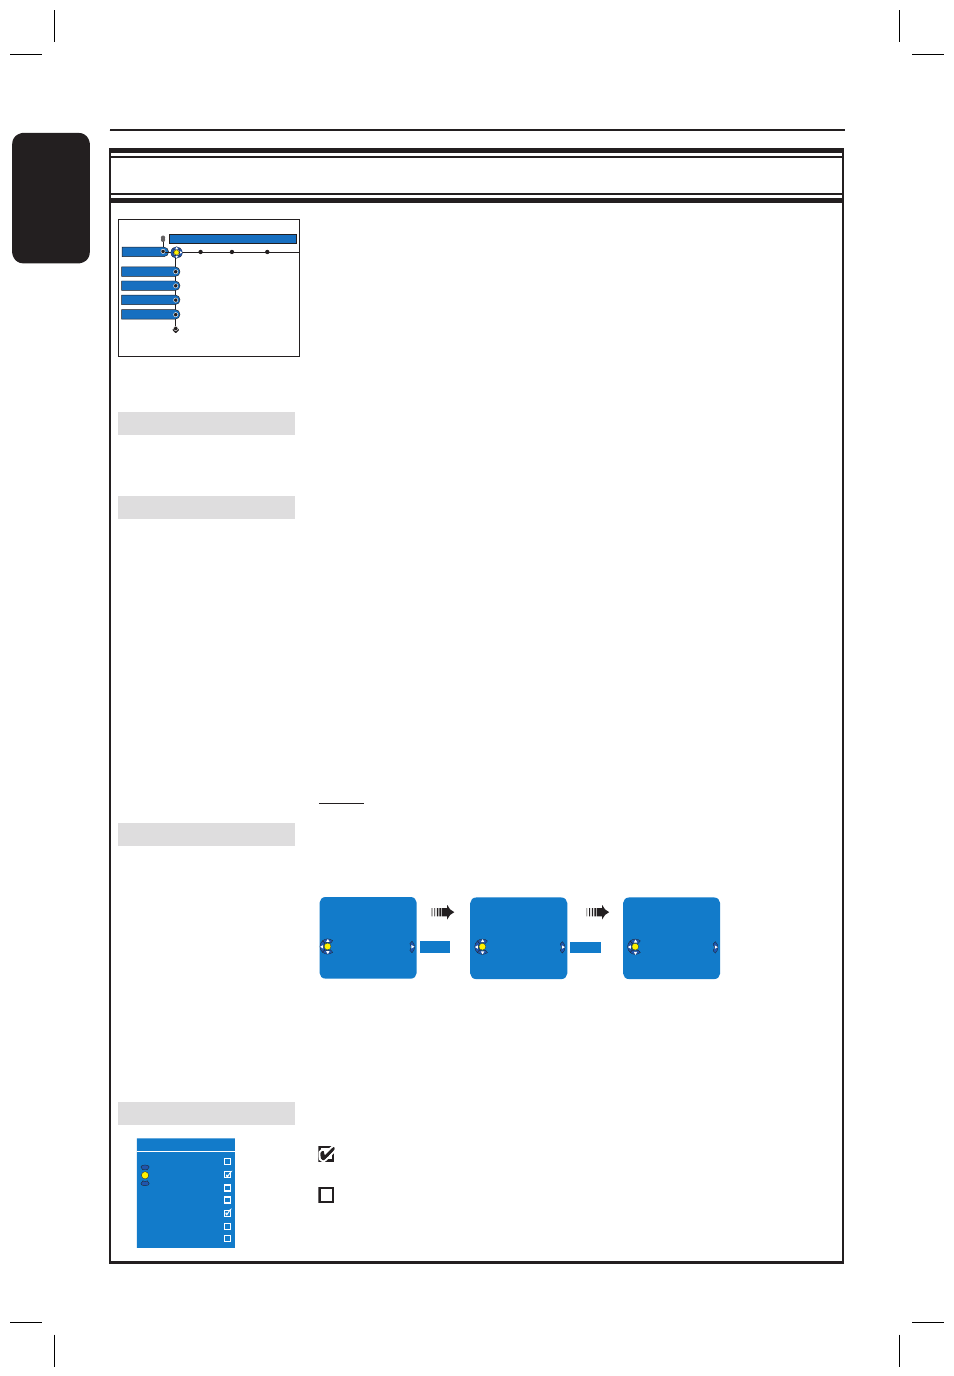
Analogue Channel settings
Analogue Ch.
Setup
Auto search
Follow TV
Sort
Favourites
Although this recorder selects all the available analogue TV channels
during basic installation, you may want to repeat the process later if more
channels become available in your area or if you are reinstalling the
recorder.
A
Press SYSTEM on the remote control. Select { Setup } in the menu
and press repeatedly to select { Analogue Ch. }.
B
Press repeatedly to select the following settings in the menu and
press to enter its options.
Auto search
Press OK on the remote control to start automatic TV channel search
process and replace all previously stored analogue TV channels. This
process may take several minutes.
Follow TV
This feature is only available if you have connected this recorder to your
TV using the EXT1 TO TV-I/O scart socket. It allows you to change the
order of the TV channels stored in your recorder to match the order on
the TV.
1) Press
OK to confirm the message on the TV, ‘TV 01’ will appear on
the display panel. Use the TV’s remote control to select
programme number {1} at your TV, then press OK on the recorder’s
remote control.
– If the recorder finds the same TV channel as on the TV, it stores it
as ‘P01’. ‘TV 02’ will then appear on the display panel.
– If no video signal is received from the TV, ‘NO TV’ will appear.
2) Use the TV’s remote control to select programme number {2} at
your TV, then press OK on the recorder’s remote control.
Repeat the above steps until you have assigned all the TV channels.
Note: Press BACK will interrupt the follow TV process.
Sort
You may not agree with the sequence in which the individual TV channels
have been allocated to the programme numbers. You can use this setting
to rearrange the TV channels.
001 ARD
002 TELET
003 ORF2 ---
004 TELET
004 TELET
005 CHAN
006 RTL4
007 SBS6
ORF2
ORF2
004 CHAN
005 RTL4
006 ORF2
007 SBS6
1) Use keys to select the TV channel that you want to move and
press OK to confirm.
2) Use keys to shift the TV channel to the desired position and
press OK to place the TV channel at the current position.
Favourites
Press OK to mark your favourite TV channels for quick access by using
the channel up/down button on the remote control.
– The TV channels can be accessed using the
CHANNEL
+
−
on the remote control.
– The TV channels can only be accessed by pressing
the corresponding number button on the remote
control.
Favourites
CH01
CH02 NBC
CH03
CH04
CH05
CH06 MTV
CH07
In some cases, not all of the available TV channels may have been found
and stored during basic installation. In this case, you will need to search
for and store the missing or coded TV channels manually.
A
Press SYSTEM on the remote control. Select { Setup } in the menu
and press repeatedly to select { Analogue Ch. }.
B
Press repeatedly to select the following settings in the menu and
press to enter its options.
Entry Mode
Select manual search based on channel allocation or frequency entry
{ Channel, S. Channel (Special channel), MHz (frequency) }.
Note: S. Channel refers to specified hyperband channels.
Entry
– Use the alphanumeric keypad 0-9 to enter the frequency/channel
number, press
OK and the Green button for { STORE }.
OR
– Press the Blue button on the remote control for { SEARCH }, once
you have found the correct frequency/channel, press the Green
button for { STORE }.
Preset
Use the alphanumeric keypad 0-9 to enter the preset channel number
for the channel to store (e.g., ‘01’), press OK and the Green button for
{ STORE }.
Preset name
Use the alphanumeric keypad 0-9 to enter the preset channel name,
press
OK and the Green button for { STORE }.
Maximum four characters for preset channel name.
Decorder
If the current TV channel is transmitted by coded TV signals that can only
be viewed properly with a decoder which is connected to the
EXT2 AUX-I/O socket, you need to activate the connected decoder.
{ On }
– Select this to allocate the connected decoder to this
TV channel.
{ Off }
– Turns off the decoder feature.
TV system
Set the TV system that produces the least distortion of picture and sound.
See pages 178~179 “TV System Guide” for more information.
NICAM
NICAM is a digital sound transmission system. It can transmit either one
stereo channel or two separate mono channels.
{ On }
– Improves the sound transmission of the TV channel.
{ Off }
– Select this if the reception is poor and the sound is
distorted.
Fine tuning
Select this to fine-tune the TV channel manually if the reception is poor.
Use keys to adjust the frequency and press OK to confirm.
dvdr5350H_EU_Eng537.indd 78
2005-09-16 2:28:03 PM