Using the built-in tv tuner, Getting started 04 – Pioneer DVR-330-S User Manual
Page 26
Getting started
04
26
En
1
If they aren’t already on, switch on your TV and
this recorder.
Press
STANDBY/ON
to switch on.
• Make sure that the video input on your TV is set to this
recorder.
2
Press
OPEN/CLOSE to open the disc tray.
3
Load a blank DVD-R or DVD-RW disc with the
label side face-up, using the disc guide to align the
disc.
• When you load a new, blank DVD-RW disc, the
recorder will take a moment to initialize it for
recording.
• Blank DVD-R discs are ready for Video mode
recording out of the box.
4
Use the CH +/– buttons to select the TV channel
you want to record from.
• You can also use the
+/–
buttons on the front panel if
the recorder is stopped.
• Channel presets are numbered 1–99.
5
Press
ì
REC to start recording.
• By default, the recording will be in
SP
(standard play)
mode, which will give you around two hours of
recording from a blank DVD disc.
• You can pause recording by pressing
PAUSE
.
Press
ì
REC
or
PAUSE
again to restart recording.
6
When you want to stop recording, press
STOP REC.
Playing back your recording
The TV program you just recorded should be on the DVD
disc as a single title with one or more chapters.
•
Press
PLAY to start playback.
If you want to stop playback before the end of the
recording, press
STOP
.
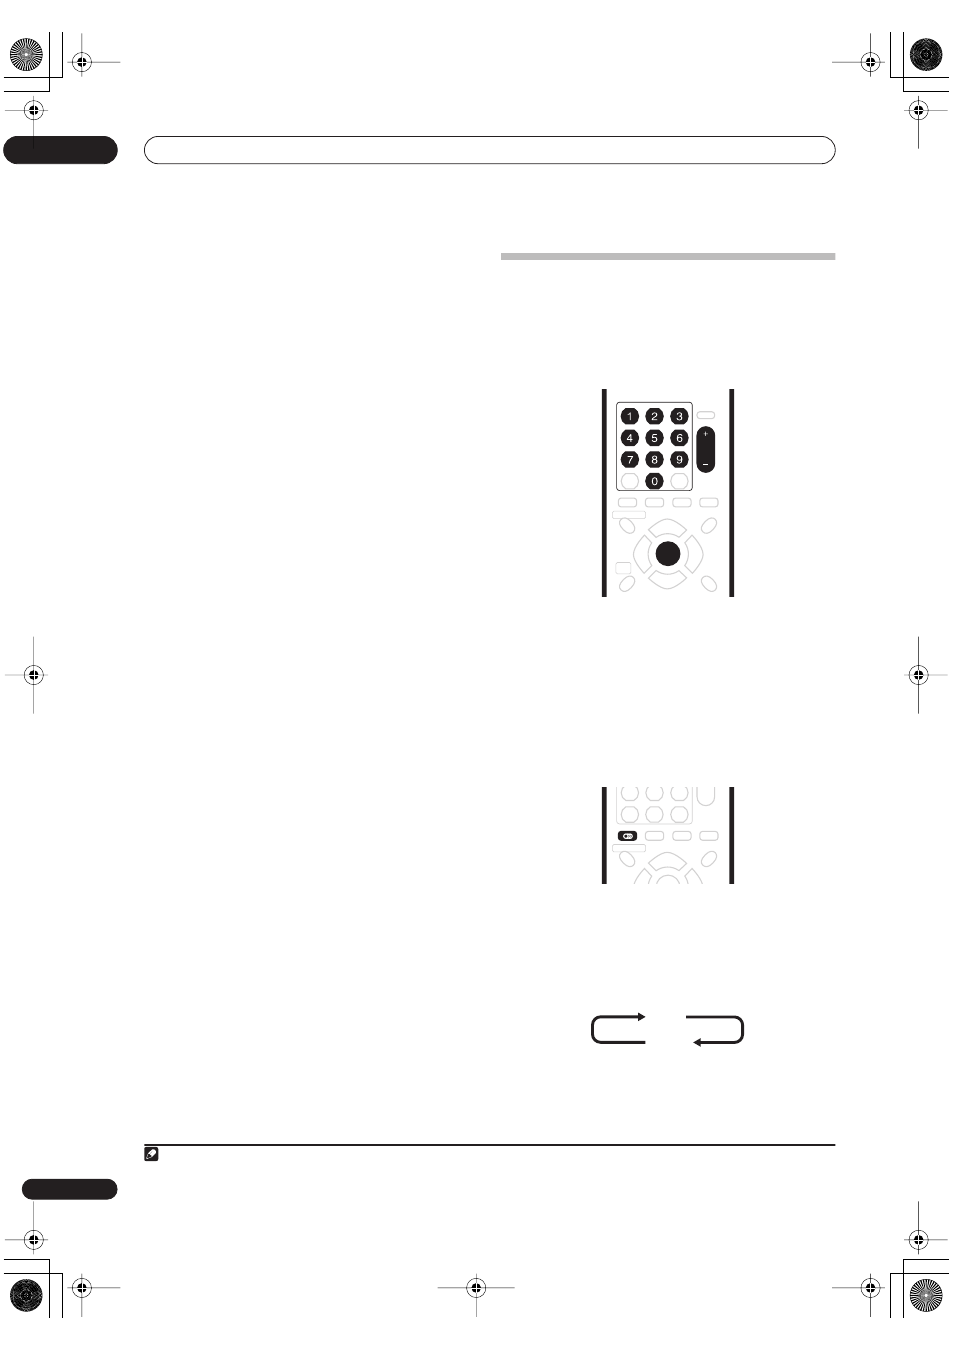
Using the built-in TV tuner
Changing TV channels
There are three different ways to select TV channels. Note
that you can’t change the TV channel during playback,
recording or during recording standby.
•
CH +/–
buttons on the remote
•
Number buttons
on the remote – For example, to
select channel 4, press
4
then
ENTER
; for channel 34,
press
3
,
4
,
ENTER
.
1
•
+/–
buttons on the front panel
Changing audio channels
You can change the audio channel of the broadcast or
external input signal.
•
Press AUDIO to change the audio.
The current audio channel is displayed on-screen.
• If the NICAM audio setting (see
Nicam Select
on
page 69) is set to
NICAM
and you are watching a
NICAM broadcast, you can switch between
NICAM
and
Regular
(non-NICAM) audio.
Note
1. Channel presets are numbered 1–99.
HDD
DVD
ENTER
CH
AUDIO
NICAM
Regular
DVR-330_RL.book 26 ページ 2005年3月1日 火曜日 午後10時47分