KORG SP-500 User Manual
Page 61
61
Recording
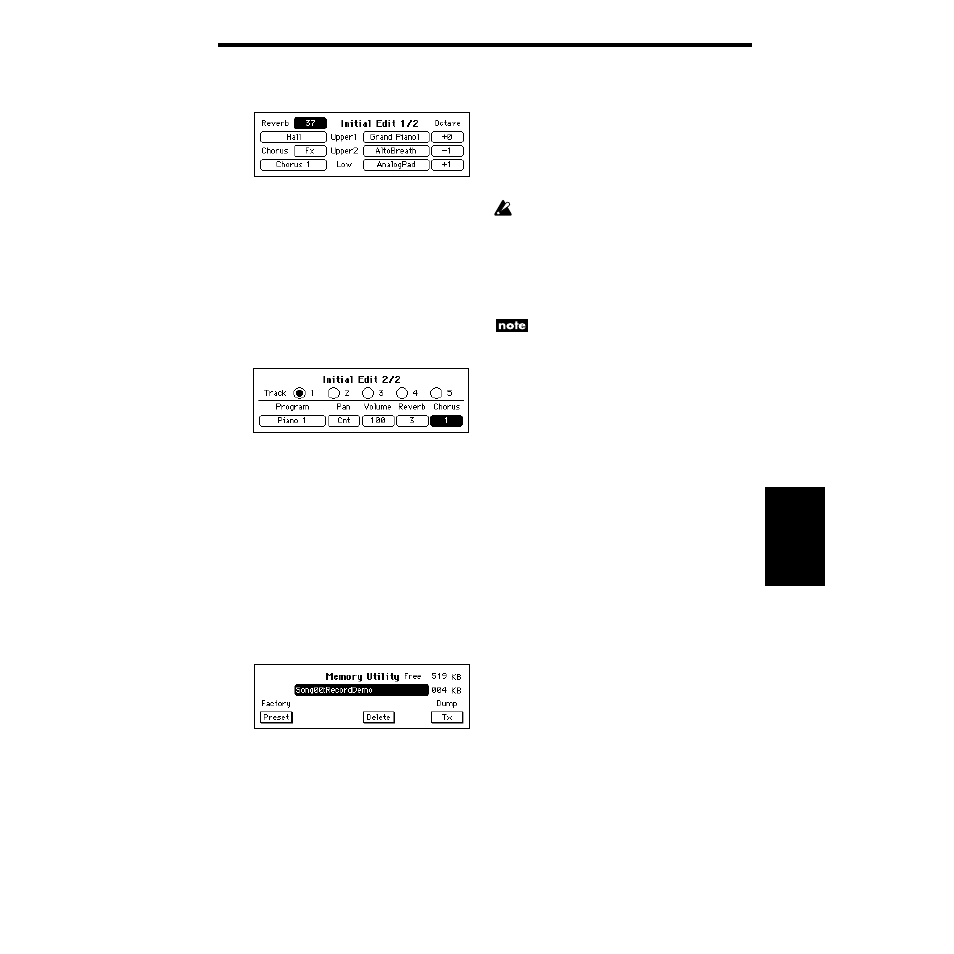
“Initial Edit 1/2” page
Here you can make effect settings, and spec-
ify the keyboard sound and octave.
“Reverb” cell:
Specify the depth of the
reverb.
“Reverb type” cell:
Specify the reverb type.
“Chorus” cell:
Specify the depth of the cho-
rus or other effect.
“Chorus type” cell:
Specify the type of the
chorus or other effect.
“Upper 1, 2, Low” cell:
Specify the program
and octave setting for each part.
“Initial Edit 2/2” page
Here you can edit Program, Pan, Volume,
Reverb, and Chorus settings for each track.
Press the radio button for the track that you
wish to edit. Then press the appropriate cell
and use the dial or the [VALUE] switches to
adjust the setting.
“Track” radio buttons:
Press a radio button
to select the track that you wish to edit.
“Program” cell:
Select the program that will
be the initial setting.
“Pan” cell:
Specify the initial panpot value.
“Volume” cell:
Specify the initial volume
value.
“Reverb” cell:
Specify the reverb depth.
“Chorus” cell:
Specify the depth of the cho-
rus or other effect.
“Memory Utility” page
Song selection cell:
Selects the song. Select
the song that you want to play back or
record in the “Rec 1/3” page. It is not possi-
ble to change the song while the recorder is
running.
“Preset” button:
Returns to the factory-set
state.
“Delete” button:
Deletes the song data
selected by the song selection cell.
All the recorded data will be erased.
“Tx” button:
Transmits the song data
selected in the song selection cell from the
MIDI OUT connector to a connected MIDI
device. Use this when you want to save song
data on a MIDI data filer or similar device.
Data can be received from the data filer
while this page is displayed. At this time, the
received data will be overwritten onto the
song that is selected in the song selection
cell.
The song data is not SMF (Standard MIDI File).
Remaining memory:
As this value
approaches 0, the number of notes (events)
that can be subsequently recorded will
decrease.
We recommend that you delete unneeded
songs to increase the amount of free memory
before you continue recording.
When there is little memory remaining,
recording will stop automatically. In some
cases, this may happen before the remaining
memory reaches “0” in order to ensure that
the data is saved correctly.
Memory used:
This indicates the approxi-
mate amount of memory used by the song
that is selected in the song selection cell. This
information will help you decide which song
to delete.