Recording from the middle of the song, Auto punch-in/out – KORG SP-500 User Manual
Page 54
54
OVDB
(overdub): The newly recorded
data will be added to the previously-
recorded data.
AUTP
(auto punch-in/out): Auto punch-
in/out recording will be performed.
In the “Rec 1/3” page, “OVWR” will be used
regardless of this setting.
For “OVWR” and “OVDB,” the “start mea-
sure” cell and the “end measure” cell settings
are ignored.
To change the name of the song
Access the “Rec 3/3” page, press the
“Song Name” button, and edit the song
name. (☞p.59)
Recording from the middle of the
song
1
Select the performance data that
you saved
Load performance data that you saved in
“Basic recording” or step recording.
(☞p.51)
2
Play back the recorded song
Set each track to “Play,” and press the
[PLAY/STOP] switch.
3
When you come to the measure
that you wish to record, pause
the playback
When playback reaches the measure at
which you wish to begin recording, press
the [PAUSE] switch to pause.
4
Select the track that you wish to
record
Change the setting to “Rec” for the track
that you wish to additionally record.
• When recording with the [ACC] switch
on, the KBD, CTRL, and CHORD
tracks.
• When recording with the [ACC] switch
off, the KBD and CTRL tracks.
• When recording tracks 1 – 5, the corre-
sponding track.
5
Defeat pause
Press the [PAUSE] switch to defeat pause.
After a two-measure pre-count, recording
will begin.
Auto punch-in/out
If you made a mistake or did not obtain the desired
result in one location of a recorded song, you can
re-record just that location without having to re-
record from the beginning of the song. Auto Punch
In
is the action of automatically switching from
playback into record mode at the previously speci-
fied measure. Conversely, Auto Punch Out is the
action of automatically switching from record
mode into playback at the specified measure.
This function can be used on tracks 1–5.
1
Select the performance data that
you saved
Load performance data that you saved in
“Basic recording” or step recording.
(☞p.51)
2
Pause at a point earlier than the
measures you wish to re-record
Set each track to “Play,” and press the
[PLAY/STOP] switch. Two or three mea-
sures before the measure at which you
will begin re-recording, press the
[PAUSE] switch.
3
Select the track that you wish to
re-record
For the track that you wish to re-record,
press the “Track” button to select “Rec”.
The following settings cannot be made unless
you select “Rec.”
4
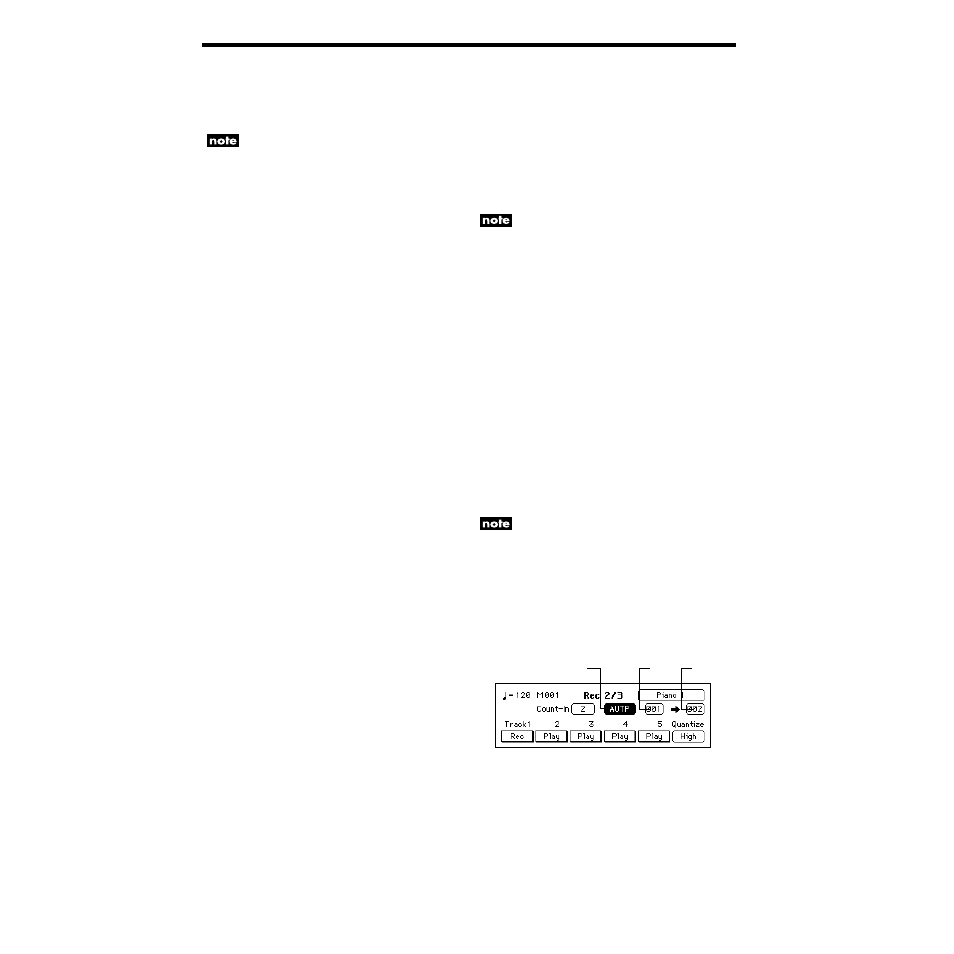
In the “Rec 2/3” page, set the
“Recording mode” cell to
“AUTP.”
Press the “Recording mode” cell, and use
the dial or the [VALUE] switches to select
“AUTP.”
5
Set the “start measure” cell
Press the “start measure” cell, and use the
dial or the [VALUE] switches to specify
the measure at which you will begin re-
recording.
“Recording mode”
“Start” “End”