Speaking into the microphone, Adjusting microphone volume, Connecting an auxiliary microphone – Smart Technologies SMART Audio 340 User Manual
Page 22: Connecting an auxiliary audio input device
Speaking into the microphone
Your microphone transmits your voice up to 15' (4.6 m) to the room module or an expansion sensor.
I M P O R T A N T
l
Hold your microphone so the infrared transmitter faces out.
l
If you hear a static sound suddenly, the microphone is either out of range or is pointed against
a non-reflective surface. Position your microphone so the infrared transmitter points toward
the room module or an expansion sensor.
Adjusting microphone volume
You can increase or decrease the volume of transmission from the microphone, as well as mute and
restore volume.
g
To increase or decrease the microphone volume
Press the Volume Up or Volume Down button.
g
To mute or restore the microphone volume
Press the Mute/Power Off button.
When you mute the microphone, the microphone status light flashes green. When you restore
the microphone volume, the microphone status light turns solid green.
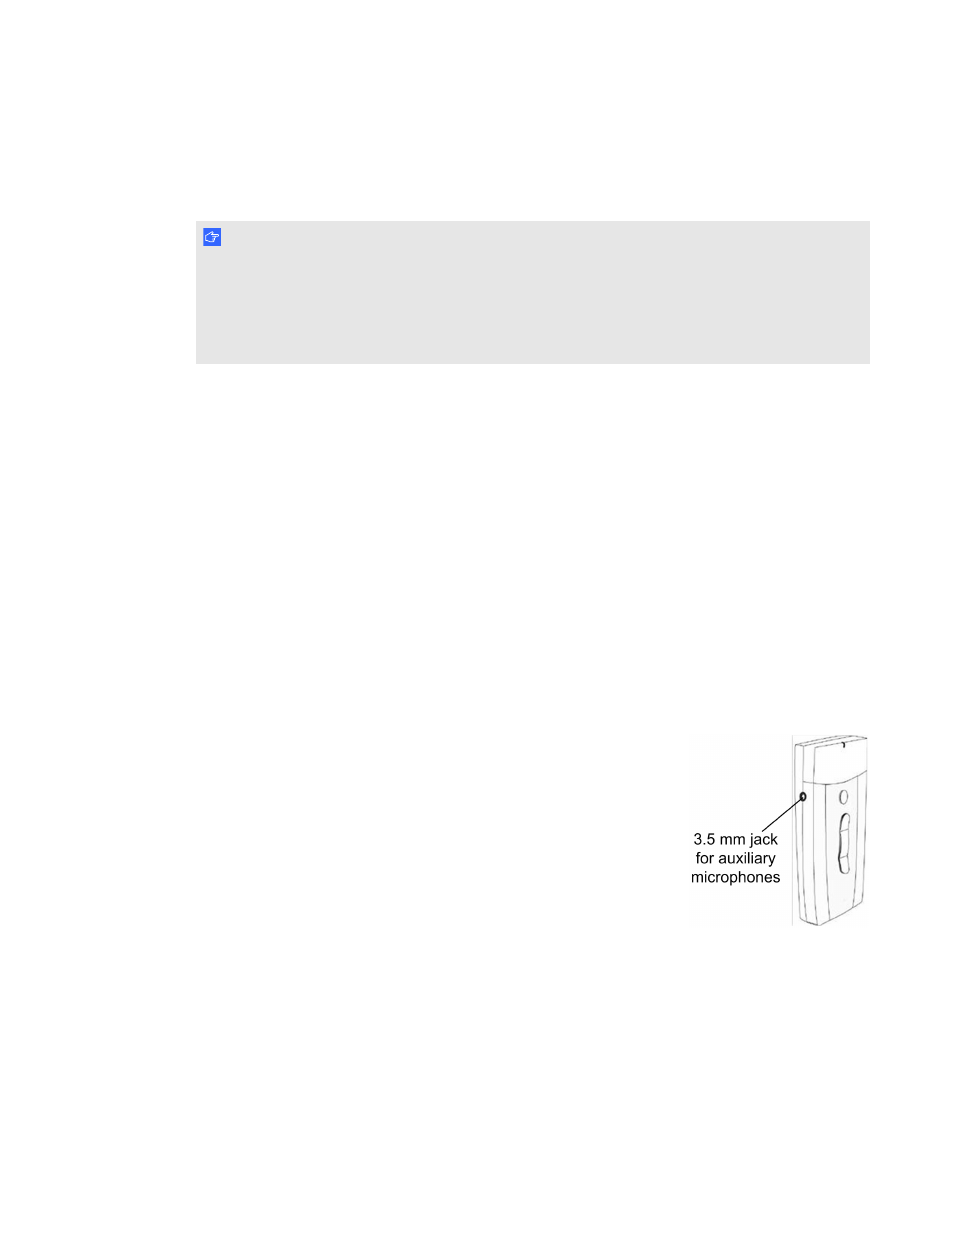
Connecting an auxiliary
microphone
Your microphone doesn’t require an external auxiliary microphone.
However, if you prefer, you can use an auxiliary microphone, such as a
wired headset or a lavaliere microphone, for hands-free use.
g
To connect an auxiliary microphone
Connect the auxiliary microphone to the 3.5 mm jack on the side of the microphone.
Connecting an auxiliary audio input device
You can also connect an external audio input device, such as a handheld audio player, to your
microphone.
C H A P T E R 3
Using the microphone
16