Schumacher Automatic SWI-1555A User Manual
Page 40
• 39 •
Hold
•
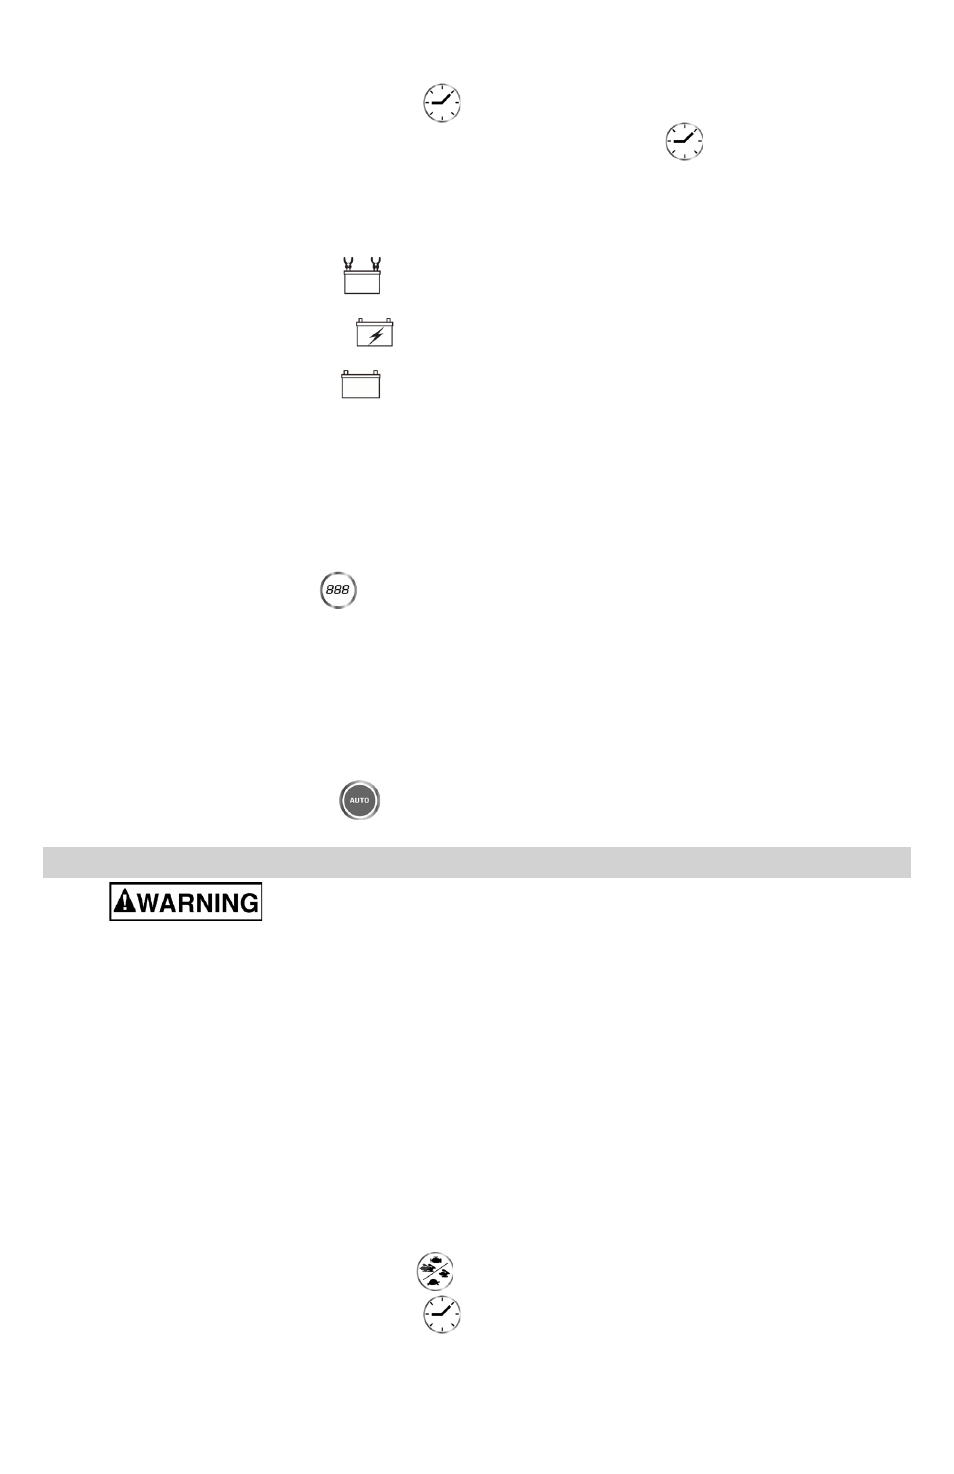
: This position defeats the timer function, allowing for 24 hour operation.
To Activate the Hold Feature:
Press the Timer Control button
1.
until the LED next to the 24H is lit.
To release the Timer Hold, press the Timer Control button
2.
until the LED next to
the OFF symbol (O) is lit.
NOTE: When the Hold feature is activated, the charger will run for 24 hours, and then
the output will shut off until the user presses the timer button again.
LED Indicators
CONNECTED (red) LED
lit: Indicates that the charger is properly connected to the
battery.
CHARGING (yellow) LED
lit: Indicates the charger has detected a battery and is
charging it.
CHARGED (green) LED
lit: Indicates the battery is fully charged and the charger
is in maintain mode
.
NOTE: See the Operating Instructions section for a complete description of the charger
modes.
Digital Display
The Digital Display gives a digital indication of voltage, amperage or % of charge of
the battery, depending on the Display Mode chosen. The display will show the battery
VOLTAGE when the charger is not charging a battery.
Display Mode Switch
Use this switch to set the function of the digital display to one of the following:
Battery %
•
– The digital display shows an estimated charge percentage of the battery
connected to the charger battery clips.
Voltage
•
– The digital display shows the voltage at the charger battery clips in DC
volts. During charging, the display will show 12.
Amps
•
– The digital display shows the Charge Rate selected (2, 20 or 55) or the
Engine Start Rate (150).
Automatic Start Button
Use the Auto button to start charging in Automatic Mode (see Operating Instructions).
OPERATING INSTRUCTIONS
11.
This battery charger must be properly assembled in accordance with
the assembly instructions before it is used.
Charging
Ensure that all of the charger components are in place and in good working
1.
condition, for example, the plastic boots on the battery clips.
Connect the battery following the precautions listed in sections 6 and 7.
2.
Connect the AC power following the precautions listed in section 8. Make sure to
3.
place the charger on a dry, non-flammable surface like metal or concrete.
Turn the charger on.
4.
Select the appropriate settings for your battery (see Charger Settings below).
5.
To disconnect, reverse the procedure.
6.
Charger Settings for Timed Charging:
Set the Function Switch to the desired charge rate setting.
1.
Press the Charge Rate button
2.
to select the desired charge rate.
Press the Timer Control button
3.
to select the desired charge time.
The charger will then start charging. Once the timer times out it will stop charging.
4.