SUPER MICRO Computer X7SBL-LN1/LN2 User Manual
Page 23
Chapter 2: Installation
2-5
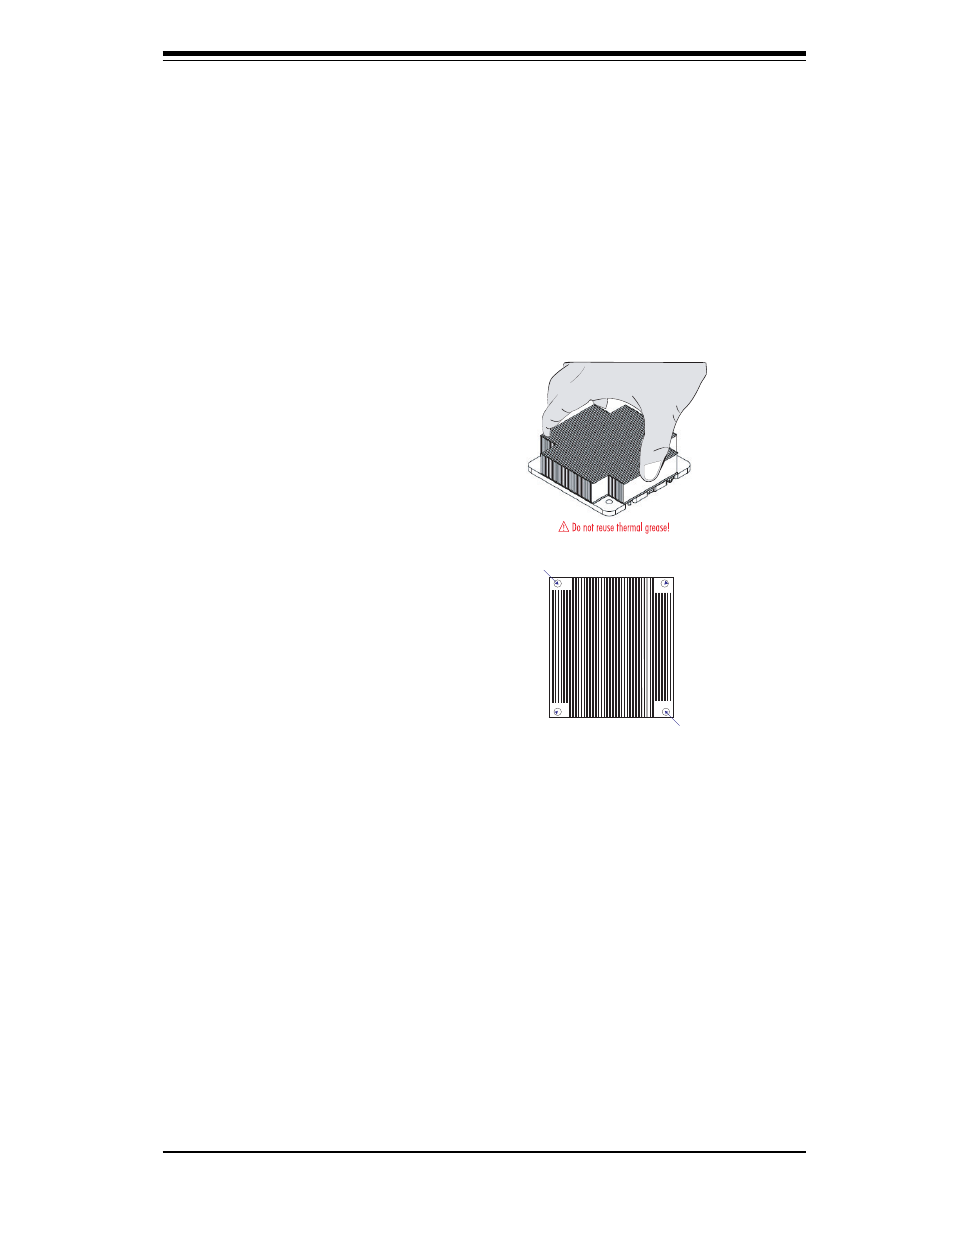
1. Do not apply any thermal grease to
the heatsink or the CPU die, the required
amount has already been applied.
2. Place the heatsink on top of the
CPU so that the four mounting holes
are aligned with those on the retention
mechanism.
3. Screw in two diagonal screws (eg. the
#1 and the #2 screws) until just snug (do
not fully tighten the screws, which may
damage the CPU).
4. Finish the installation by fully tighten-
ing all four screws.
Installation of the Heatsink
Screw 1
Screw 2
See also other documents in the category SUPER MICRO Computer Hardware:
- SUPER X7SPA-H (107 pages)
- X8STI-LN4 (109 pages)
- 6014P-T (124 pages)
- 5010H (128 pages)
- X8ST3-F (103 pages)
- Dual Processor AS 1020C-3 (106 pages)
- 5014C-MF (112 pages)
- X8STI-3F (109 pages)
- AOC-USAS-S4IR (26 pages)
- 6113L-i (104 pages)
- MICRO COMPUTER MOTHERBOARD P8SCI (96 pages)
- H8QII-F (84 pages)
- I2DMR-8G2 (78 pages)
- 6015W-NTR (110 pages)
- 5015M-NT (134 pages)
- SUPER X8ST3-F (105 pages)
- 6015B-Ni (120 pages)
- X6QT8 (110 pages)
- P4SCT+II (100 pages)
- X7SLA-L (81 pages)
- AOC-USAS-L4iR (66 pages)
- AS1011M-T2 (104 pages)
- X6DH3-G2 (120 pages)
- Super H8QM3-2 (76 pages)
- SUPERO H8QGI+-F (82 pages)
- SUPERO X8SIA (109 pages)
- MIIC-203 (56 pages)
- SUPERSERVER 6014L-T (120 pages)
- X7DVL-3 (90 pages)
- SUPER X7DBE (130 pages)
- X8SIL (101 pages)
- X6DHT-G (110 pages)
- Supero SC512 (68 pages)
- AS1020S-8 (102 pages)