McIntosh MA6600 User Manual
Page 15
15
2. Rotate the TRIM SELECT Control until “CD1 :
NONE” appears on the Front Panel Information Dis-
play. Refer to
figure 11.
3. Rotate the
TRIM AD-
JUST Control
until “CD1 : PC1” appears on the Front Panel Informa-
tion Display.
Refer to
figure 12.
4. Press the
STORE/EXIT
Push-button to exit the Setup Mode.
2. Rotate
the TRIM
ADJUST
Control until
“LIGHTS:
OFF” appears on the Front Panel Information Display.
Refer to figure 9.
3. Press the STORE/EXIT Push-button to exit the Setup
Mode.
Setup, con’t
Power Control Triggers
The Power Control 1 and 2 Outputs are reassignable to ac-
tivate only when a given Input is selected. In the following
example, the Power Control 1 Output will be set to func-
tion as a Trigger for the CD1 Input.
1. Press the MONO/SETUP Push-button until the Setup
Mode is active. Then press the MONO/SETUP Push-
button to select the Setup Menu item “SETUP: TRIG-
GER”.
Accessory Power Control
The ACC (C) Power Control Output is reassignable from
the default setting of going ON/OFF with the MA6600
(Main), to being controlled by the Remote Control ACC
ON/OFF Push-buttons. To reassign it perform the follow-
ing:
1. Press the MONO/SETUP Push-button until the Setup
Mode is active. Then press the MONO/SETUP Push-
button to select the Setup Menu item “SETUP: ACC
TRIGGER”.
Refer to fig-
ure 13.
2. Rotate the
TRIM AD-
JUST Control until “ACC: REMOTE” appears on the
Front Panel Information Display. Refer to figure 14.
3. Press the
STORE/
EXIT Push-
button to exit
the Setup
Mode.
Display Brightness
The Front Panel Information Display Brightness may
be changed from the default setting. The MA6600 will
remember two brightness preferences, one with the Me-
ters Illuminated and one without Meter Illumination. For
each preference there are three brightness settings for the
Information Display. The Display Brightness setting may
be varied 1 (Dim) to 3 (Bright). Follow the steps below for
reducing the Display Brightness (with the Meter Illumina-
tion On).
1. Press the MONO/SETUP Push-button until the Setup
Mode is active. Then press the MONO/SETUP Push-
button to select the Setup Menu item “SETUP: DIS-
PLAY”.
2. Rotate the TRIM ADJUST Control until “BRIGHT-
NESS: 1”
appears on the
Front Panel
Information
Display. Refer
to figure 10.
Note: To change the Display Brightness preference with
Meter Illumination Off, first switch off the Meter
Illumination and change the Display Brightness
Setting.
3. Press the STORE/EXIT Push-button to exit the Setup
Mode.
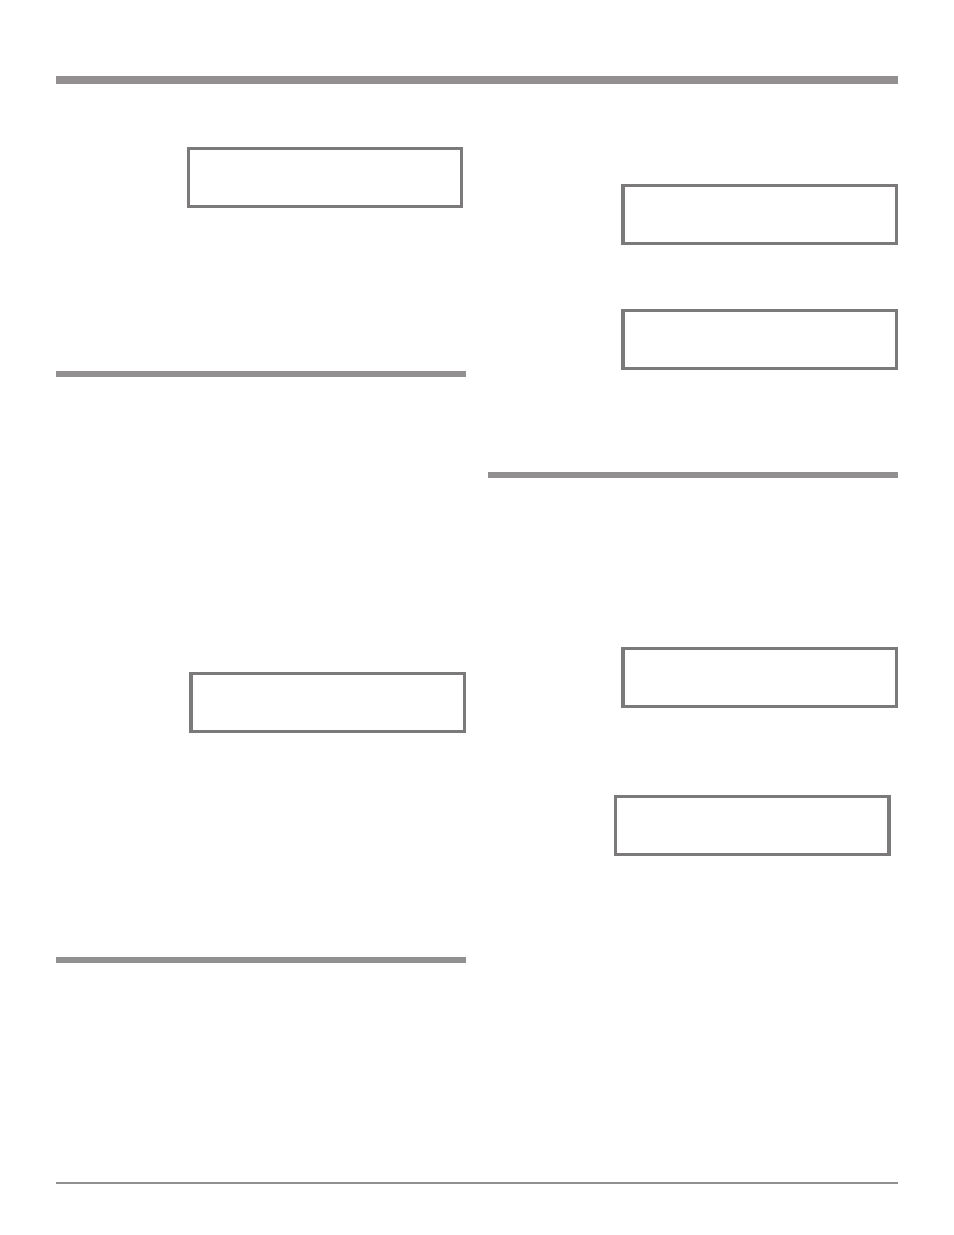
Figure 9
SETUP: METER
LIGHTS: OFF
Figure 10
SETUP: DISPLAY
BRIGHTNESS: 1
Figure 11
SETUP: TRIGGER
CD1 : NONE
Figure 12
SETUP: TRIGGER
CD1 : PC1
Figure 13
SETUP: ACC TRIGGER
ACC: MAIN
Figure 14
SETUP: ACC TRIGGER
ACC: REMOTE