McIntosh MA6600 User Manual
Page 14
14
Re-Title Inputs
The MA6600 provides the ability to change the default In-
put Names to match the components in your system. In the
following example the REC (Input 7) will be renamed and
appear as SAT on the Front Panel Information Display.
Notes: 1. One of the high level Inputs may be renamed to AUX
or swiched Off. If any input is switched Off its name
will no longer appear on the Front Panel Informa-
tion Display when using the INPUT Control, nor is it
accessible with the Remote Control.
2. When a high level input is switched Off its name will
become available to the remaining high level inputs.
3. The Phono Input is designed for connection of a
turntable only and thus the title is not changeable.
However, the Phono Input may be switched Off.
4. When the Phono Input (1) is switched off the name
“Phono”may be used for another input, however an
external phono preamp would be needed to go be-
tween the turntable and the high level input “phono”
on the MA6600.
1. Press the MONO/SETUP Push-button until the Setup
Mode is active. Then press the MONO/SETUP Push-
button to select the Setup Menu item “SETUP: INPUT
NAME”. Re-
fer to figure 6.
2. Rotate the
TRIM/SE-
LECT Con-
trol until “INPUT7 (REC ): REC” appears on the
Front Panel
Information
Display. Refer
to figure 7.
3. Rotate the
TRIM/TUNE Control until “INPUT7 (REC ): SAT”
appears on the
Front Panel
Information
Display. Refer
to figure 8.
4. Press the STORE/EXIT Push-button to exit the Setup
Mode.
Meter Illumination On/Off
The Front Panel Meter Illumination may be switched On or
Off. Follow the steps below to switch the Meter Illumina-
tion Off.
1. Press the MONO/SETUP Push-button until the Setup
Mode is active. Then press the MONO/SETUP Push-
button to select the Setup Menu item “SETUP: ME-
TER”.
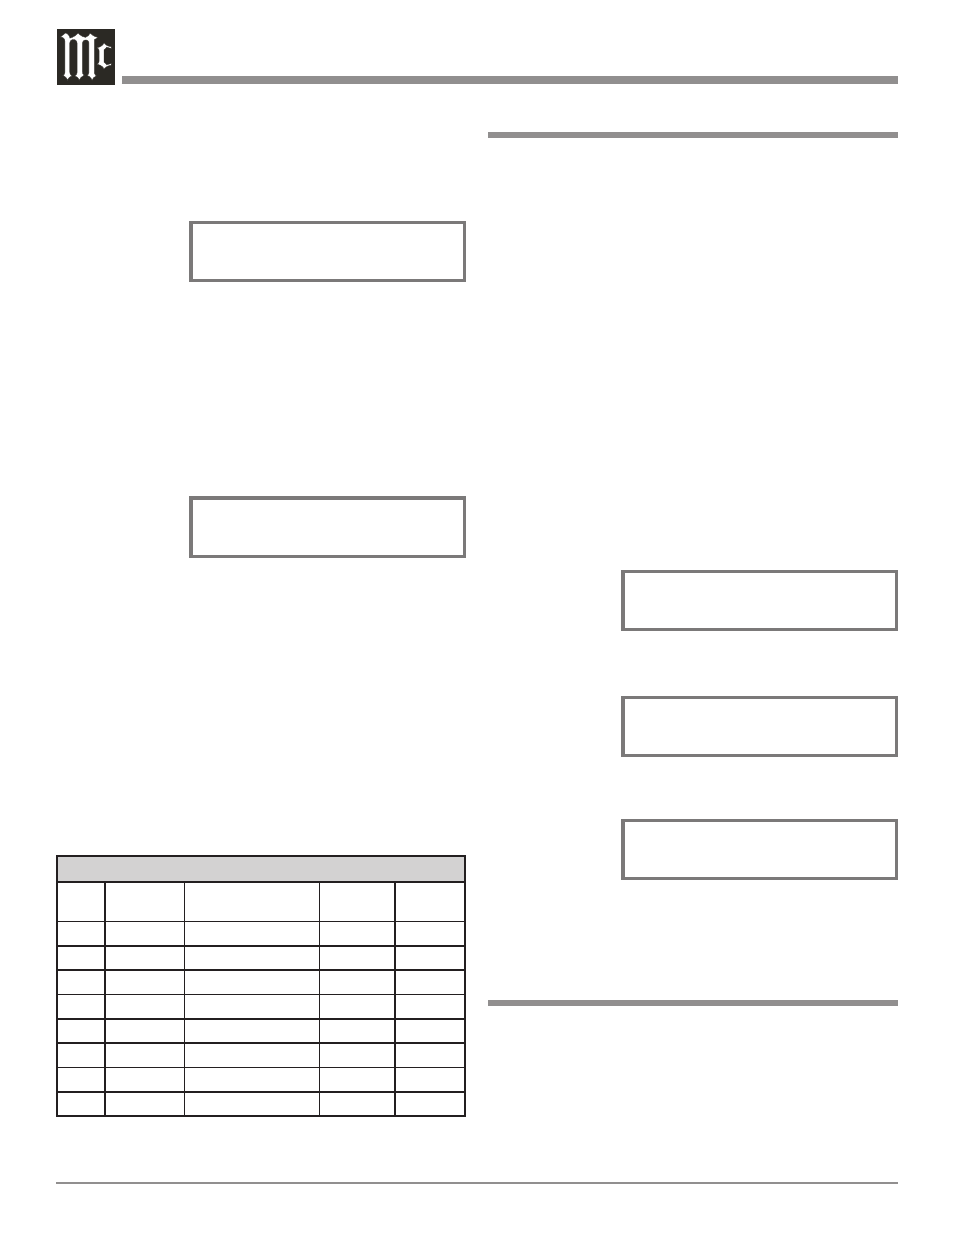
Input Source Settings
Input
No.
Default
Name
New
Name
Trim
Trigger
1
PHONO
2
CD1
3
CD2
4
DVD
5
TV
6
SERVER
7
REC
―
―
―
2. Press the MONO/SETUP Push-button until the Setup
Mode is active. Then press the MONO/SETUP Push-
button to select the Setup Menu item “SETUP: TRIM
____ 0.0”.
Refer to
figure 4.
3. Rotate the
TRIM/SE-
LECT Control until “TRIM CD1 _._” appears on the
Front Panel Information Display. If necessary, rotate
the TRIM ADJUST Control for CD1 with a setting of
“0.0”.
4. Rotate the TRIM SELECT Control until “TRIM
SERVER _._” appears on the Front Panel Informa-
tion Display.
5. Rotate the TRIM ADJUST Control until Listening
Volume Level of the SERVER Input is the same as the
CD1 Vol-
ume Level.
The figure 5
illustration
indicates a
-2.5dB decrease in the SERVER Level.
Note: The trim LEVEL +/ - Push-buttons on the Remote
Control may also be used.
6. Rotate the TRIM SELECT Control until the name of
the next Input to be adjusted is displayed.
7. Repeat steps 5 and 6 until all the Inputs with sources
connected to the MA6600 have the same relative vol-
ume levels when switching between them. Record any
changes made to the various inputs from the default
settings in the “Input Source Settings” chart below.
8. Press the STORE/EXIT Push-button to exit the Setup
Mode.
Figure 4
SETUP: TRIM CD1 0.0
Min Max
||
Figure 5
SETUP: TRIM SRVR -2.5
Min Max
¦
¦¦¦
Figure 7
SETUP: INPUT NAME
INPUT7 (REC ): REC
Figure 8
SETUP: INPUT NAME
INPUT7 (REC ): SAT
Figure 6
SETUP: INPUT NAME
INPUT2 (CD1 ):CD1