Service, Warning, Caution – Graco Inc. 233670 User Manual
Page 14
14
308813
Service
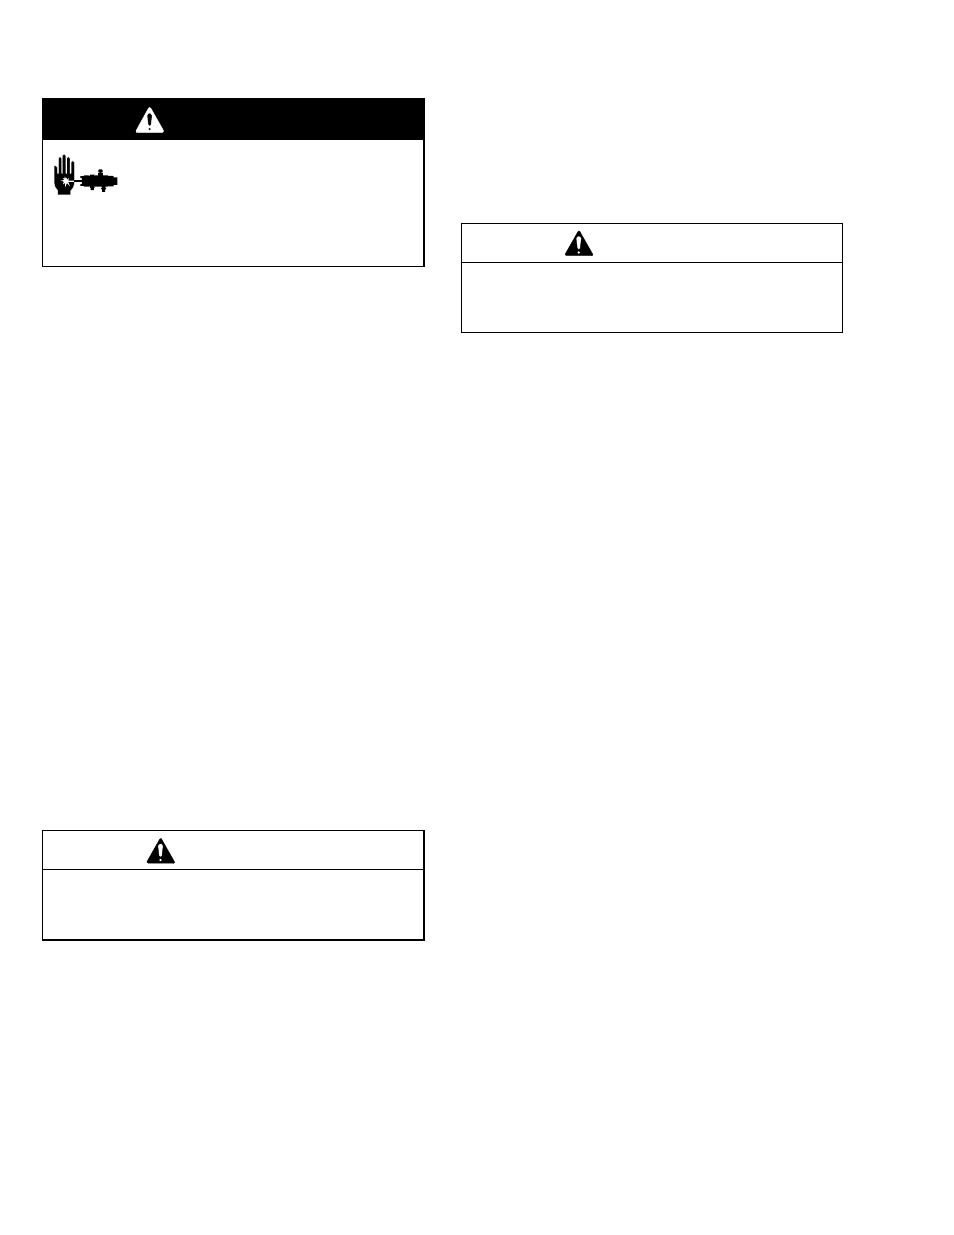
WARNING
INJECTION HAZARD
To reduce the risk of an injection injury,
follow the Pressure Relief Procedure
on page 9 before checking or servicing
any of the system equipment and whenever you
are instructed to relieve pressure.
NOTE:
D Follow the Service Notes in Figs. 8 and 9 when
reassembling the gun.
D Gun repair kits are available. See page 18. Refer-
ence numbers marked with an asterisk (13*) in the
service procedures are included with the 241480
Air Seal Repair Kit. Reference numbers marked
with a symbol (3
{) in the service procedures are
included with the 239896 Fluid Repair Kit.
Disassembly
1.
Relieve the pressure as instructed on page 9.
2.
Unscrew the four screws (14) and remove the gun
from the manifold.
3.
Unscrew the tip retainer nut (7). Remove the spray
tip (9) and gasket (8). See Figs. 8 and 9.
4.
Remove the cap (18) from the piston housing (1).
Remove the springs (20 and 19).
5.
Using the supplied wrench (34), loosen the fluid
needle setscrew (16). Remove the needle stop
(17).
6.
Remove the seat (10).
CAUTION
Be sure to keep the needle straight when removing it
from the gun. If the needle is bent it must be re-
placed.
7.
Pull the needle assembly (12) straight out the front
of the gun. Remove the o-rings (31) from the fluid
needle (12).
8.
Remove the gasket (11).
CAUTION
Install a new gasket (11) whenever you remove the
seat (10) from the gun. Failure to install a new gas-
ket may result in fluid leaking into the air chamber.
9.
Remove the four screws (15) holding the fluid
housing (2) to the piston housing (1). Remove the
gasket (13) from the bottom of the piston housing.
10. Using a pliers, pull the piston (21) out of the piston
housing (1).
11. Remove the large o-ring (22) from the piston and
the smaller o-ring (23) from the piston shaft.
Remove the two o-rings (25, 26) from each of the
piston stems (T). Check that the stems are solidly
in place. If they are loose, replace the entire piston
assembly (21).
12. Perform the following applicable step:
D Non-circulating Paint Guns: Remove the fluid
outlet port plug (4), gasket (3), and filter (32)
from the fluid housing (2). Remove the o-ring (5)
and backup (6) from the plug.
D Circulating Paint Guns: Remove the gasket (3)
and filter (32) from the fluid housing (2).
D Sealant Gun: Remove the gasket (3).
13. Clean all parts and replace any worn parts. When
assembling, lubricate the threads with anti-seize
lubricant.