Edge jointing – Grizzly Extreme Series Jointer G9953ZXF User Manual
Page 31
Extreme series Jointer (Mfg. since 9/11)
-29-
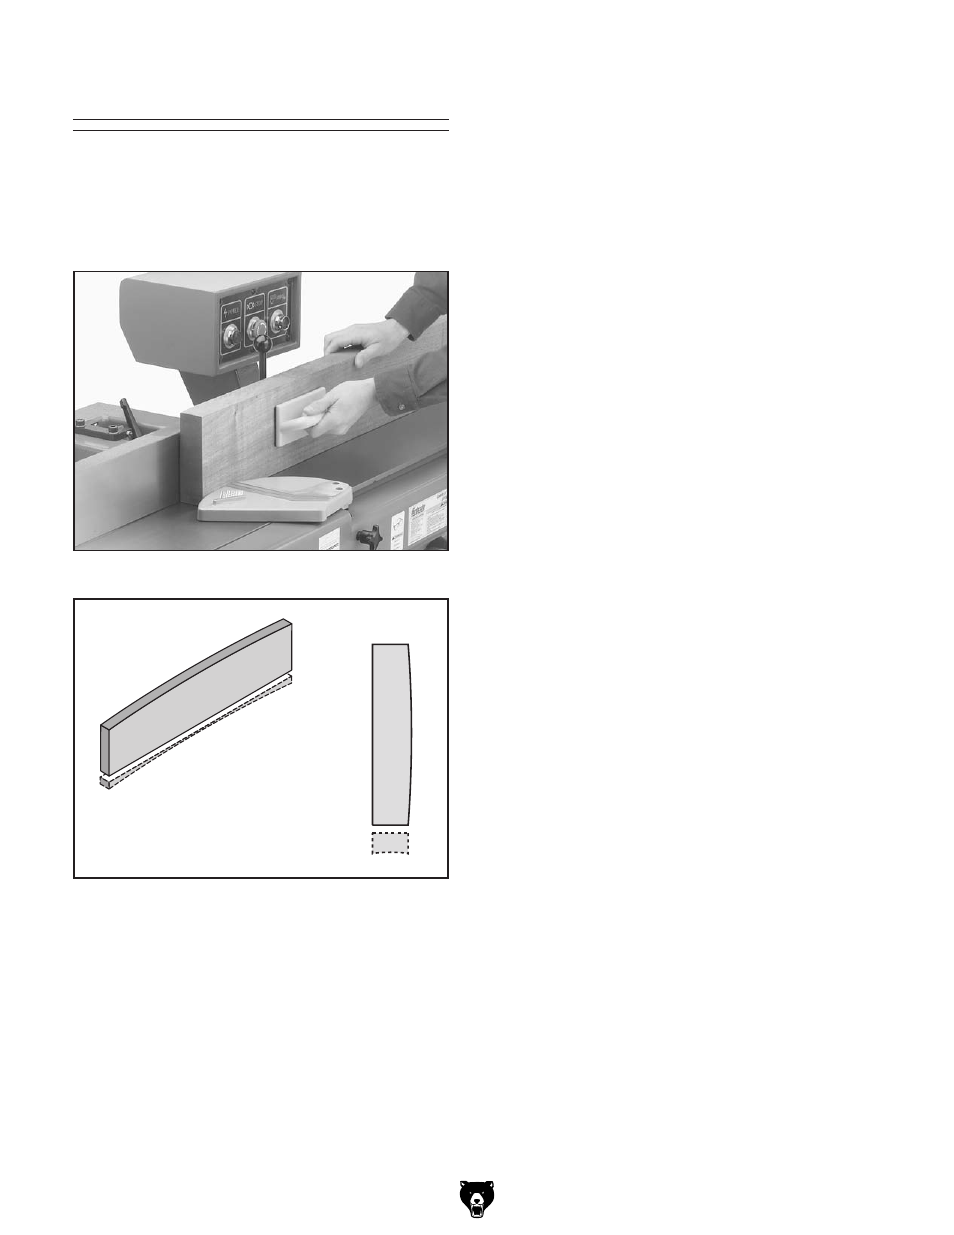
Edge Jointing
the purpose of edge jointing is to produce a
finished, flat-edged workpiece surface that is suit-
able for joinery or finishing (see
Figures 42–43).
it is also a necessary step when squaring rough
or warped stock.
Figure 42. Example of edge jointing operation.
Figure 43. illustration of edge jointing results.
To edge joint on the jointer:
1. disCoNNECt JoiNtEr FroM poWEr!
2. Make sure you read and follow the Safety
Instructions beginning on page 6 and the
Stock Inspection & Requirement rules
beginning on
page 26.
3. Verify that the outfeed table height is properly
set (refer to
Setting Outfeed Table height
on
page 19).
4. set the depth of cut for your operation and
the fence to 90°.
Note: We suggest
1
⁄
16
"–
1
⁄
8
" depth of cut for
edge jointing, and a more shallow depth for
hardwood species or for wide stock.
5. if your workpiece is cupped or warped, place
it so the concave side is face down on the
infeed table.
6. Connect the jointer to power and turn it ON.
7. With a push block in each hand, press
the workpiece against the infeed table and
the fence with firm pressure, then feed the
workpiece over the cutterhead.
Note: When your leading hand comes within
4" of the cutterhead, lift that push block up
and place it on the workpiece portion that is
on the outfeed table. Now, focus the down-
ward pressure with the leading hand while
feeding, then repeat the same action with
your trailing hand when it comes within 4" of
the cutterhead. Keep your hands safe! DO
NOT allow them to get any closer than 4" to
the cutterhead.
8. repeat Step 7 until the entire workpiece
edge is flat.