Furuno 1715 User Manual
Page 37
3. INSTALLATION
29
3. Press ▲ to choose YES, and the display
now looks as below.
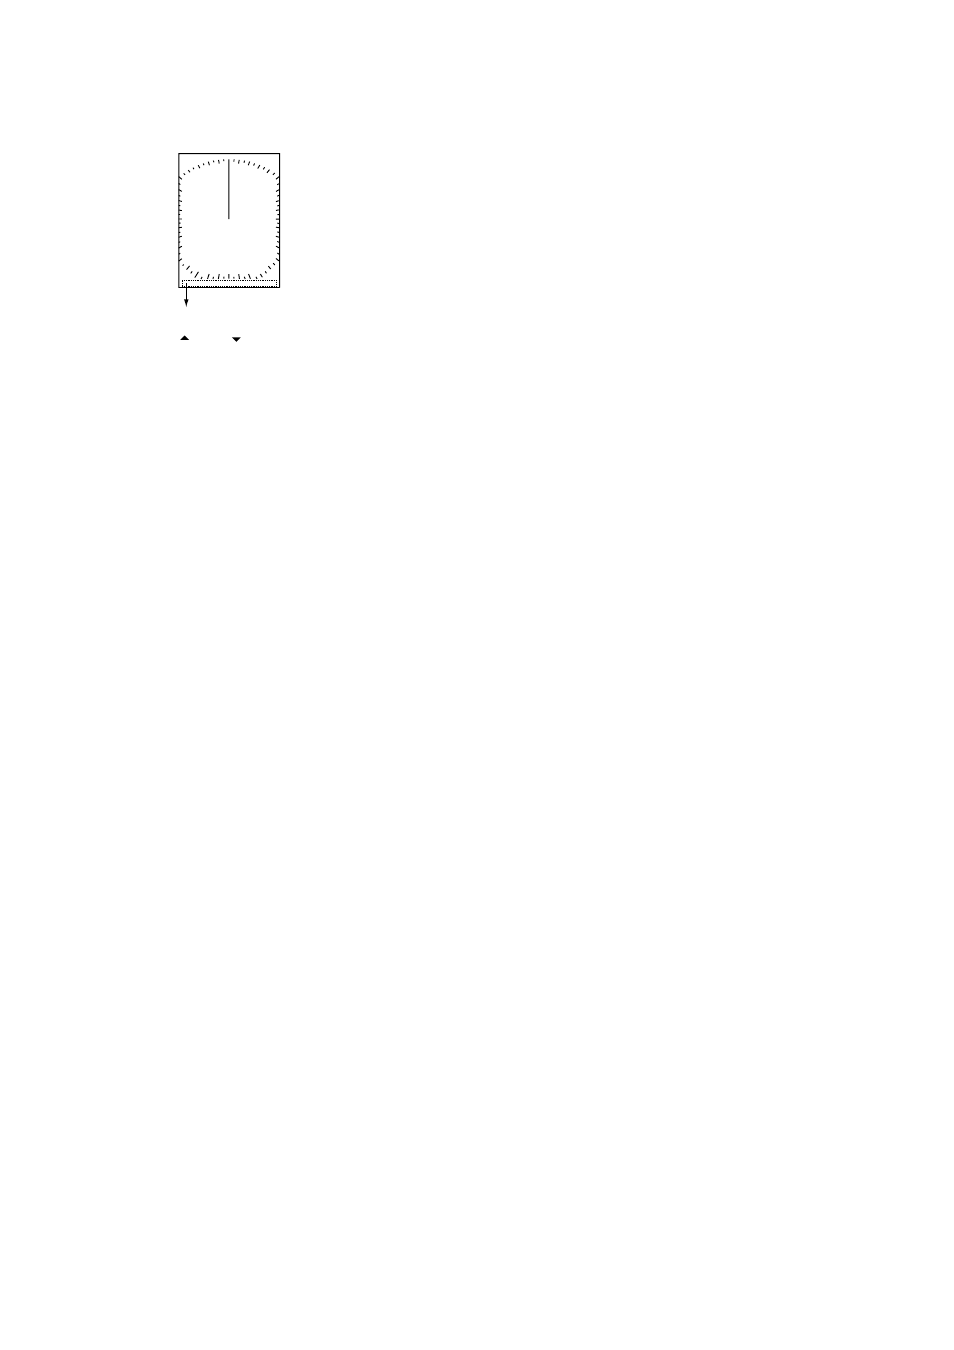
SWEEP TIMING ADJUSTMENT BY
’ ’ AND ’ ’ KEYS.
THEN PUSH MODE KEY TO SET.
Message
Timing adjustment display
4. Find a target which should be “straight”
(harbor wall, straight pier) on the radar
display.
5. While looking at the target selected at
step 4, straighten it by pressing ▲ or ▼.
6. Press the [MODE] key.
7. Press the [MENU/ESC] key and then
complete the procedure below if you are
going to connect external equipment, or
shut off the power if no external
equipment is connected.
NMEA port setup, GPS WAAS setup
The NMEA port can function as an input port
or input/output port.
If you are using the GP-320B, turn on the
GPS WAAS feature.
1. Show the Installation menu and then
press ▼ to choose NMEA PORT.
2. Press ► to display the NMEA port options
window.
3. Press ▲ or ▼ to choose IN/OUT or IN/IN
as appropriate.
IN/OUT: Input and Output (default setting).
For GP-310B or GP-320B, choose this
setting.
IN/IN: Input only (Available with
connection of multiple navigators.)
4. If you selected IN/OUT at step 3, press ◄,
▼ to choose NMEA OUTPUT, and then
press ► to display the NMEA OUTPUT
options window.
5. Press ▲ or ▼ to choose OFF or ON.
Choose ON to output input data. Choose
OFF to not output data or if the GP-310B
or GP-320B is connected.
6. Press ◄ to close the window.
7. If the GP-320B is connected, press ▼ to
choose GPS WAAS and then complete
steps 8-10. Otherwise, go to step 10.
8. Press ► to open the window.
9. Press ▲ to choose message type.
Note: WAAS is currently in the
developmental stage. While in the
developmental stage choose message
type 02. Change to message type 00
when WAAS becomes fully operational.
10. Turn off the power.