24 hue, 25 resetting distance run, 26 prog key – Furuno 1715 User Manual
Page 21: 27 outputting target positionto a plotter, 27 outputting target position to a plotter
1. OPERATION
13
1.24 Hue
The default hue setting (DAY) displays
echoes in tones of gray on a white
background, which is most suitable for
daytime viewing. For nighttime viewing you
may reverse this arrangement.
1. Press the [MENU/ESC] key to open the
User menu.
2. Press ▼ to choose SYSTEM MENU.
3. Press ▲ or ▼ to choose HUE from page
1.
4. Press ► to open the options window.
5. Press ▲ or ▼ to choose DAY or NIGHT
as appropriate.
6. Press the [MENU/ESC] key twice to close
the menu.
1.25 Resetting Distance Run
You may reset distance run to zero as below.
You need a navigator or speed log to display
distance run.
1. Press the [MENU/ESC] key to open the
User menu.
2. Press ▼ to choose SYSTEM MENU.
3. Press ▲ or ▼ to choose “TRIPLOG
RESET?” from page 1.
4. Press ► to open the options window.
5. Press ▲ to choose YES to reset distance
run to zero.
6. Press the [MENU/ESC] key twice to close
the menu.
1.26 PROG Key
The [PROG] key acts as a shortcut key. You
may use any User menu item except items on
the “SYSTEM MENU.” The default setting is
TX/ST-BY.
Using the PROG key
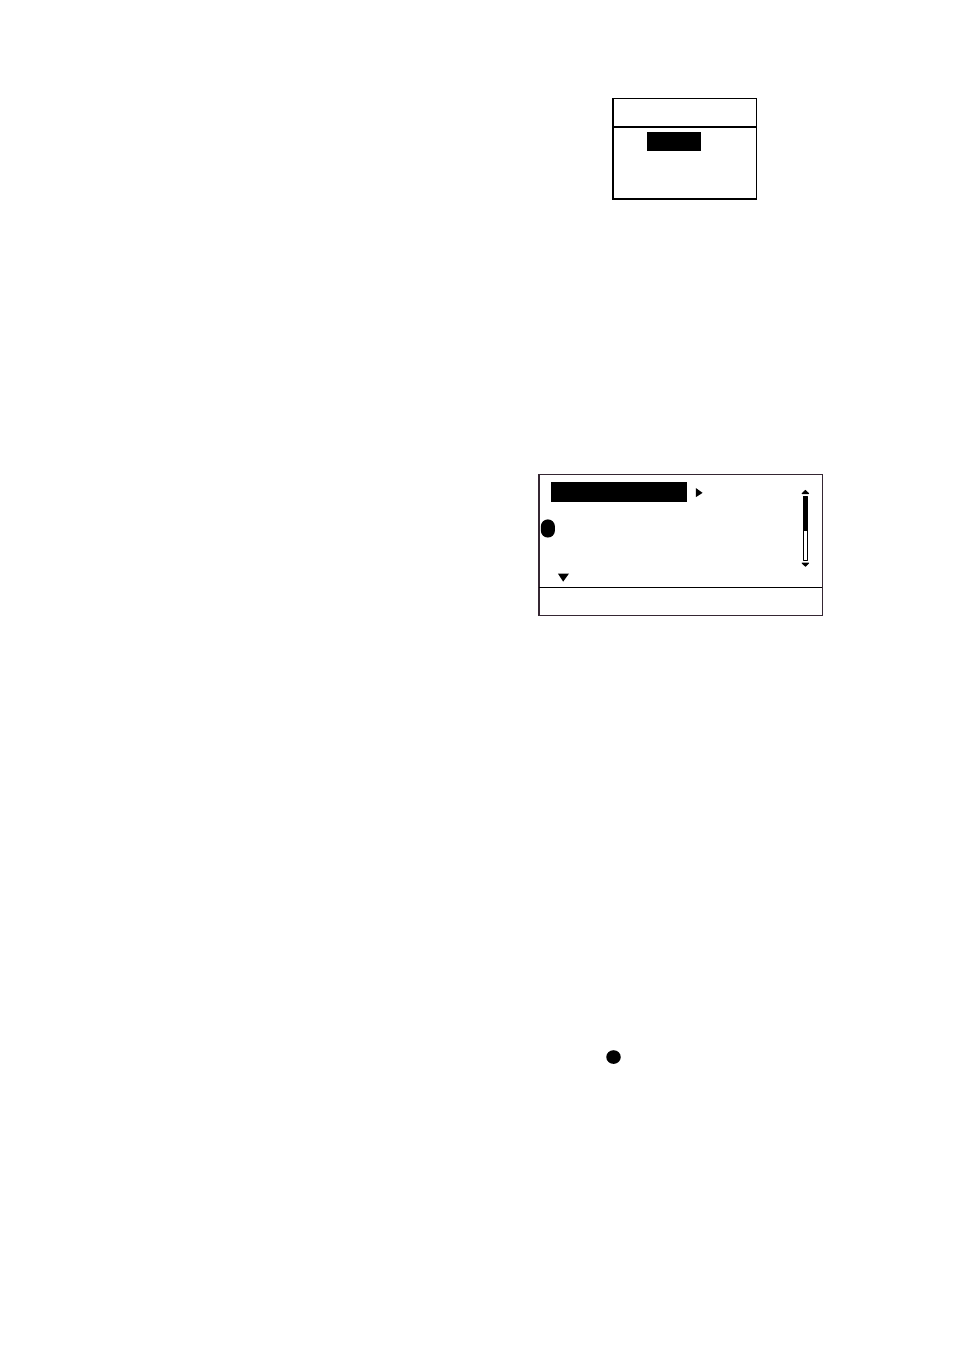
1. Press the [PROG] key. The options
window corresponding to the item
programmed appears. In the example at
the top on this page the echo stretch
options window is shown.
OFF
LOW
HIGH
ECHO STRETCH
Echo stretch options window
2. Press ▲, ▼ or the [PROG] key to choose
appropriate option.
3. Press the [MENU/ESC] key to close the
options window.
Programming the PROG key
1. Press the [MENU/ESC] key to open the
User menu. The “P” mark indicates the
current function of the [PROG] key.
P
(1/2)
TX/ST-BY
ST-BY
INT REJCTION
: LOW
ECHO STRETCH
: LOW
FTC
: OFF
NOISE REJECTION: LOW
[MENU/ESC] : Exit.
User menu, page 1
2. Press ▲ or ▼ to choose the item you
wish to use.
3. Press and hold down the [PROG] key
(about three seconds) until you hear a
beep and the “P” moves to the item
selected.
4. Press the [MENU/ESC] key to close the
menu.
1.27 Outputting Target Position
to a Plotter
If the radar is interfaced with a plotter, you
can output a radar target’s latitude and
longitude position to the plotter, and show
that position on the plotter’s screen, with the
target mark (
X
). This function requires
position and heading data.
1. Use the cursor pad to place the cursor on
a target.
2. Press the [TLL] key to output the target’s
L/L position. “Output TLL” appears at the
bottom of the screen.