FUJITSU SCANSNAP! FI-4110EOX2 User Manual
Page 27
2.1 Installing ScanSnap!
ScanSnap! fi-4110EOX2 Operator's Guide
11
CONNECTING ScanSnap!
2
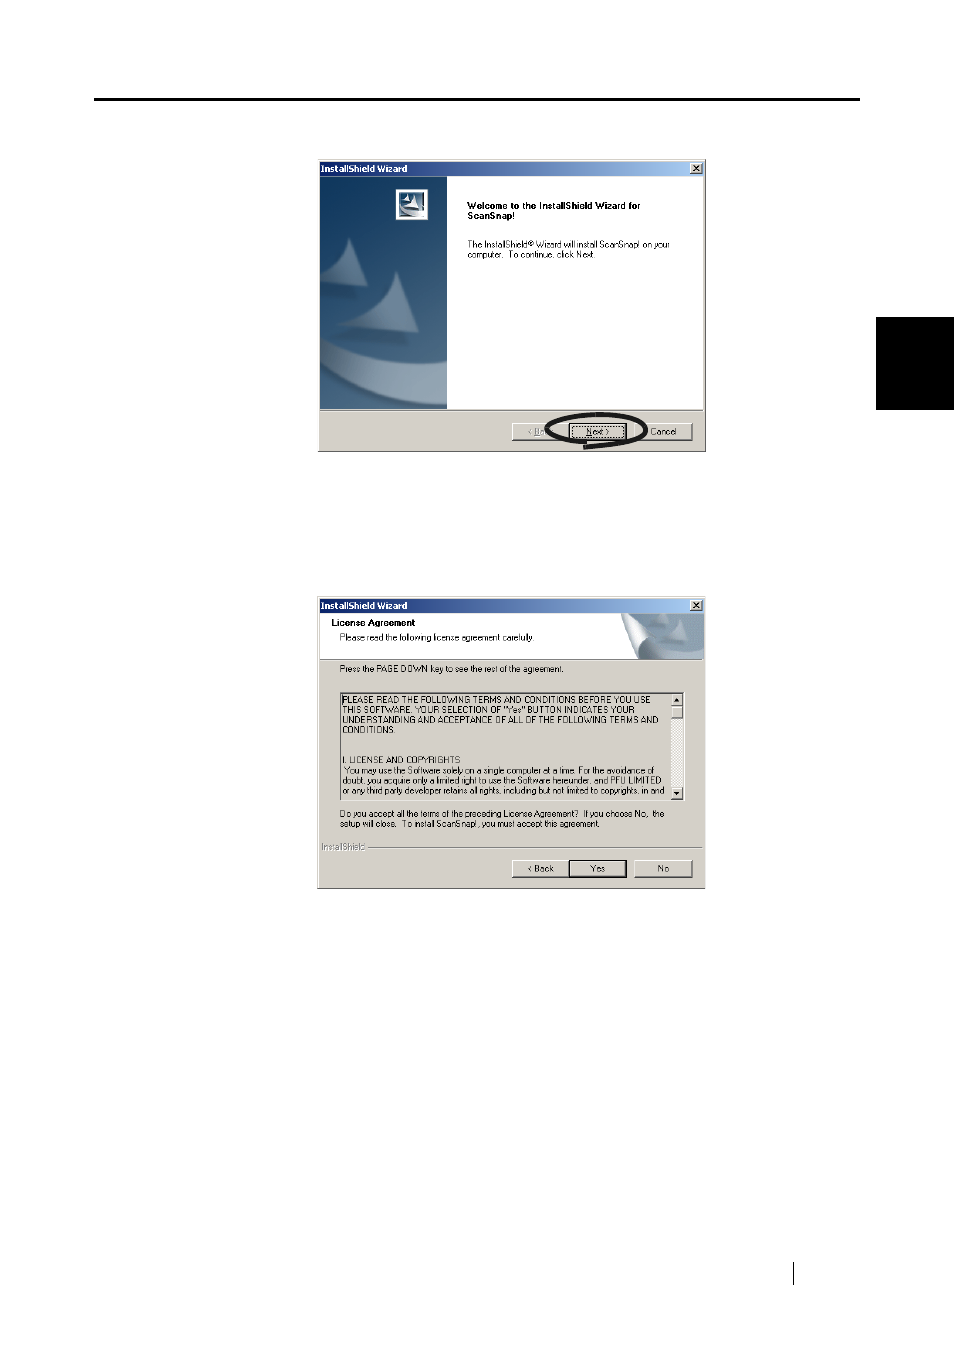
4. Click the [Next] button in the "Welcome to the InstallShield Wizard for the ScanSnap!"
⇒
The "License Agreement" screen is displayed.
5. Check the details of the "License Agreement." If you agree with the details, click the
[Yes] button.
If you do not agree with the details, click the [No] button. This cancels the installation.
⇒
When you click the [Yes] button, the "Choose Destination Location" screen is displayed.
6. In the "Choose Destination Location" screen, check the installation directory, and click
the [Next] button.
To install ScanSnap! in the displayed folder, click the [Next] button.
Normally, there is no need to change the folder in the installation directory. Change the
installation directory when there is not enough free disk space at the drive where the installa-
tion folder is located.
To change the folder to install ScanSnap! to, click the [Browse...] button. The "Select Direc-
tory" dialog box is displayed. Select the folder to install ScanSnap! to.