2 network setup menu – Furuno NAVNET 1933C-BB User Manual
Page 46
3-2
3.2
NETWORK SETUP Menu
Set up the NavNet network to communicate with other NavNet equipment.
1. Open the INSTALL SETUP menu.
2. Press the A: NETWORK SETUP soft key.
EDIT
E RETURN
IP ADDRESS
172.031.003.007
HOST NAME
RADAR________
RADAR SOURCE
RADAR________
CHART SOURCE*
MCDRIVE-1 ____
MCDRIVE-2 ____
______________
SOUNDER SOURCE
SOUNDER_____
AUX SOURCE
WXFAX___
SUBNET MASK
255.255.000.000
GATEWAY ADDRESS
000.000.000.000
OFFSET PORT NUMBER
10000
NETWORK
SETUP
A EDIT
Network setup menu
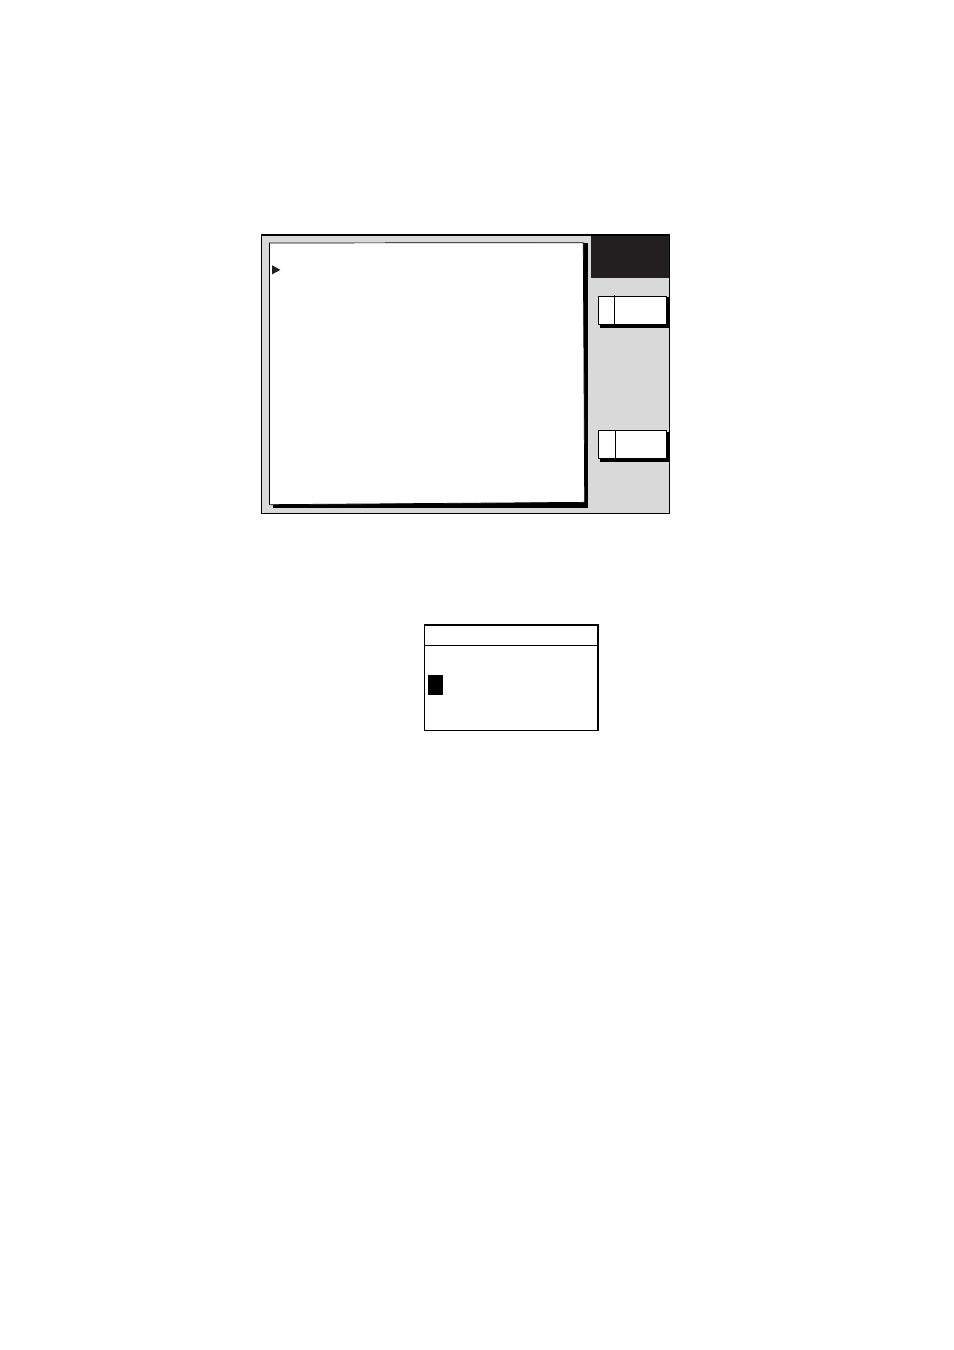
3. Select menu option and press the A: EDIT soft key or [ENTER] knob. For example,
select HOST NAME.
HOST NAME
R
A D A R _ _ _ _ _ _ _ _
Host name window
4. Use the trackball to select location and press the alphanumeric keys to set character (or
value).
5. Press the [ENTER] knob or C: ENTER soft key to finish.
6. Repeat steps 3-5 to enter other items, referring to the table on the next page.
7. Press the [MENU] key to finish.
*: The default setting for card drivers is as follows:
• Slot on the processor unit:
Read only
• Left slot on the CU-200:
Read only
• Right slot on the CU-200:
Read and Write
For the CHART SOURCE setting, the card drive 1 or 2 on the CU-200 can be selected
by the soft key "A:1/2." "-1" or "-2" is also displayed for other device (for example,
RADAR-1 or PLOTTER-1), but these numbers may be ignored.