Storing the edit points, Checking and adjusting the edit points, Executing erase – Fostex FD-8 User Manual
Page 60: Undo/redo erase
Editing Tracks
60
DRIVE
AUTO
A.PUNCH
SYNC OUT
CLK
SCSI
DRIVE
AUTO
A.PUNCH
SYNC OUT
CLK
SCSI
SURE ?
Follow the steps below to erase data:
Storing the edit points
1. Refer to the “Storing and editing the locate points
to the memory keys” section for information on
storing the erase start and end points.
Store the erase start point to the AUTO PUNCH IN key,
and the end point to the AUTO PUNCH OUT key.
Store the erase start point (AUTO PUNCH IN point) and the
erase end point (AUTO PUNCH OUT point).
Use the Preview function to check the stored edit points and
adjust them if necessary.
Specify a track to erase and execute the function.
Checking and adjusting the edit points
After you store the edit points, you can check them on the
display by pressing the corresponding keys.
You may also adjust the points.
1. While the recorder section is stopped, press and
hold down the SHIFT key and press the memory
key for which you wish to check the edit point.
You can preview “fade-out” at the AUTO PUNCH IN point
and “fade-in” at AUTO PUNCH OUT point.
2. Trim the edit point while previewing.
•Refer to “Preview Function” on page 74 for more information.
Executing Erase
1. Press the RECORD TRACK select key of the track
to erase to set it READY.
You can select a mono track, multiple tracks, or all tracks.
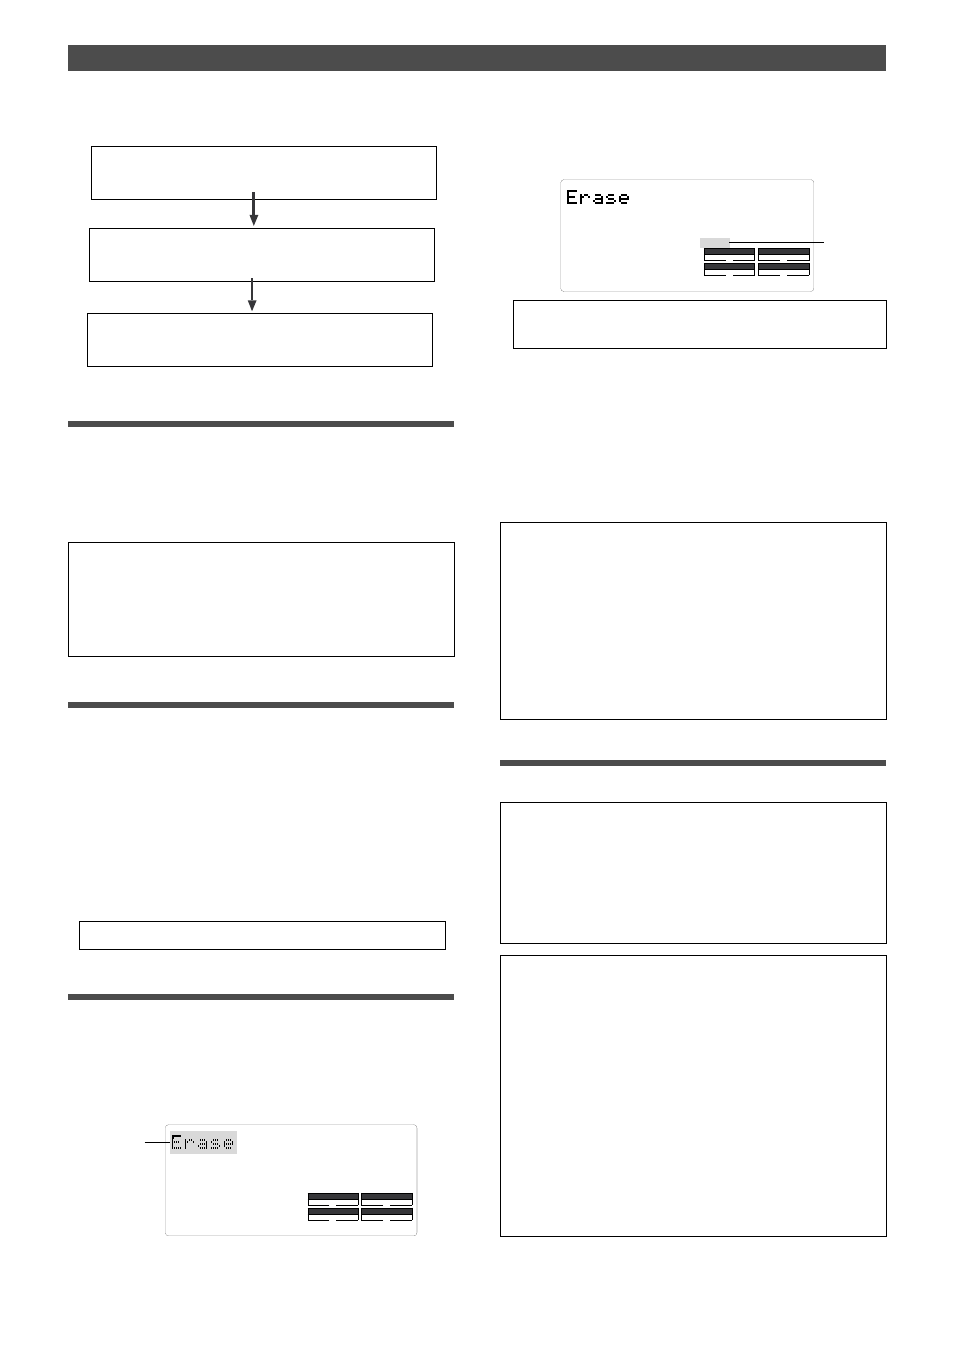
2. Press the EDIT key repeatedly until [Erase] flashes
on the display.
• If you wish to erase the data from a specific point, store the REC
END or later point as the erase end point. Refer to the
information on storing the REC END point.
• See “Storing and editing the locate points to the memory keys” on
page 66.
3. Press the EXECUTE/YES key.
The flashing [Erase] message lights up steadily, and
[SURE ?] flashes.
4. Press the EXECUTE/YES key again.
The FD-8 starts erasing the data and [Erase ....] flashes.
When the erase operation is completed, [COMPLETED !]
lights up.
5. Press the STOP button or the EXIT/NO key.
The FD-8 exits edit mode and displays the previous Time
Base indication.
• To cancel the erase operation, press the STOP button or the
EXIT/NO key while [SURE ?] flashes on the display.
• To erase the data in its entirety from the tracks, you can also
use the Program Delete function to erase the entire Program.
In either case, you can expand the recordable area on the disk.
Use either one of the erase operations to erase unnecessary
data if the FD-8 displays an alarm message indicating insufficient
recordable space for Auto Punch In/Out, Copy & Paste, or Move
& Paste.
• Refer to “Deleting a Program” on page 35 for more information
on the Program Delete function.
Undo/Redo Erase
You can undo or redo the Erase operation.
•To restore the data that existed before you erased it, press the
UNDO/REDO key.
•To restore the data after you undo the Erase operation, press
the UNDO/REDO key again.
When you press the UNDO/REDO key, the FD-8 will undo or
redo the operation immediately, and display [Undo!] or [Redo !]
and [COMPLETED !].
Note:
The Undo/Redo function is effective only when the
FD-8 is stopped.
Note:
If you perform one of the following operations after
you use the Copy & Paste or Move and Paste operation, the
Undo/Redo function will no longer be effective.
1. When a new recording is made.
2. When a new editing is executed (such as Copy & Paste,
Move & Paste, Erase).
3. While in the AUTO PUNCH ON mode, when the AUTO
PUNCH IN point is passed in the PLAY (or RECORD)
mode.
4. When the power is momentarily switched off.
5. When the program is changed.
6. When the disk is ejected.
Flashing
Flashing