5receising data from personal computer, 5 receiving data from personal computer – Furuno DD-80 User Manual
Page 61
8-7
Setting DATA 4 to Data Output
The DATA 4 port connects to a personal com-
puter, DGPS receiver or YEOMAN equip-
ment.
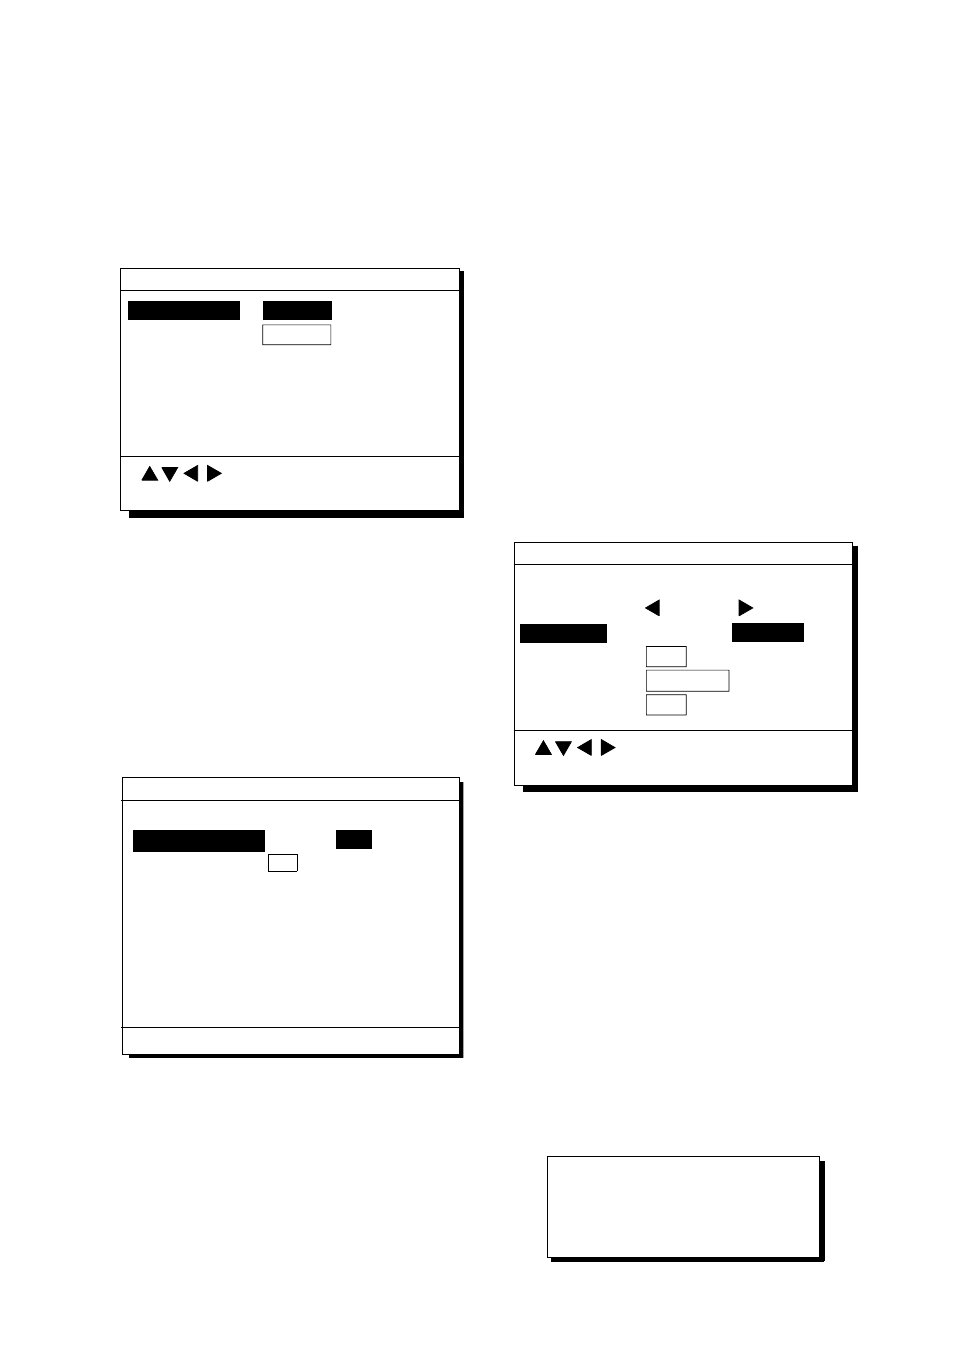
1) Press [MENU ESC] [9] and [5]. The
DATA 4 I/O SETUP (1/2) menu appears.
DATA 4. Level RS232C RS422
Data Out Com. DGPS
To Next Page
DATA 4 I/O SETUP 1/2
MENU : Escape
ENT : Enter
: Select
DATA 4. Level
RS232C
Figure 8-9 DATA 4 I/O SETUP menu (1/2)
2) Press ▲ or ▼ to select Level.
3) Press t or s to select level of external
equipment; RS232C or RS422.
4) Press the [NU/CU ENT] key.
5) Press t or s to select Out.
6) Press ▼ to select To Next Page. The DATA
4 I/O SETUP (2/2) menu appears.
To Previous Page
Talker ID GP LC DE
Output Data (00-90 sec) 84%
DATA 4 I/O SETUP
MENU : Escape
ENT : Enter
Data Fmt.
V1.5
V2.0
IEC
1. AAM:00 APA:00
APB:01 BOD:00
2. BWC:00 BWW:00 GGA:01 GLL:00
3. RMB:01 RMC:01 VTG:01
WCV:00
4. WNC:00 WPL:00 XTE:00
ZDA:01
5. GNS:00 ZTG:00
Rnn:00
RTE:00
Figure 8-10 DATA 4 I/O SETUP menu (2/2)
7) Follow "DATA 1 output setting" from step
2.
8.5 Receiving Data from
Personal Computer
Loading waypoint/route data
Waypoints and routes data can be downloaded
from a personal computer, through the DATA
4 connector.
1) Press [MENU ESC] [9] and [5].
2) Press ▲ or ▼ to select Level.
3) Press t or s to select level of personal
computer; RS232C or RS422.
4) Press the [NU/CU ENT] key.
5) Press s to select Com.
6) Press ▼ to select To Next Page. The DATA
4 I/O SETUP menu appears.
To Previous Page
Baud Rate 9600 bps
Command Stop Start
Save Data WPT/RTE
Command Stop Start
DATA 4 I/O SETUP
MENU : Escape
ENT : Enter
: Select
Load Data
L.House*
WPT/RTE
WPT
*: Not used.
Figure 8-11 DATA 4 I/O SETUP menu (2/2)
7) Press ▲ or ▼ to select Baud Rate.
8) Press t or s to select baud rate; 400
bps, 9600 bps, or 19200 bps.
9) Press the [NU/CU ENT] key.
10) Press t or s to select WPT/RTE.
11) Press ▼ to select Command. Stop, on the
same line as Command, appears in reverse
video.
12) Press sto select Start. The message
shown in Figure 8-12 appears.
Loading erases current data
and stops Route navigation
Are you sure to load?
ENT: Yes MENU: No
Figure 8-12