C. installation and configuration of the robot, Robot placement, Turning the robot on/off – MOVE'N SEE Pix4Team 2 Auto-Follow Camera User Manual
Page 5
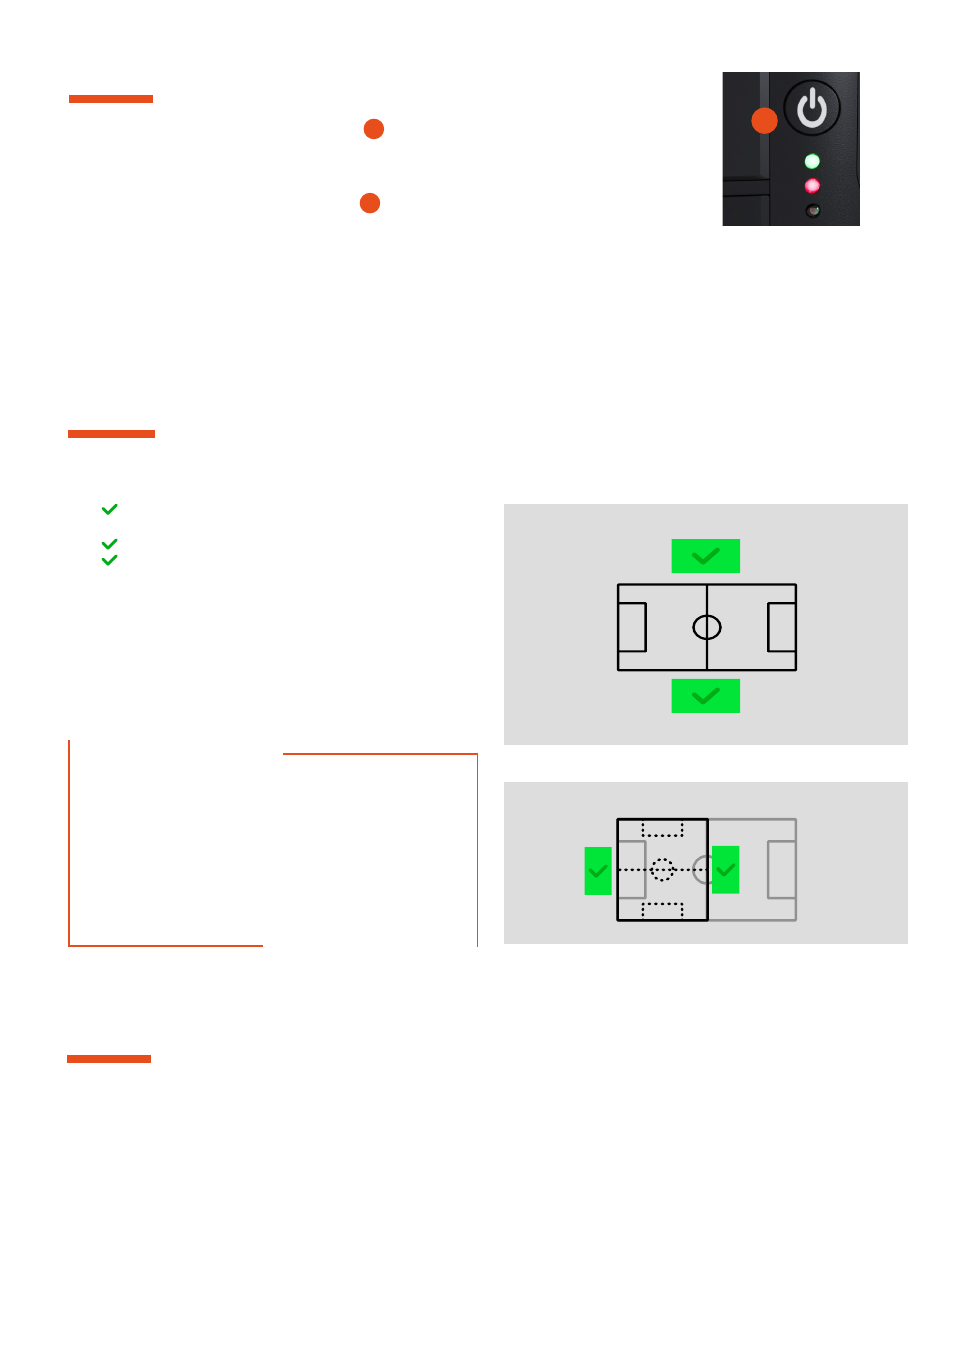
2. Turning the robot on/off
To turn on the robot, press the power button
4
until the green LED lights up. The robot then
initializes for about forty seconds and the green LED flashes rapidly. Wait for the initialization
to complete and green LED to flash slowly before continuing.
To turn off the robot, press the power button
4
during 2 seconds until the green and red LEDs
start flashing alternatively. The robot will return to its initial position before shutting down
completely.
4
The robot must be placed:
- close to the center line, the goals must be on the right
and left sides of the robot (see the green zone)
- at a distance of 3 to 15 meters (10 to 49 ft) from the
sideline for an complete field
- at a height of at least 4.80 meters (16 ft) on a tripod in
the stands or on a mast
In red (
X
), you'll find examples of bad positioning (robot is too
far from the center line or placed on the wrong side of the sport
field)
1. Robot placement
TIPS
TIPS
Make sure that the entire sport field and all four corners
are seen from the robot.
Avoid positioning the robot behind a fence or behind a
goal and having an obstacle blocking the view.
Adjust the tripod legs so that it is as horizontal as possible
so that the camera image is not tilted.
X
X
X
X
X
X
For a reduced area
For a complete field
X
X
X
X
X
X
C. Installation and configuration of the robot
2. Installing the camera/smartphone/tablet on the robot
Install the robot beforehand on a tripod or mast fitted with a 3/8' screw (standard screw on most models, but larger than a 1/4'
screw).
If your tripod or mast only has a 1/4 screw, there may be a 3/8 screw hidden underneath, otherwise there are 1/4 - 3/8 adapters
available on the market.
Do not mount the tripod or mast to keep the robot at your height while placing the camera and pairing the robot.
5