The display: enter item node, The input: item node, The display: enter item node the input: item node – PSC PT Program Generator User Manual
Page 127
Building a Custom Portable Program
User’s Guide
115
3. Create all the nodes shown in
on the
Create
menu or icons on the
Toolbar
. Each node's type is indi-
cated by the first line of text in the node. Rename each node accord-
ing to the second line of text. Link the nodes together as shown.
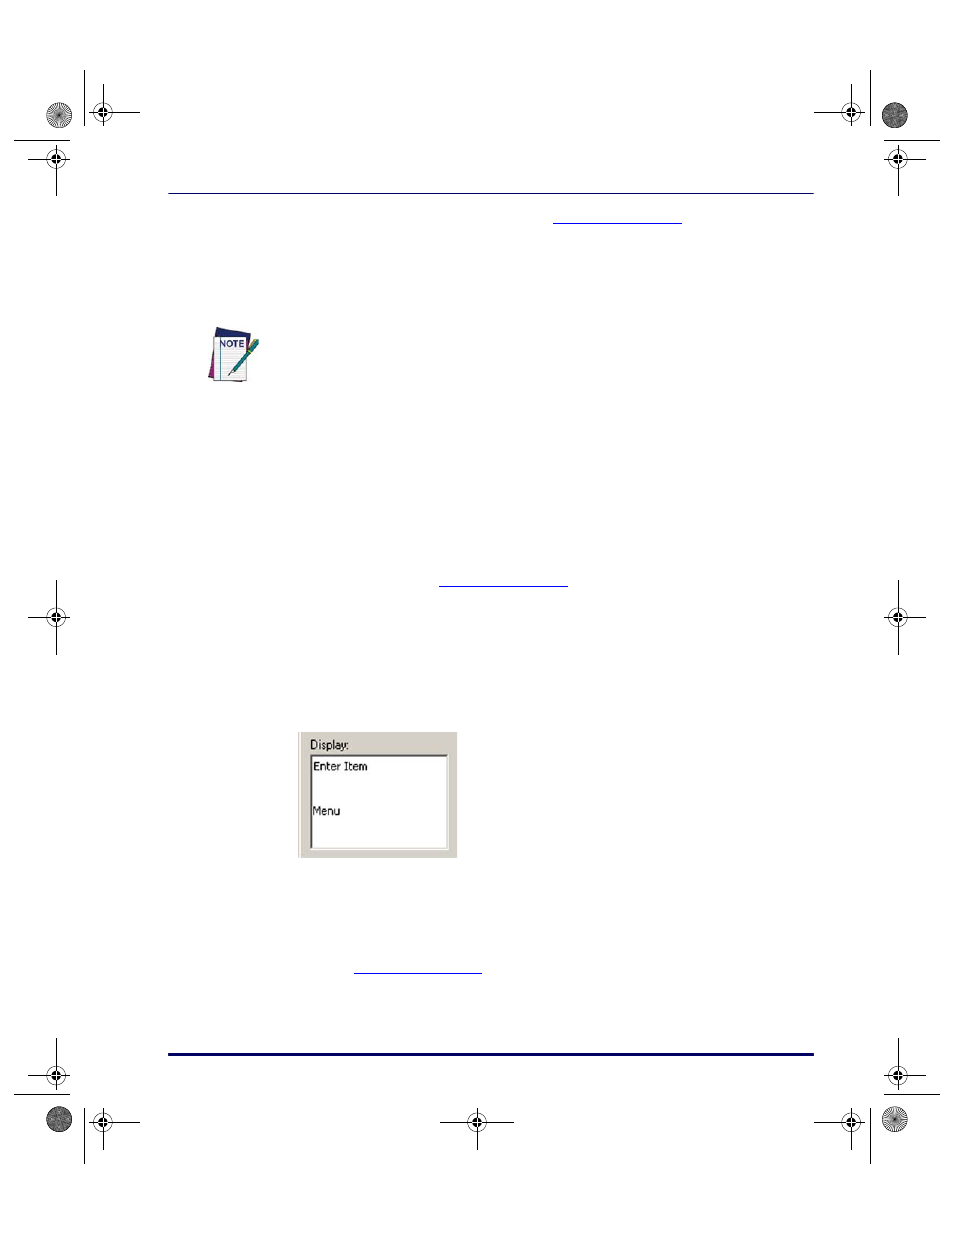
The Display: Enter Item Node
You need to set up this node to display “Enter Item:” on the first line of the
portable’s screen and have the fourth line of the screen tell the user to press
to return to the Main Menu. Complete the following steps to set up the
node:
1. Double-click the
Display: Enter Item
node to open the node’s dialog
box (refer to
2. Type
Enter Item: on the first line of the text entry area.
3. Use the keyboard navigation keys to move to the fourth line and enter
Menu.
4. Select
OK
to save your settings.
Figure 85. The Display: Enter Item
The Input: Item Node
Complete the following steps to set up this node:
1. Double-click the
Input: Item
node to display its dialog box (refer to
).
If you click twice on the
Start
or
Exit
node, this frame will move to the background
window. Clicking on any visible part of the
Collect Data
frame will bring it to the fore-
ground.
When Linking the
Verify: Input
node, create the Link to the
Output: Error Beep
node first. Then create the Link to the
Copy: To File
node. This will place the correct
Link in the
Next
node options of the
Verify: Input
node.
2342.book Page 115 Thursday, July 22, 2004 8:35 AM