Installing the network interface card – HP 3C905B-TX User Manual
Page 11
English 7
HP 10/100 3Com 3C905B-TX Network Interface Card Installation Guide
Installing the Network Interface Card
Installing the Network Interface Card
For complete information on how to install an accessory card, refer to
your PC User’s Guide. The following steps are given as a guide.
1 With the PC turned off, disconnect the power cord and any
connection to a telecommunications network, and then remove the
cover.
2 Choose an empty PCI slot. If you do not know how to identify a PCI
slot, refer to your PC’s documentation.
3 Remove the metal slot cover.
4 Depending on the PC model, you may need to remove the accessory
slot’s retaining bracket. Refer to your PC User’s Guide if necessary.
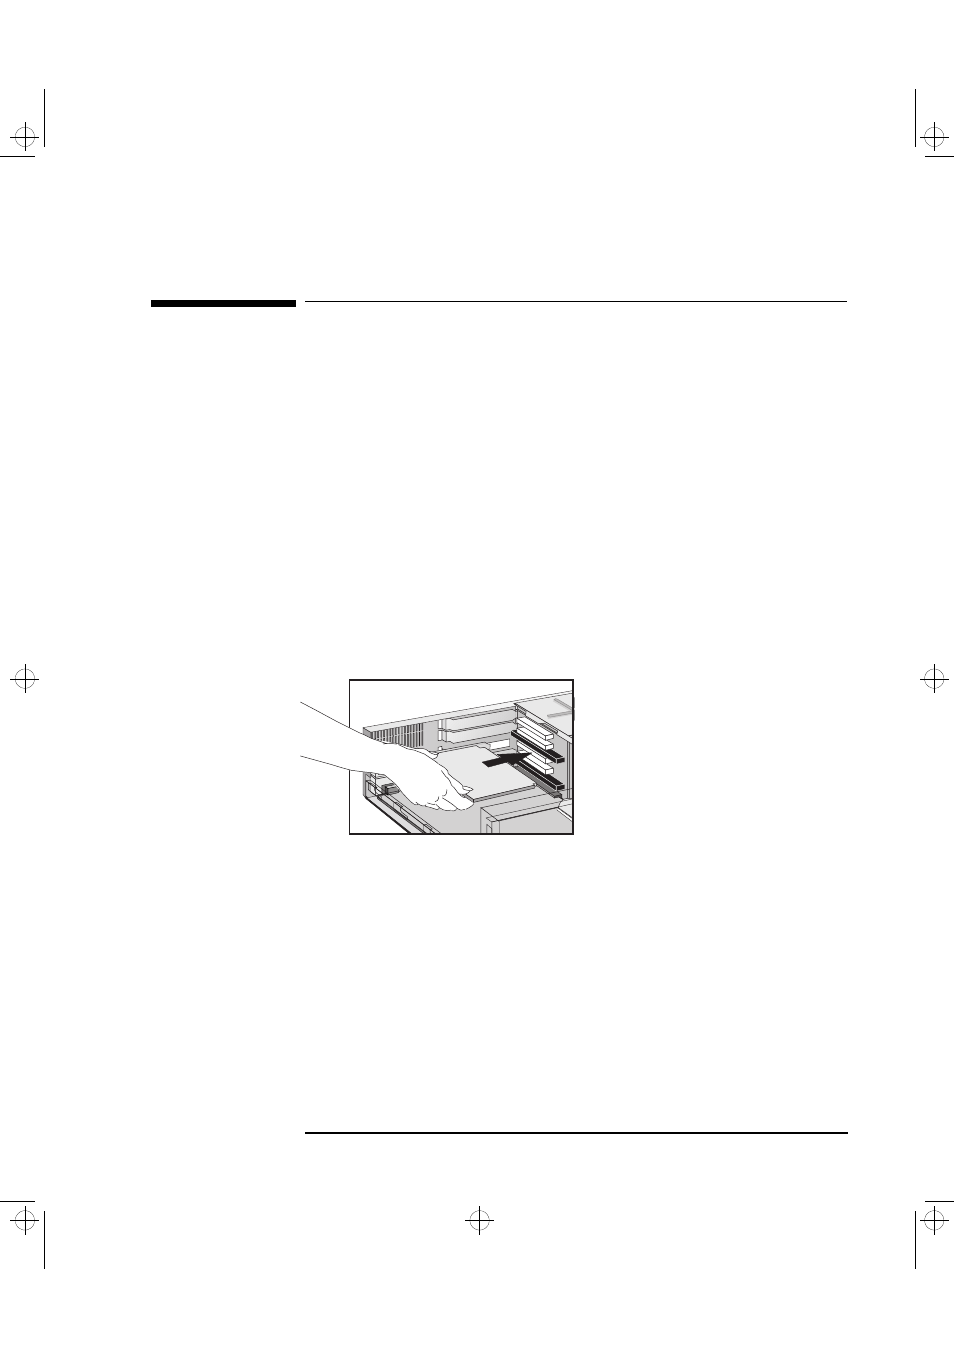
5 Insert the card into the accessory slot without bending it.
6 Connect the Wake on LAN cable to the connectors on the NIC and
the backplane or motherboard.
For the position of the Wake on LAN connector on the NIC, refer to
“3C905B-TX NIC Specifications” on page 16.
Refer to your PC’s documentation for the position of the Wake on
LAN connector on the system board or backplane.
7 Secure the card by replacing the slot cover screw or the retaining
bracket and its screw, as appropriate.
8 Replace the cover. Reconnect the power cord and any connection to
a telecommunications network.
The card may be installed in a
minitower model or in a
desktop model.
3com.bk : 3com-us.fb4 Page 7 Thursday, June 18, 1998 4:17 PM