Warning – Heat & Glo Fireplace BRAVO 704-902 User Manual
Page 35
Heat & Glo • Bravo • 704-902 Rev. F • 10/08
35
WARNING
Fire Risk.
1/2 Inch non-combustible board installed on front
face of fi replace MUST remain in place if using
combustible fi nishing materials.
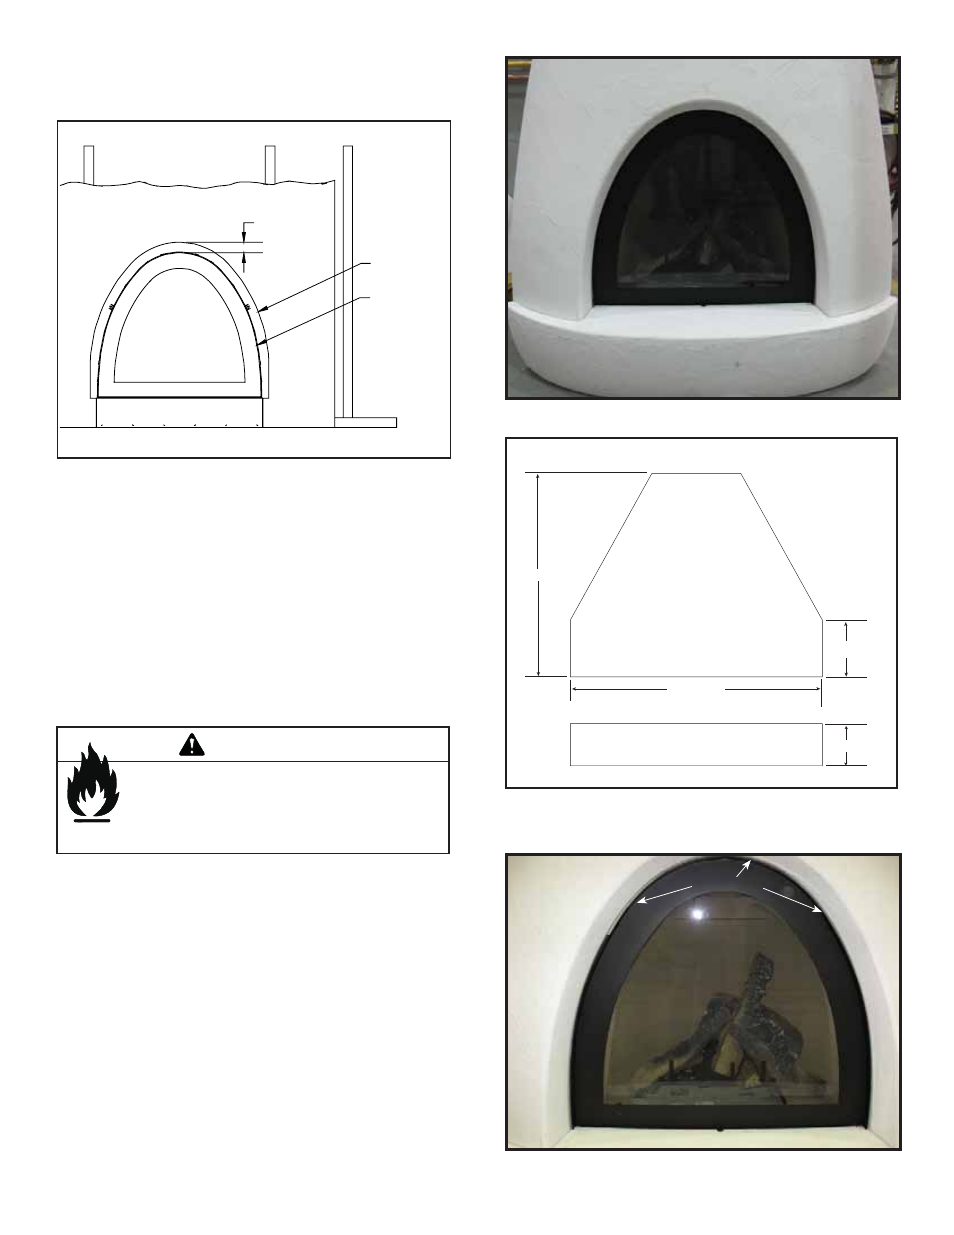
Figure 11.8 Flush wall installation with Luxor Surround
• A cardboard template is printed on unit shipping carton
and may be used to help cut drywall or other fi nishing
materials. Simply cut along line and use it as a template.
For Luxor Surround, cut an additional 3 in. wider than
the template.
• Unit is installed using framing dimensions found in
Figure 3.2.
• Do not use nailing tabs provided on unit sides for Option
D.
• Nailing tabs are attached to the top of the unit. Install
nailing tabs using screws on upper unit sides (see
Figure 11.3).
• This places unit back 1/2 inch from framing studs such
that drywall or other material can be brought directly
across non-combustible board up to fi nishing strip.
OPTION D: Flush Wall Finish with Luxor Surround
Kiva-style fi nished in a straight wall (see Figure 11.8).
SHEETROCK
EDGE
FINISHING STRIP
3-in. GAP
Unit must be placed on 5 3/4” tall platform. Platform
should not exceed unit footprint. See Figure 11.10 Install
unit in corner as tight as minimum clearances allow. If
necessary, shim unit (up to 1/8”) so that gap between unit
facing and Taos arch is even throughout as shown in Fig-
ure 11.10.
Follow instructions included with Taos Surround for mount-
ing surround to walls.
OPTION E: Corner Mount with Taos Surround
Figure 11.9 Taos Surround on Platform
12-1/8 in.
7-3/4 in.
27-3/4 in.
34-3/8 in.
5-3/4 in.
EVEN GAP
EVEN GAP
Figure 11.11 Even Gaps All Around.
Figure 11.10 Platform Dimensions