Care and maintenance, Warning: important – DCS Use & Care Guide User Manual
Page 32
30
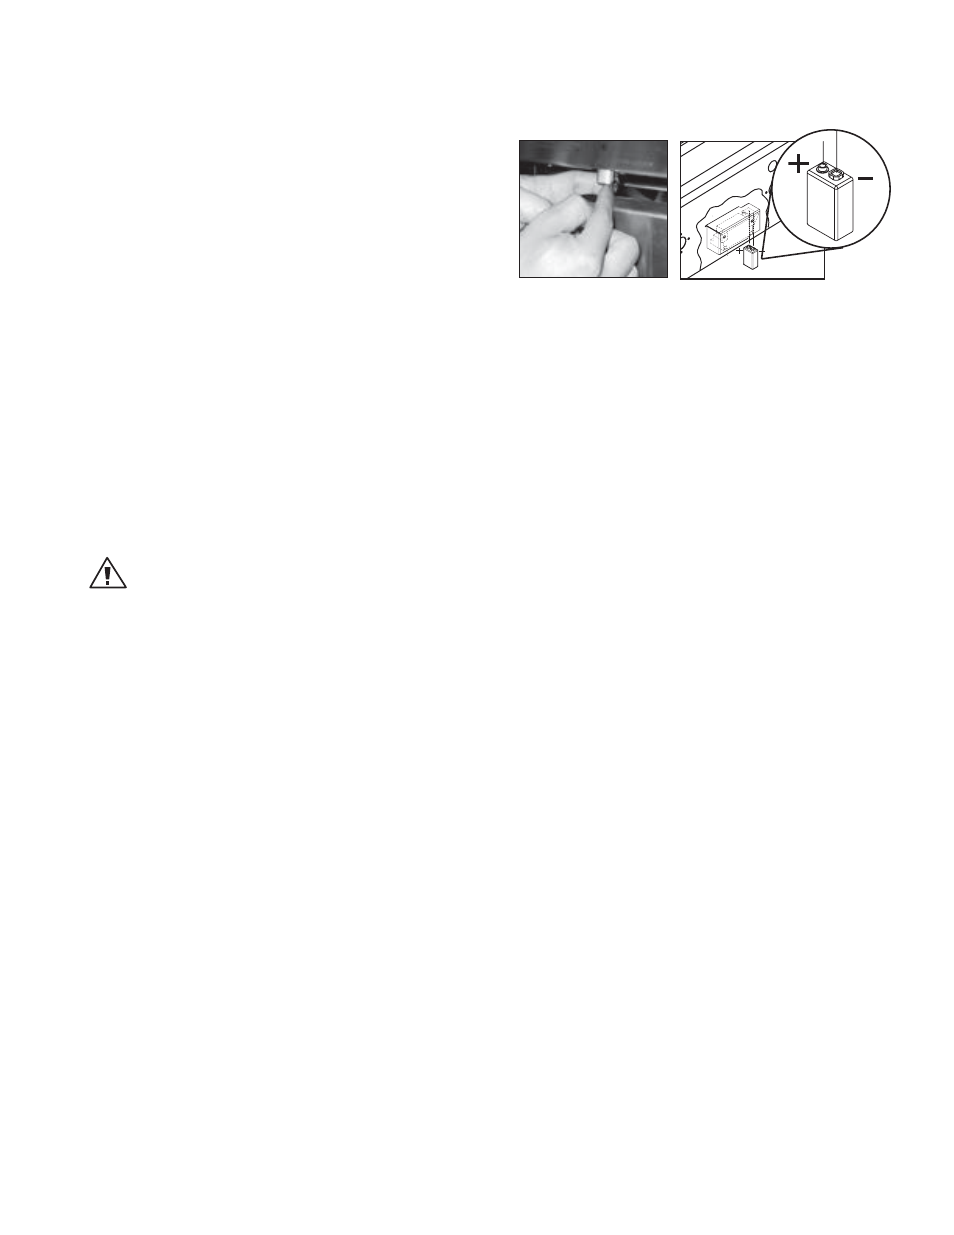
BATTERY REPLACEMENT:
1. Remove drip pan.
2. Open cart door (on cart model only).
3. Pull battery downwards (this may require use of pliers).
4. Re-install upward and push to snap - Fig. 43. (Polarity is
shown in Fig. 44).
Note:
Battery condition should be checked at least once a year.
REGULATOR AND HOSE REPLACEMENT
The pressure regulator and hose assembly supplied with the unit must be used. If replacements are needed, con-
tact Customer Care (888) 936-7872. Do not use the grill if the odor of gas is present. If the unit is LP, screw the
regulator into the tank and leak check the hose and regulator connections with a soap and water solution before
operating the grill. Turn all knobs to “OFF” then turn on the gas supply. If LP, is there gas in the tank?
n
Always keep your face and body as far away from the grill as possible when lighting.
n
DO NOT leave the grill unattended while cooking.
n
Keep a spray bottle of soapy water near the gas supply valve and check the connections before each use.
n
Do not attempt to “LITE” the grill if the odor of gas is present.
n
Wait 5 minutes before relighting a hot grill.
WARNING: IMPORTANT!
Before each use, inspect the gas supply piping or hose prior to turning the gas “on”. If there is evidence of cuts,
wear, or abrasion, on the piping or hose it must be replaced prior to use.
GRILL GRATES:
Method 1: Turn on “HI” for 15-20 minutes to burn any remaining food particles. After turning the grill “OFF”, use a
bristle barbeque brush to remove any remaining food particles or ash.
Method 2: The easiest way to clean the grill is immediately after cooking is completed and after turning off the
flame. Wear a barbeque mitt to protect your hand from the heat and steam. Dip a soft brass bristle barbeque
brush in a mixture of 2 cups of tap water and 1/2 cup of vinegar and scrub the hot grill. Dip the brush frequently
in the bowl of water and vinegar. Steam, created as water contacts the hot grill, assists the cleaning process by
softening any food particles. The food particles will fall onto the ceramic rods and burn or fall into the drip pan.
If the grill is allowed to cool before cleaning, cleaning will be more difficult.
Method 3: Take about 1 foot of aluminum foil, crumpled up in a ball and rub it over cooled grates to release food
particles.
Note:
Grill grates must be re-seasoned after cleaning to prevent rust stains.
DRIP PAN AND GREASE TRAY:
The full width drip pan with grease tray will collect grease from the grill section and boil overs and spills from the
side burners. Allow the pan and its contents to cool before attempting to clean. Clean grease from the pan often
to avoid the possibility of a grease fire.
CERAMIC RODS:
It is not necessary to remove the ceramic rods for cleaning. They burn themselves clean during the next cooking
operation. Periodically the trays holding the ceramic rods need to be turned over, and shaken free of debris for a
thorough cleaning. How often you use the grill and the amount and type of food cooked will determine when it
is necessary to clean the trays. If grease can be seen on the top of the tubes or if you get a lot of flare-up during
cooking, the tubes need to be turned over and heated on “HI” for 30 minutes; longer for heavy soil.
CARE AND MAINTENANCE
FIG. 44
FIG. 43