5 cascade chain connection diagram – PLANET KVM-1610 User Manual
Page 11
11
Note
It is not necessary to power down the whole system for install a
new PC Or KVM thereafter. All you need is to make sure that the
new PC or KVM is OFF during the installation. If the KVM powers
down due to external Factors (such as power failure or the power
of the KVM is turned off), we recommend you to reinstall the whole
system.
2.5 Cascade Chain Connection Diagram
Step 1: Rack Installation
Find a convenient place to put your KVM Switch. Its 19” rack mount form factor
makes it ideal stackable on 19” rack. When stacking to a rack, attach the included
brackets to the sides of the KVM Switch. Take note of the length of your cables
so that your computers, KVM Switch, keyboard, mouse and monitor are distanced
properly.
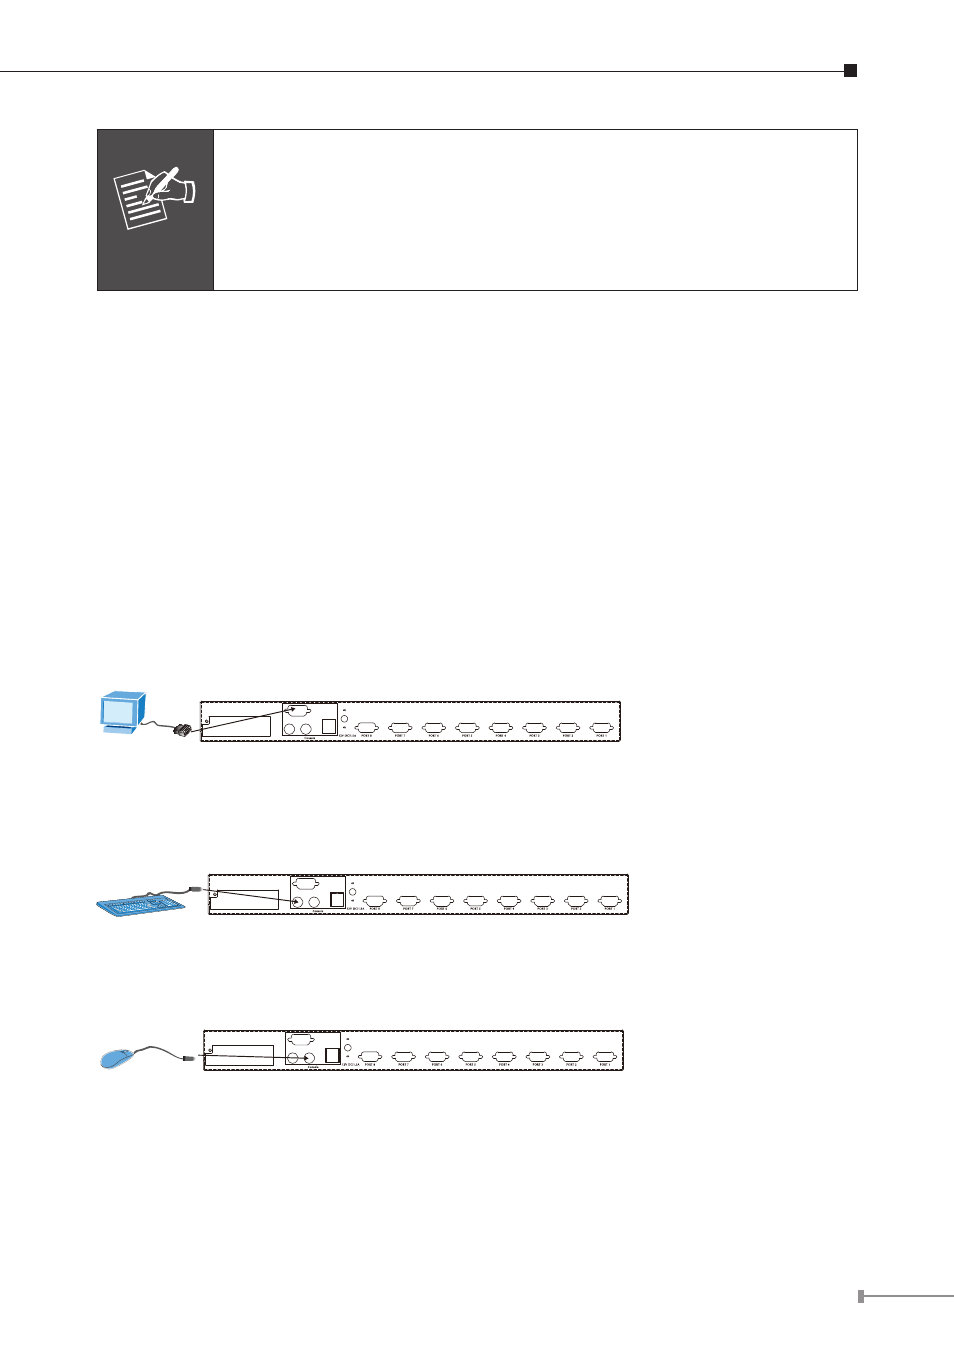
Step 2: Connecting Monitor to the KVM Switch
Connect the monitor to the KVM Switch. Using the attached cable, or the one
included with your monitor, connect it to the HDDB-15 female port on the back of
the KVM unit labeled with the monitor symbol at the CONSOLE port connector.
Step 3: Connecting Keyboard to the KVM Switch
Connect the keyboard and mouse to the KVM Switch. If you have an AT type
keyboard, you will need an AT to PS/2 adapter.
Step 4: Connecting Mouse to the KVM Switch
Connect the mouse to the KVM Switch.
Step 5: Connecting console port of KVM to the KVM Switch
Use the 3-in-1 cable(or with PS2 to USB Adaptor) to connect the CPU port of the
master KVM in parallel to the console port of the slave KVM.