Priming the fuel pump – Edelbrock 3530 User Manual
Page 25
25
Pro-Flo EFI Installation Instructions
©2005 Edelbrock Corporation
Rev. 2/05
Brochure #63-0273
Catalog #3530 & #3531
Priming The Fuel Pump
Before the engine is started, the fuel pump must be primed to pressurize the system and purge the fuel line of all air.
1. Turn ignition key to the “ON” position. You should hear the fuel pump go on. It will pump for 2 or 3 seconds and
disengage.
2. Turn the key to the “OFF” position for 1 second.
3. Turn the key to the “ON” position again. The pump will go on for another 2 or 3 seconds.
4. Repeat this procedure until the pump has been cycled three or four times, and is primed. The tone of the fuel pump will
change when all air is out of the fuel system.
5. If there is no tone, or no change in tone, the system is not priming.
Check the entire fuel system for leaks, from
the fuel tank to the injectors.
Testing The Sensors
Before starting the engine, test all sensors.
1.
Turn the key to the ON position with the Calibration Module connected. The display will read:
NOTE: A vacuum reading of other than 0.0” Hg may be displayed depending upon barometric pressure and air
temperature. At extreme altitude, the vacuum reading may be as high as 5.0” Hg.
2.
Push the UP ARROW key once to display:
NOTE: The water and air temperatures displayed will vary depending on ambient conditions. The system voltage will vary
depending on the condition of the battery.
3.
Move the throttle to test the Throttle Position Sensor (TPS). The TPS reading should vary depending on throttle angle.
4.
If the Calibration Module displays any error messages, refer to the TROUBLESHOOTING section of this manual and the
User’s Manual.
NOTE : If the calibration module goes blank while cranking, the system is losing power. Check the Pink/Black wire
attached to the 3 Amp fuse for +12V power with the ignition in the crank position and the run position for proper operation.
Timing Adjustment
Use a timing light to re-time your engine. The following steps must be performed after the
induction system has been installed and the distributor has been re-installed. Refer to the
INDUCTION SYSTEM and IGNITION SYSTEM sections of this manual.
1.
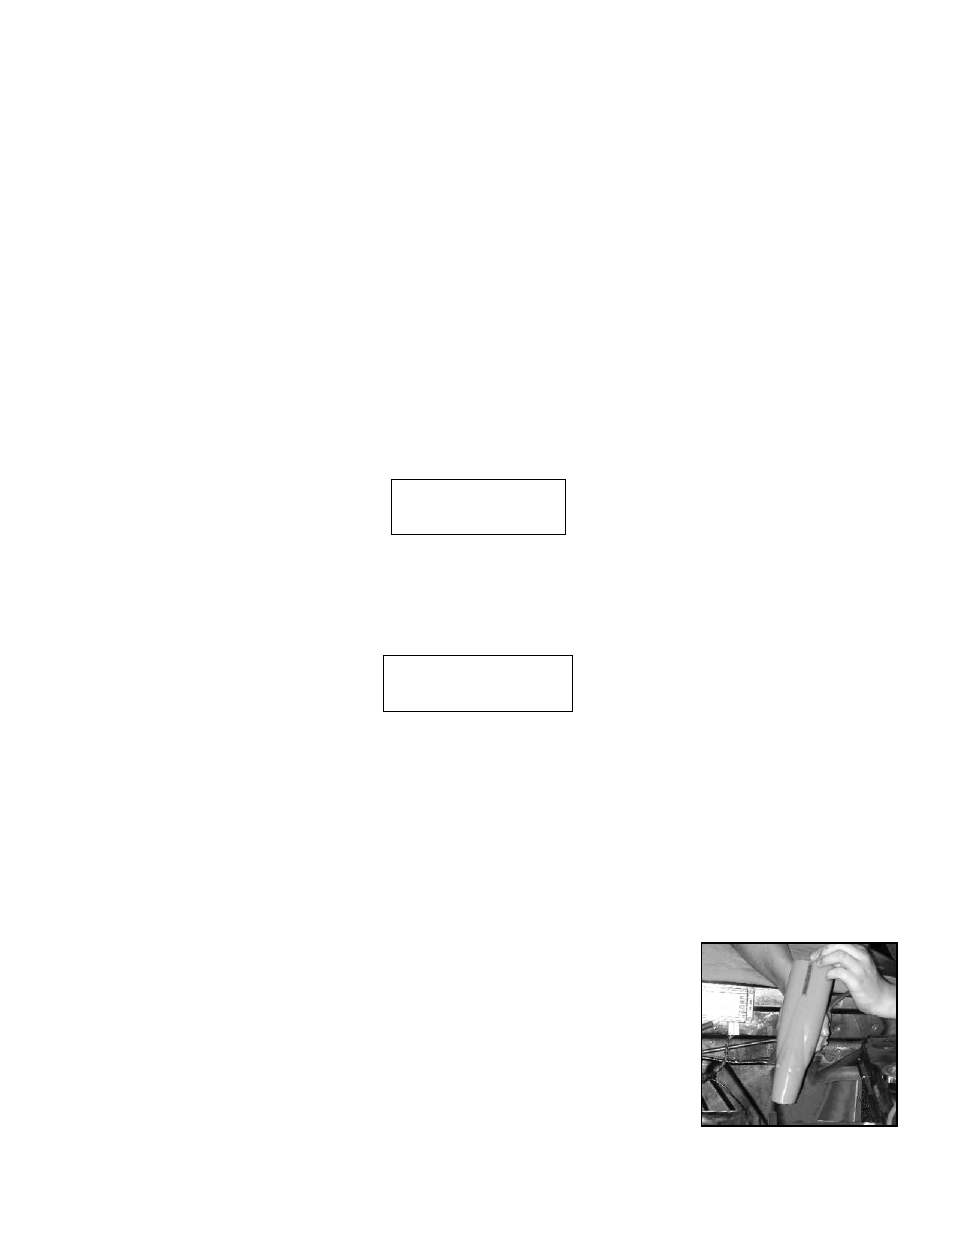
Remove spark plug from Number One cylinder.
2.
Remove coil wire from distributor and ground it.
TH2O: 76°F
TPS: 13°
TAIR: 77°F
Volt: 12.0
RPM: 0 FUEL: 0.0 mS
VAC: 0.0” Hg SPK: 10°