Changing an album’s name, Deleting an album, Changing an album’s name deleting an album – Epson Multimedia Storage Viewer P-4000 User Manual
Page 35: Button to display the pop-up menu. 3 select, Using the 4-way ring, then press the, 1select the album you want to delete. 2 press the, Button to display the pop-up menu and select, Using the 4-way ring. then press the, And press the, Button
Managing Files 35
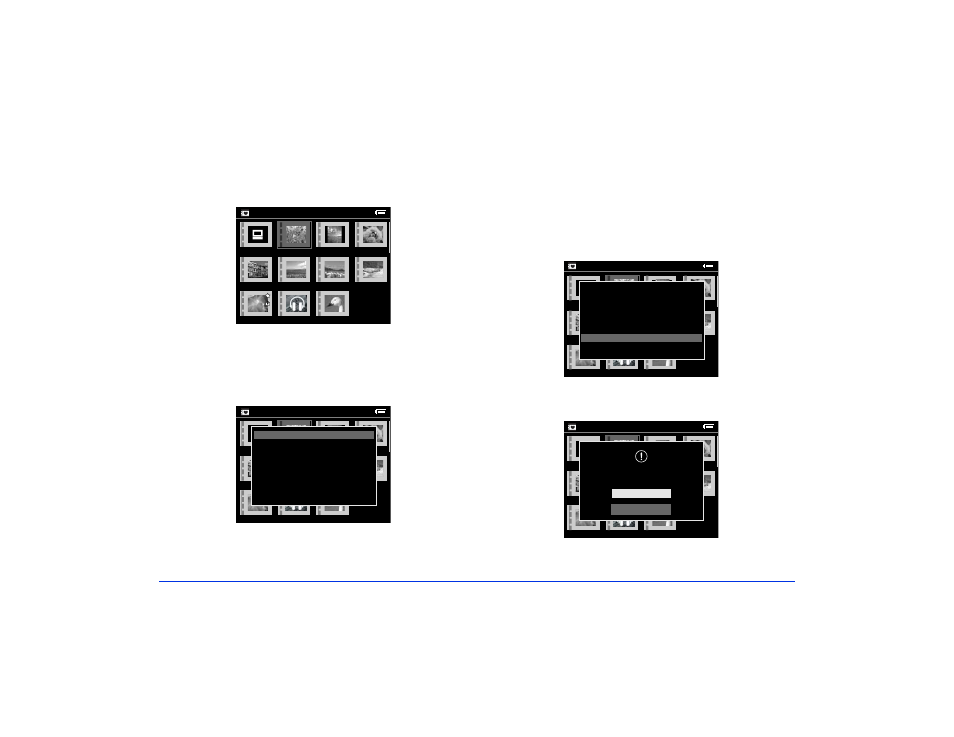
Changing an Album’s Name
1
Select the album whose name you want to change.
2
Press the
Menu
button to display the pop-up menu.
3
Select
Edit Album Name
using the 4-way ring, then
press the
OK
button.
4
Follow steps 4 through 5 under “Creating a New
Album” on page 34.
Deleting an Album
1
Select the album you want to delete.
2
Press the
Menu
button to display the pop-up menu and
select
Delete Album
using the 4-way ring. Then press
the
OK
button.
The confirmation dialog box appears:
3
Select
Yes
and press the
OK
button.
Albums
New
Album3
Photo
Favorite
Album4
PC_DATA
Scenery
Flower
Travel
Album1
Travel2
Albums
New
Album3
Photo
Favorite
Album4
PC_DATA
Scenery
Flower
Travel
Album1
Travel2
Edit Album Name
Set as Album Shortcut
Lock
Start Slide Show
Sort by Album Name
Copy to Memory Card
Delete Album
Albums
New
Album3
Photo
Favorite
Album4
PC_DATA
Scenery
Flower
Travel
Album1
Travel2
Edit Album Name
Set as Album Shortcut
Lock
Start Slide Show
Sort by Album Name
Copy to Memory Card
Delete Album
Albums
New
Album3
Photo
Favorite
Album4
PC_DATA
Scenery
Flower
Travel
Album1
Travel2
Yes
No
Are you sure you want to delete the data?