Creating a new album – Epson Multimedia Storage Viewer P-4000 User Manual
Page 34
Managing Files 34
5
Select the album you want to copy to and press the
OK
button. The files are copied.
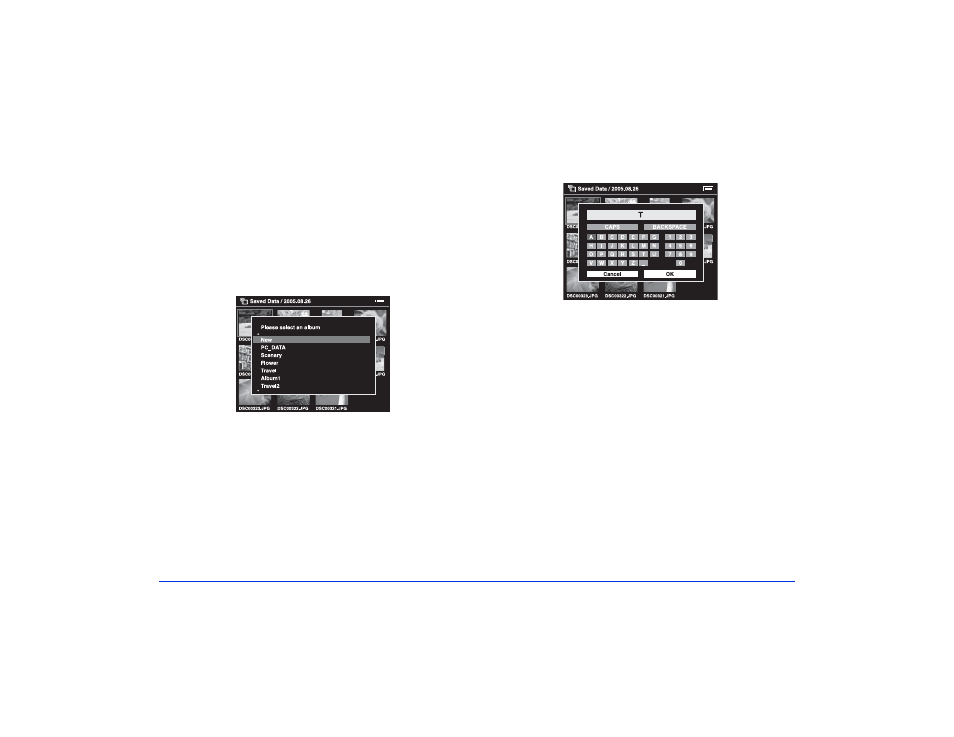
Creating a New Album
1
Follow steps 1 through 4 under “Copying Files to an
Album.”
2
Select
New
and press the
OK
button.
3
If you want to use one of the default album names,
select the name from the displayed list, then press the
OK
button.
The selected files are copied.
4
If you want to create a new name for the album, select
Input name
and press the
OK
button.
The on-screen keyboard appears:
5
Select each letter using the 4-way ring, then press the
OK
button to input the selected letter.
❍
To switch the letters between uppercase and
lowercase, select
CAPS
and press the
OK
button.
❍
To delete the last letter input, press the
Cancel
button or select
BACKSPACE
on the screen and
press the
OK
button.
To delete everything that was input, select
Cancel
on the screen and press the
OK
button.
6
After you input the name, select
OK
on the screen using
the 4-way ring, then press the
OK
button to save it.