Elation Professional RGB Lamp User Manual
Page 14
©Elation Professional® 14 impression™
Clamp Mounting (Hanging)
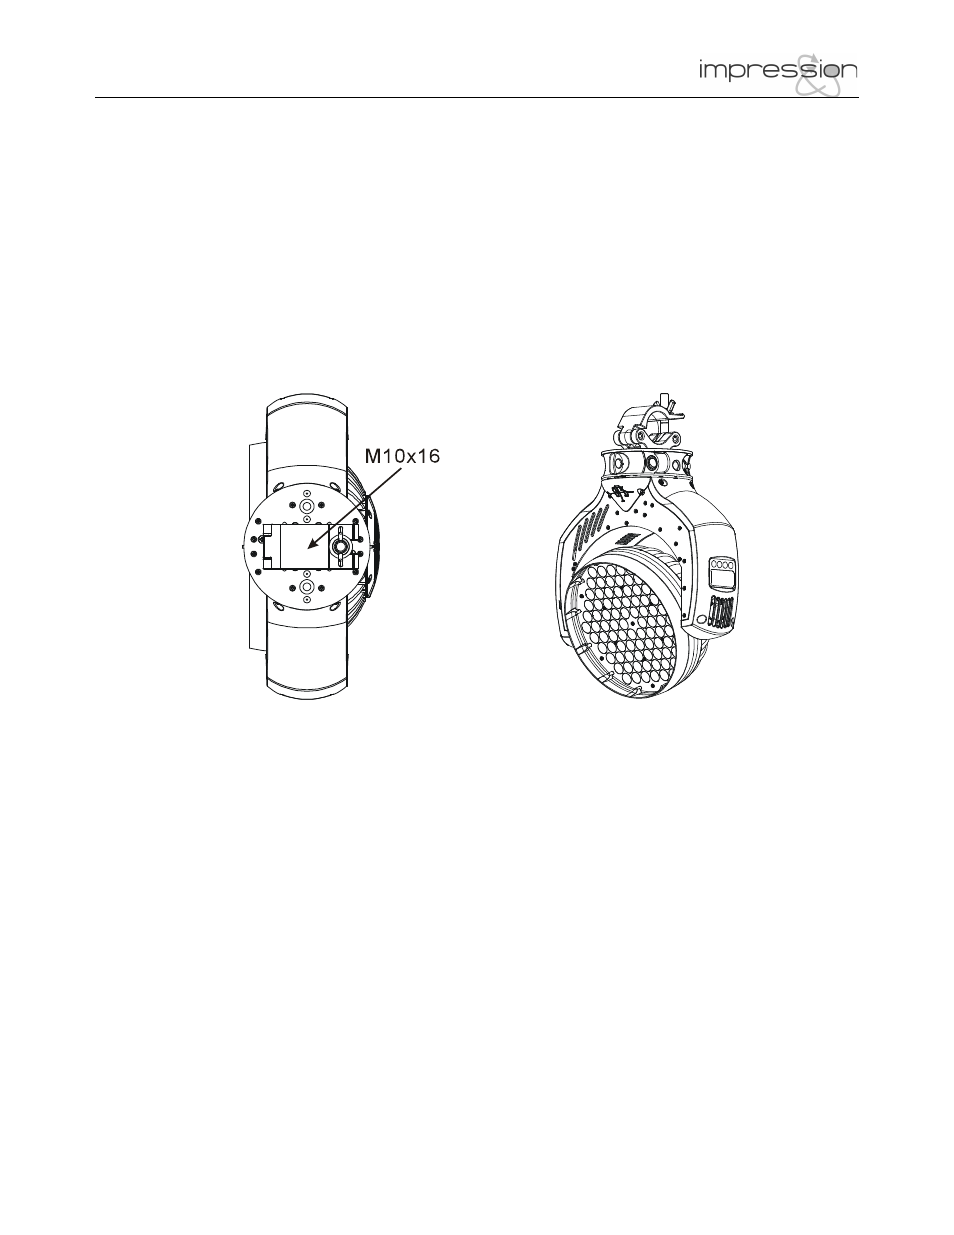
The Impression™ provides a unique mounting assembly that integrates the base as well as
the safety cable rigging point in one unit (see the illustration below). When mounting this
fixture to truss, be sure to secure an appropriately rated coupler directly to the base using a
M10 x 16mm bolt fitted through the center hole of the base. As an added safety measure be
sure to attach at least one properly rated safety cable to the fixture using the safety cable
rigging point integrated in the base.
Floor Mounting
The Impression ships with a floor stand that will properly balance the fixture in an up-right
position. For upright operation always use the dedicated floor stand mounted to the bottom
of the fixture, this will allow for additional bracing during upright operation. The floor stand is
kept securely attached with a Camlock quick-release system. To attach the floor stand
properly, line up the Camlock fasteners with Camlock mounting points on the base and turn
the two fasteners 90° to lock them in place. To release the Camlock repeat the same action
in reverse. See the illustration on the next page for details on the floor stand.