Replacing a raid controller or expansion adapter, Removing a raid controller or expansion adapter – Grass Valley K2 Level 3 RAID Dec.09 2005 User Manual
Page 46
46
Level 3 RAID Instruction Manual
November 23, 2005
Chapter 3 Servicing the Level 3 RAID
status during rebuild. Afterward, check disk module status using NetCentral or the
Grass Valley Storage Utility.
Replacing a RAID controller or expansion adapter
Use the following instructions to replace a RAID controller or expansion adapter. It
should be replaced while the chassis is powered up (hot-swapped).
On a chassis with two controllers, if the controller microcode on the replacement
controller is not the same as that on the other currently installed controller, the
microcode on the replacement controller is automatically upgraded or downgraded to
match that on the currently installed controller.
NOTE: A Level 3 RAID chassis must have at least one RAID controller installed.
Do not remove both RAID controllers, even in an offline condition. Since the
controllers store the configuration information of the RAID chassis or the product
license unlock information, replacing the two controllers simultaneously loses the
data.
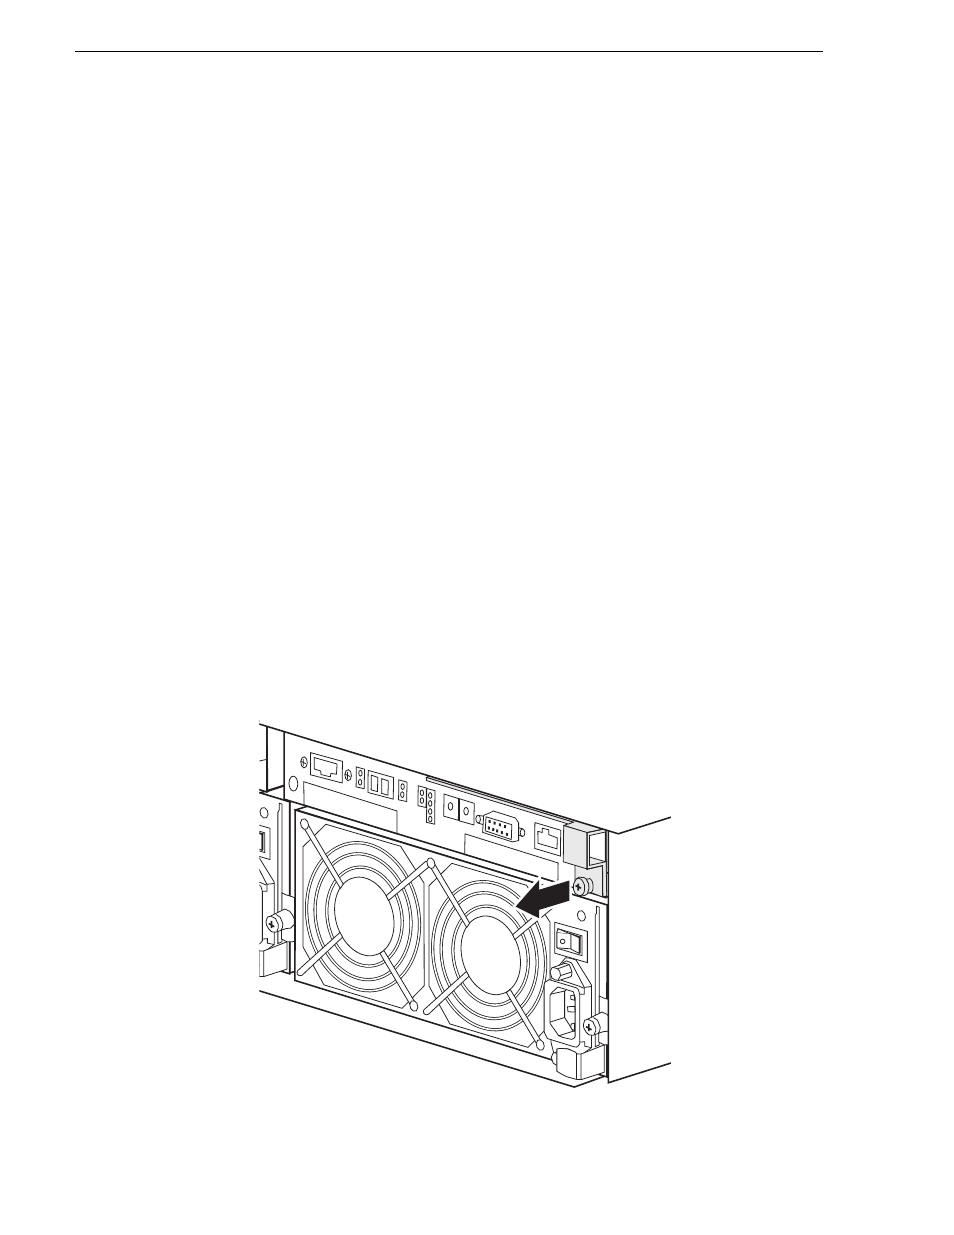
Removing a RAID controller or expansion adapter
To remove a RAID controller or expansion adapter:
1. Identify the module to be replaced using NetCentral or verify that the module’s
Fault LED is on. If you are removing an operational RAID controller, use the Grass
Valley Storage Utility to disable the RAID controller.
2. Remove the cables connected to the module. Note where the cables connect to the
module.
3. Loosen the ejector set screw.