Viewing synchronization history, Viewing the history log, Changing the slave profile xp to be master – Grass Valley Profile InSync v.3.0 User Manual
Page 19
July 2, 2008
InSync User Guide
19
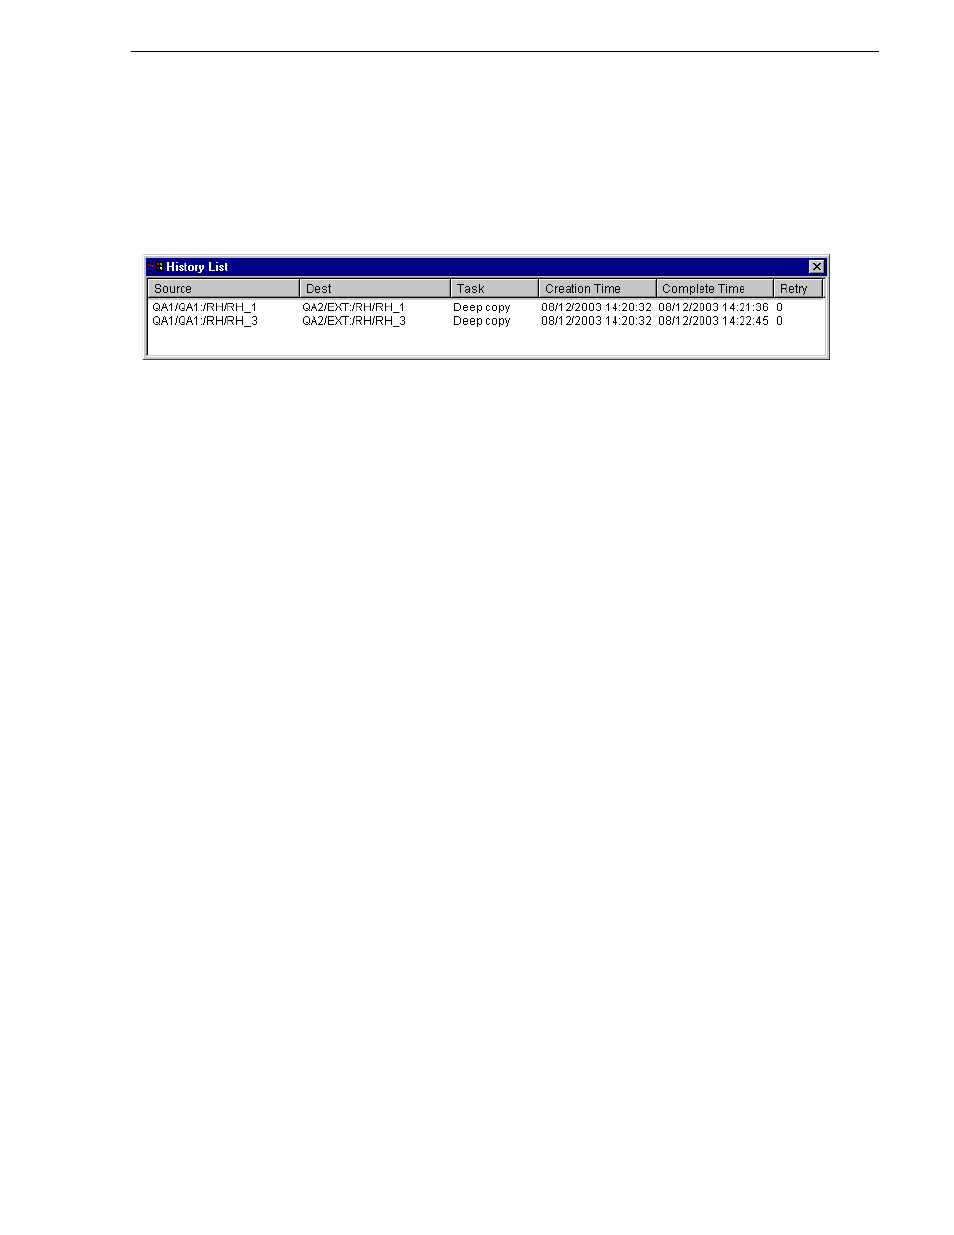
Viewing synchronization history
Viewing synchronization history
To view a list of the synchronization tasks processed since InSync was last started,
click
View | History List
. The History List opens.
Viewing the history log
InSync saves history logs for the last 30 days of activity, which includes startup,
shutdown, and the tasks completed by InSync. Log files are stored in C:\GVG\InSync
History. A history log file is named Insynclog.xxyyy, where xx is the day of the month
and yy is the running number of total log files present. You can view a log file with
WinTail or a text editor such as Notepad.
Changing the slave Profile XP to be master
If you must remove the master Profile XP (call it Unit A) from service and place the
slave Profile XP (call it Unit B) on line, and you want to maintain redundancy, you
must reassign Profile XP B to be master and assign a different Profile XP (call it Unit
C) as slave. You can do this by preparing a configuration file in advance, so that you
can quickly load it should the need arise, or you can simply change the current
configuration. In either case, use the following procedure to create the required
configuration.
To change the designation of Profile XP B from slave to master, do the following:
1. Install InSync on Profile XP B (if it is not already installed). Follow the installation
instructions given earlier.
2. On Profile XP B, set Profile XP B as master and Profile XP C as slave.
3. Select
Manual
synchronization mode so that you can control the start of the
synchronization.
4. Make other configurations, according to your synchronization requirements.
5. Click
OK
.
6. Is you do not want to use the configuration file immediately, save it with an
appropriate name, then re-load your previous configuration.
7. If you do want to use the configuration immediately, first make sure that PortServer
is running on Profile XP C, then click the Start button.
8. After the initial synchronization completes, you can change the synchronization
mode according to your ongoing synchronization requirements.