Appendix h: on-screen camera menus, Page 22, Use mode setting – Grass Valley 3-CCD ANALOG CameraMan Rev.D1 User Manual
Page 25: Setting by camera, Setting by rcu (rcb) or hybrid control panel, Operation mode, Camera rcu (rcb) hybrid control panel
Page 22
CameraMan® 3-CCD ANALOG Camera Installation and Operations Manual
Appendix H: On-Screen Camera Menus
The 3-CCD ANALOG Camera allows for adjustments to the camera settings via on-screen
menus by using the controls on the back of the camera block, the Camera Control
Keypad, or PVTV SHOT Director. These adjustments should be performed by qualified
technical personnel only. If your system includes a PVTV SHOT Director, always use the
PVTV SHOT Director’s LCD menus to make these adjustments. For NTSC models, refer to
pages 22-28. For PAL models, refer to pages 29-32.
On-screen menu items can only be viewed by connecting to the analog VIDEO OUT connector on the rear of the
camera block.
Use Mode Setting
The camera has four use modes, and various functions
for four use modes have been preset.
Functions can be set as best suited to each use mode.
• Halogen mode
Suited to indoor shooting, such as at weddings, par-
ties, lecture meetings, events, etc.
Settings can be changed using a simple menu.
• Fluorescent mode
Suited to indoor shooting under fluorescent lighting.
Settings can be changed using a simple menu.
• Outdoor mode
Suited to outdoor shooting.
Settings can be changed using a simple menu.
• User mode
Settings can be changed using a detail menu.
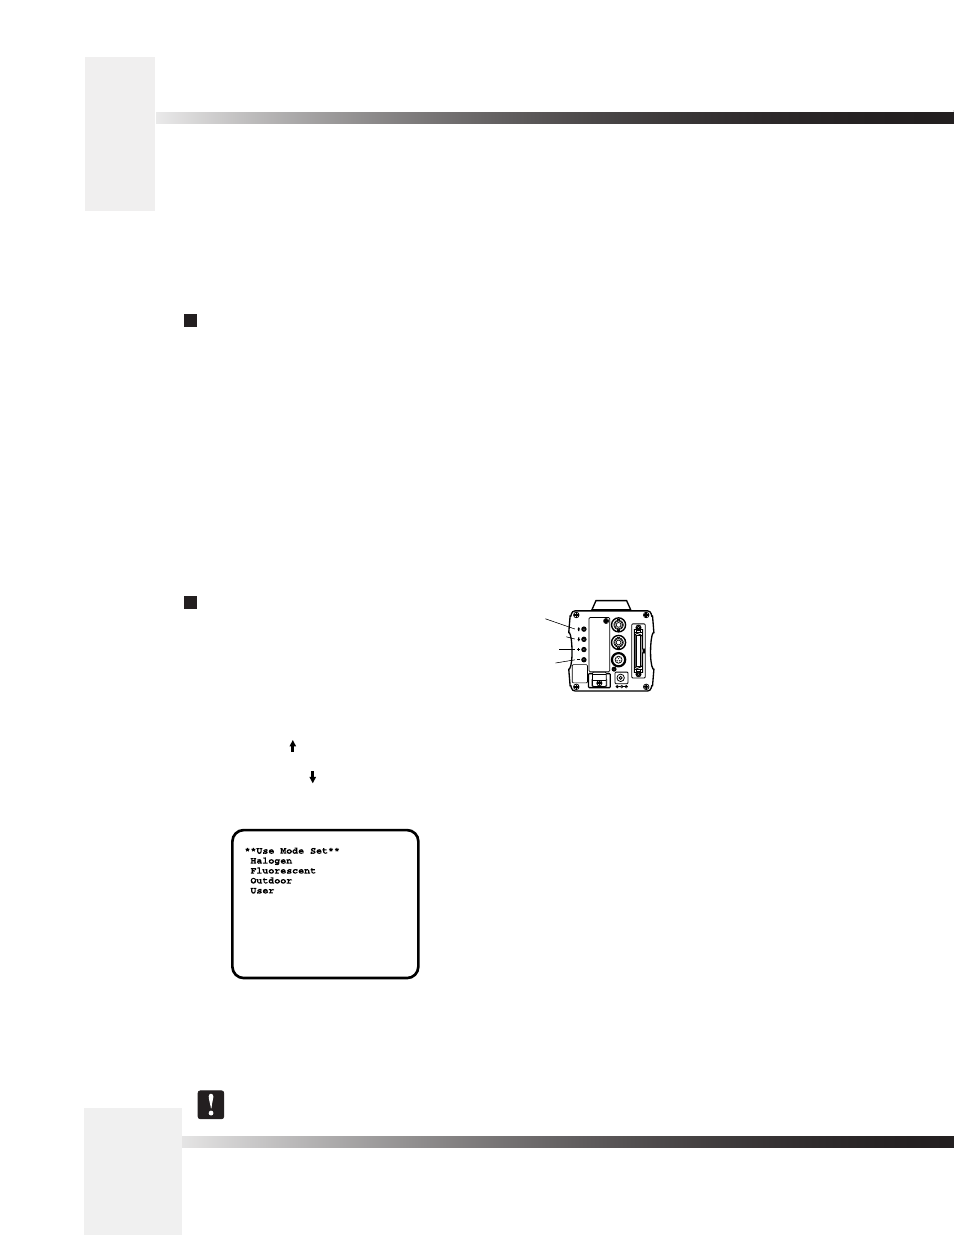
SETTING BY CAMERA
1. Turn the camera on while keeping the MENU switch
depressed.
The use mode setting menu shown at right appears
on the monitor screen and one of the use mode
blinks.
2. Press the MENU switch, ITEM/AWC switch, or
NO/BAR switch to let the desired use mode blink.
MENU switch (
): The blinking item moves up by
one.
ITEM/AWC switch (
), NO/BAR switch (–): The blink-
ing item moves down by one.
3. Press the YES/ABC switch.
The blinking use mode comes into effect. After the
use mode setting menu is shown for about 5 sec-
onds, the camera returns to be ready for operation.
Then, the camera operates in the selected use mode.
P O W E R
O P E R AT E
B A R
C A M
M O D E
G A I N
A W C
SCENE
FILE
A B C
A T W
A
B
AUTO/AIW
E L C
L O W
M I D
M A N U
O N
S C
H
O F F
H I G H
A G C
O F F
1 / 1 0 0
S H U T T E R
O N
O F F
1 .
2 .
3 .
4 .
G / L P H A S E
T. P E D
C A B L E C O M P
9 0
° 1 8 0 °
0
° 2 7 0 °
Y
C
SCENE FILE Switch
Operation mode
SETTING BY RCU (RCB) OR HYBRID
CONTROL PANEL
An operation mode is selected depending on the position
of the scene file switch.
Halogen Mode
Fluorescent Mode
Outdoor Mode
User's Mode
Scene File
Switch
Position of
RCU (RCB)
1
2
3
USER SET
Scene File
Switch
Position of
Hybrid control
panel
1
2
3
4
VIDEO OUT
G/L IN
I/F REMOTE
OPTION CARD
IRIS
DC12V IN
MENU
ITEM/AWC
YES/ABC
NO/BAR
MENU
R
B
R
B
PED
TOTAL
PED
A
B
ATW
AWC
AUTO
HOLD
ABC
IRIS
MAN
AUTO
1000
S/S
ELC
500
100
OFF
SHUTTER
SCENE
2
1
3
USER
SET
AUTO/ATW
PAINTING
GAIN
ITEM/AWC
YES/ABC
NO/BAR
SCENE
FILE
Switch
CAMERA
RCU (RCB)
Hybrid Control Panel