Adding camera, Acti floor planner user’s manual – ACTi Floor Planner V2.3.2 User Manual
Page 12
ACTi Floor Planner User’s Manual
Adding Camera
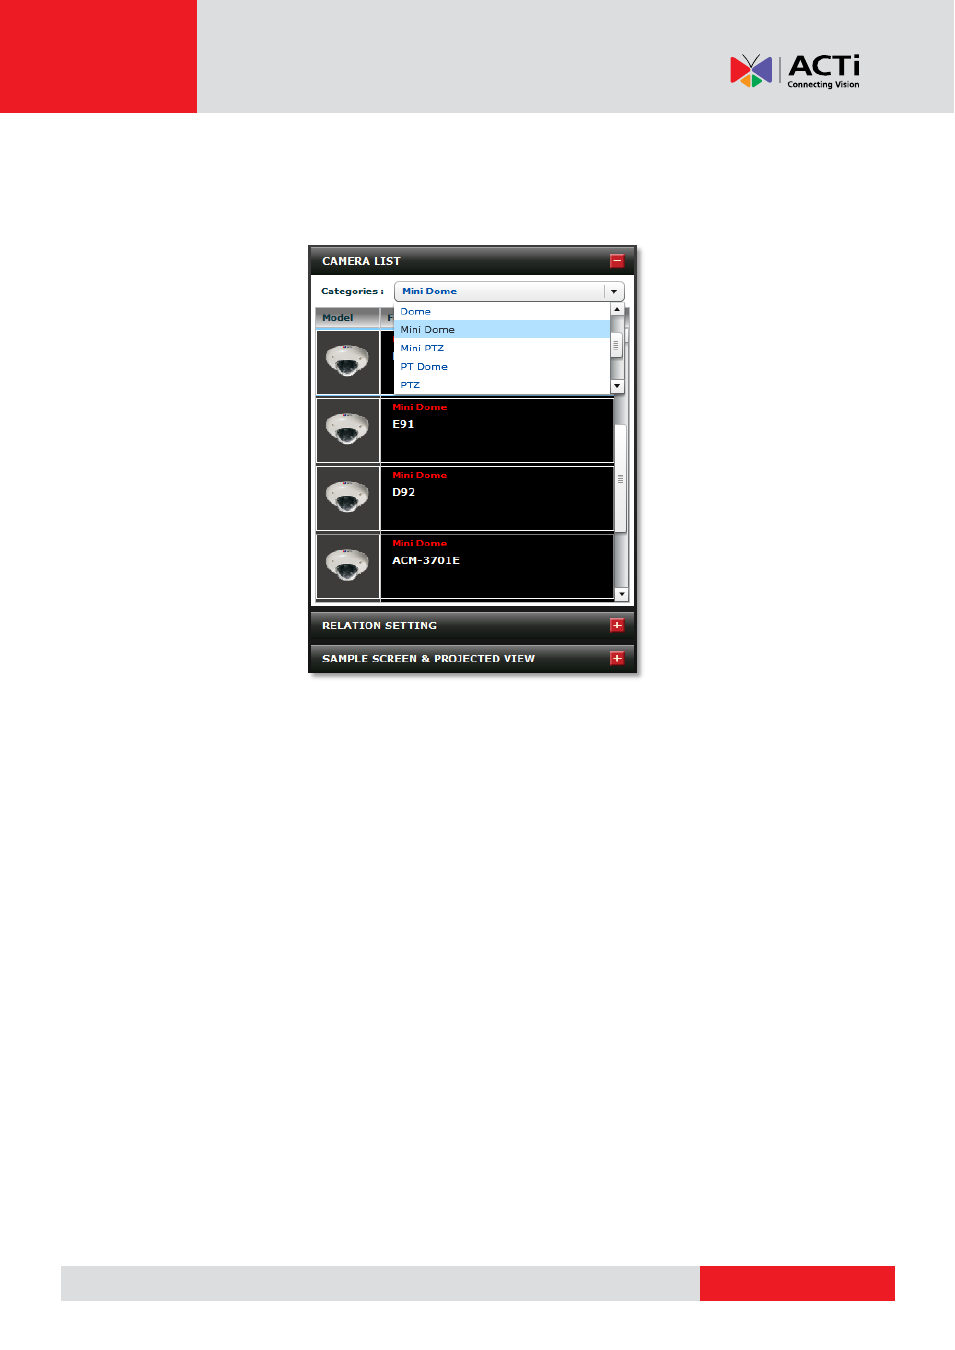
To insert cameras into a map, click the red plus sign to the right of CAMERA LIST in the
contextual display area. This will maximize the camera selection area and minimize the rest.
Click on the Categories to select camera type. Hover your cursor over the target camera and
a small list of features will pop up for your easy reference. Click and drag the camera onto the
map to insert it.
Once a camera is inserted, the camera icon and its view pie will be shown on the map.
Camera name will also be displayed under the icon itself. You can continue to drag more
cameras into the view, or click on the camera to edit its settings.
To delete a camera, you may click and drag it to the trash can, select the camera then click on
the trash can, or just press delete from your keyboard to delete highlighted camera from this
project.
When a camera is highlighted, you may click and drag it to place this at the position you
desire, you may also click on the shift camera buttons to more precisely adjust its position. If
the camera icons are too crowded, you can click on the Real / Point Icon display radio button
to toggle between the two. The display will automatically changes to Point view when you
zoom in for detailed view.