Teac KS-1017 User Manual
Page 10
10
Kachinko System
11
Kachinko System
Using the KS-1018 with the KS-1017
This procedure should take place in the rehearsal stage of the
broadcast.
1. Connect the audio signals to sig-
nals split off from the main and
sub feeds. Ensure that the cor-
rect signal level (mic or line) is
selected.
2. Arrange for the remote source
to turn on the light and sound
using the MANU setting and the
on/off button on the top of the
KS-1018. Set the KS-1017 to the
PRESET setting.
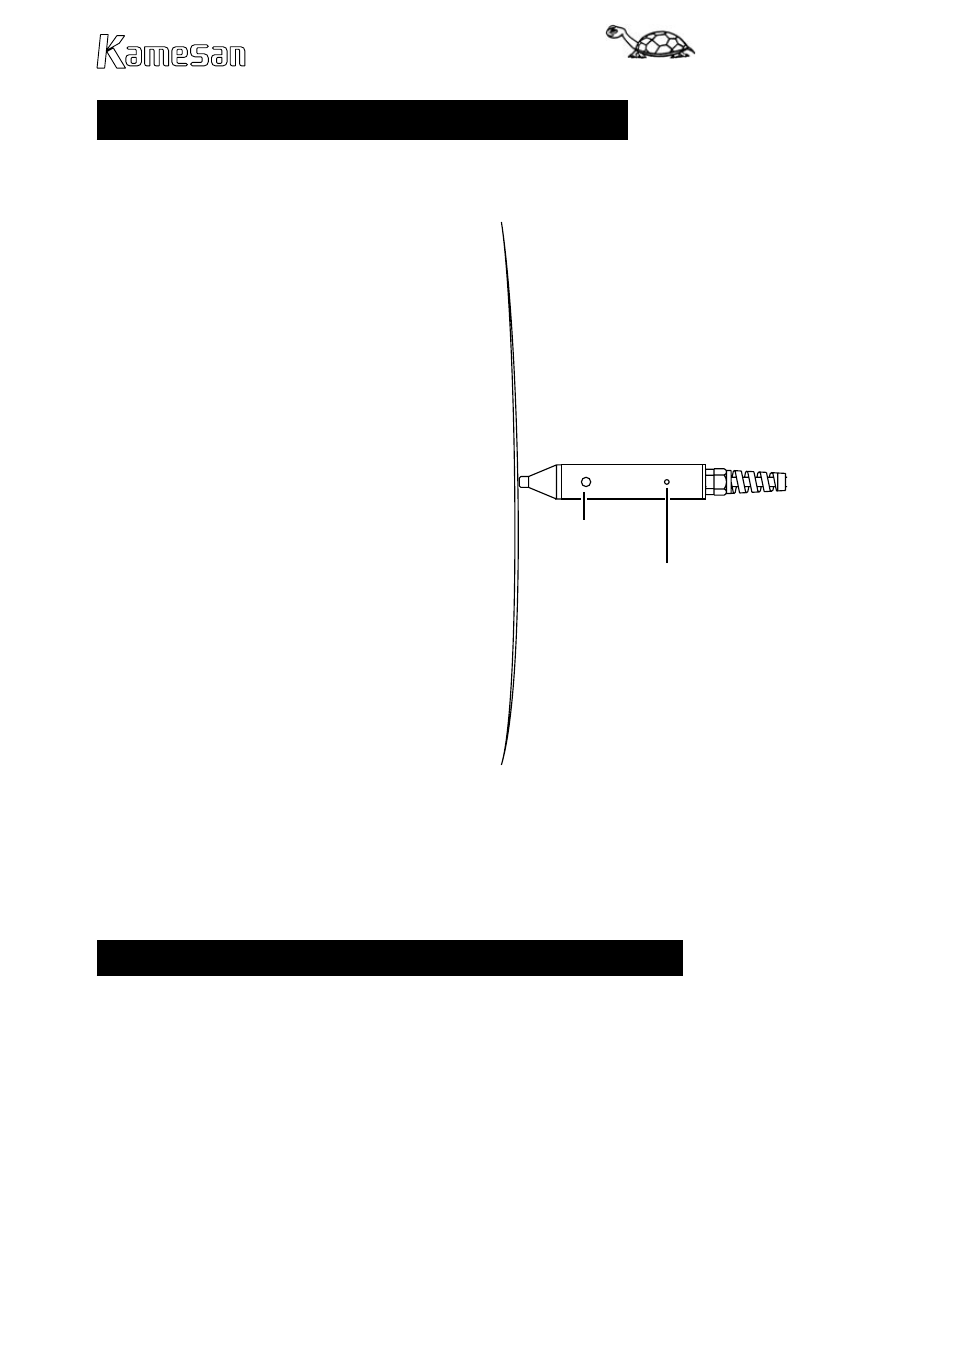
You should hold the probe
near the screen so that the vid-
eo should trigger (the indicator
by the video TH. control should
light) only when the KS-1018
light is on. Note that the sta-
tus of the DETECT indicator on
the probe mirrors the status of
this indicator. Make sure you are
holding the probe very close to
the part of the screen where the KS-1018 is displayed, and
at right angles to the surface of the screen. If you hold the
probe at the wrong angle, or too far from the screen, stray
light can leak in, making it difficult to obtain an accurate
reading.
Making the measurement
3. When you are satisfied, ask the remote site to start an auto-
matic “clap”. This will start a countdown, shown by the red
countdown LED indicators beside the main clapperboard
light. As these LEDs count down, press either the START key
on the main unit, or the start button on the probe.
The START key is lit while the unit is seeking and timing the
signals.
START
Detect
START button
Detect indicator