Iv. basic configuration – SP Controls PX2-NRC-1142 User Manual
Page 6
IV. Basic Configuration
In simple rooms like “System 1” detailed in Chapter 2, the NRC will control only a single display de-
vice, a screen, and a lift, with a Modular Panel attached as the in-room control interface. This chapter
will help you configure the NRC to do just that. The NRC can control many more devices than just a
projector, which will be discussed in the next chapter, Advanced Configuration. Now click the De-
vices Setup link.
Start by entering the Room Name for this NRC. It’s a good idea to use a name that will make it easy
to identify its location, especially if you plan on monitoring and controlling several NRCs from one
computer. Then select one of the buttons below:
Load current NRC configuration: If you wish to change any settings on an NRC that has already been
configured, select this option. It will load the last settings saved to the NRC so you can make only the
changes you wish and keeping the other settings.
Resume the setup wizard where you last left off: If your configuration session is interrupted and you
have to exit the process, you may resume configuration by selecting this option. It will return you to
the last configuration page you completed.
Create a new setup: Select this option to begin a new configuration.
Copy settings from another NRC: Click this button to copy the room configuration from another NRC
that is already set up on your network. You will be prompted to enter the hostname or IP address of
the NRC you wish to copy from.
Read a saved setup template: Click this button if you’ve previously saved an NRC room configuration
file on your computer (these files are saved in C:\~\My Documents\SP Controls\nrc\userrooms). This
can be a convenient way to set up a room that will be identical to another room, especially if you don’t
currently have access to that other NRC on your network. You will be prompted to select the room
configuration file.
After you’ve chosen one of the options, click Next.
If you have not previously used this computer to configure an NRC, the first thing you should do (if
your NRC is connected to the Internet) is click the Update Display Drivers button. This will check the
SP Controls website and create (or update) the list of drivers in the “Available Devices” pane in this
window. (This feature will only work if your PC is currently connected to the Internet.) Then select the
appropriate driver to control your display from that list. If you don’t see it, call SP Controls’ tech sup-
port for help (877-367-8444 ext. 302). We will either find a driver from that list that will be compatible
with your display, or we will create one for you whenever possible free of charge.
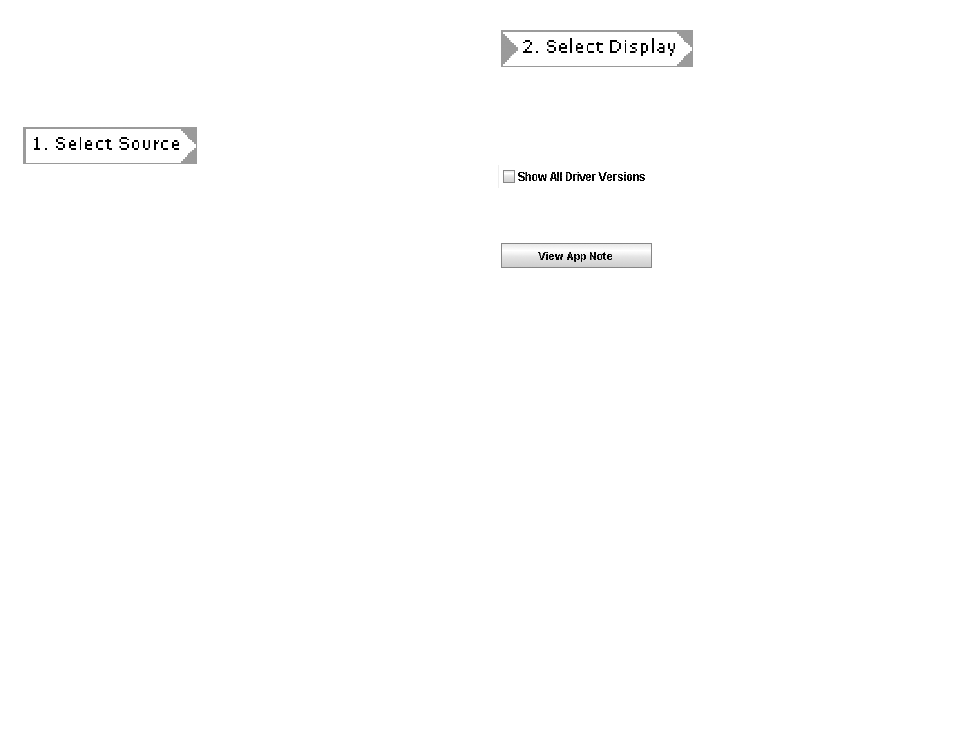
By default, the “Available Devices” pane will only show the most recent version of any driver. Check
the “Show All Driver Versions” box if you want to see all versions, including older ones. You shouldn’t
need to use this option often, though, as the most current version of a driver is generally best.
Every display driver we publish will have an “Application Note” that goes along with it. The App Notes
will describe a number of important features about your installation, including the pinouts for the RS-
232 port on your display and which adapters to use, whether the driver uses RS-232 and/or IR to con-
trol the display, any special configuration settings that need to be adjusted on the display to work with
this driver, and other information pertinent to this projector or driver.
Other Attached Devices: Check these boxes to control a screen or lift with the NRC’s relays. In this
example, we’ll have both.
Display Power Sensing Options: Power Sensing is a feature the NRC uses to stay in sync with
your projector. If the projector is unplugged or turned off with its set-top buttons, the NRC will sense
that and show it on the web interface and by darkening its button lights. You can also have the NRC
trigger other events upon a Power Sensing failure (e.g., it could send an email out informing someone
of a possible projector theft).
The NRC has two ways of sensing the projector’s power state: with RS-232 queries and through the
use of a current sensor connected to the NRC’s Sense 2 port. If RS-232 power status queries are
supported by your display device, this will be the default option. If you don’t need this feature, though,
you can disable it by selecting “None”. Disabling power polling will prevent some NRC features from
working, such as lamp hour tracking and some of the security features.
Note: The availability of RS-232 power polling is indicated for each display device in the SP Controls
Application Note
9
8