5 installation, Installation – REMKO RKL 491 DC User Manual
Page 11
5
Installation
Installation instructions
The device is supplied in a fully operational condi-
tion and is equipped as standard with a 3.0 m long
connection pipe linking the indoor and outdoor
devices, meaning that it is ready for use. The
scope of delivery includes various accessories for
mounting the outdoor unit.
Indoor unit
The indoor unit is positioned at the desired location
with the air discharge side pointing into the room.
When positioning, ensure there is a minimum gap
of 20 cm around the device.
Connector pipes
The connector pipes can be laid through a tilted
window or through a gap in the door. The con-
nector pipe can be separated from the indoor unit,
meaning that there is the additional option of fitting
it to a wall opening (Ø min. 60 mm). Please note
the following information when laying the con-
nector pipes:
n
The connector pipes may not be jammed in or
kinked.
n
There may not be any tension of other
mechanical stress exerted on the connector
pipes.
n
The pipe insulation and the protective jacket
may not be damaged.
Outdoor unit
The outdoor unit expels the heat from the room
into the outside air. In order to do so, the outdoor
unit can be positioned on the ground or mounted
on an external wall.
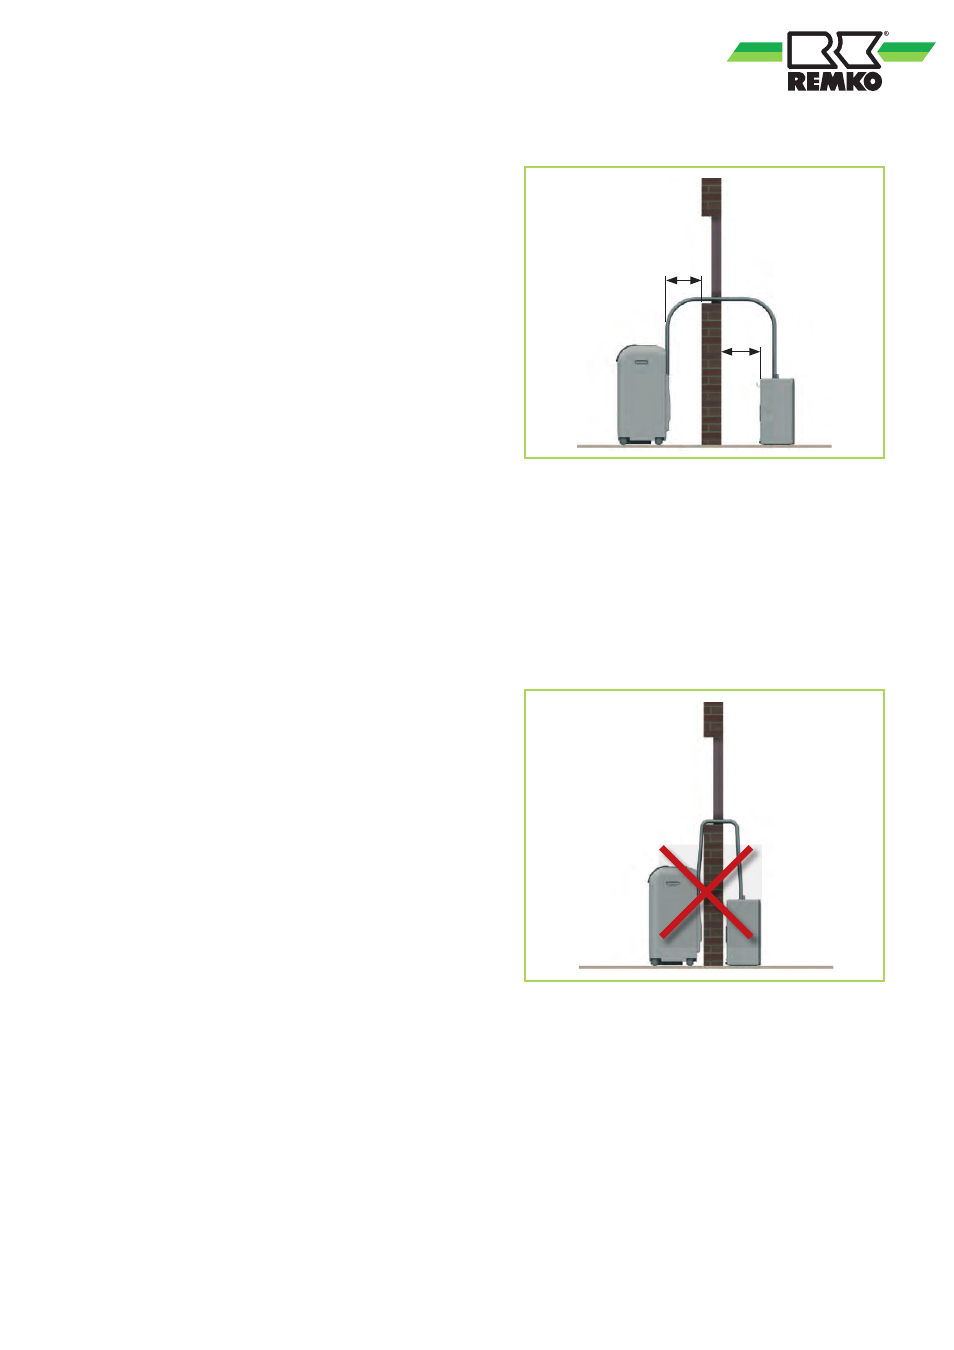
Installation on the ground
20 cm
20 cm
Fig. 5: Minimum clearance to wall
It is not necessary to use any mounting accesso-
ries when installing the outdoor unit on a patio or
balcony. The outdoor unit should be positioned
vertically and protected from direct sunlight. A min-
imum gap of 20 cm should be maintained from the
air discharge side to the wall. It must be ensured
that the air can be discharged freely (min. 50 cm
gap to any obstacles). The connecting pipe is fed
through a gap in the window (Fig. 5) or door
Fig. 6: Absence of minimum gap
11