Compound bow, Sting stop™ instructions – PSE Archery Bow 2012 User Manual
Page 6
6
Compound Bow
U S E R ’ S G U I D E
Note: Some PSE bow models (Effective 2012) come from the factory with the
PSE Sting Stop™ Backstop installed. These instructions refer to reinstallation
or adjustment if needed after making adjustments to your PSE bow.
1. Thread the Sting Stop™ nut all the way up toward the bumper of the Sting Stop™ rod.
2. Thread the Sting Stop™ rod into the threaded hole below the grip on the riser.
The bowstring will need to be displaced slightly to one side to thread the
rod into the bow.
3. Unscrew the Sting Stop™ until the rubber bumper approaches the bowstring.
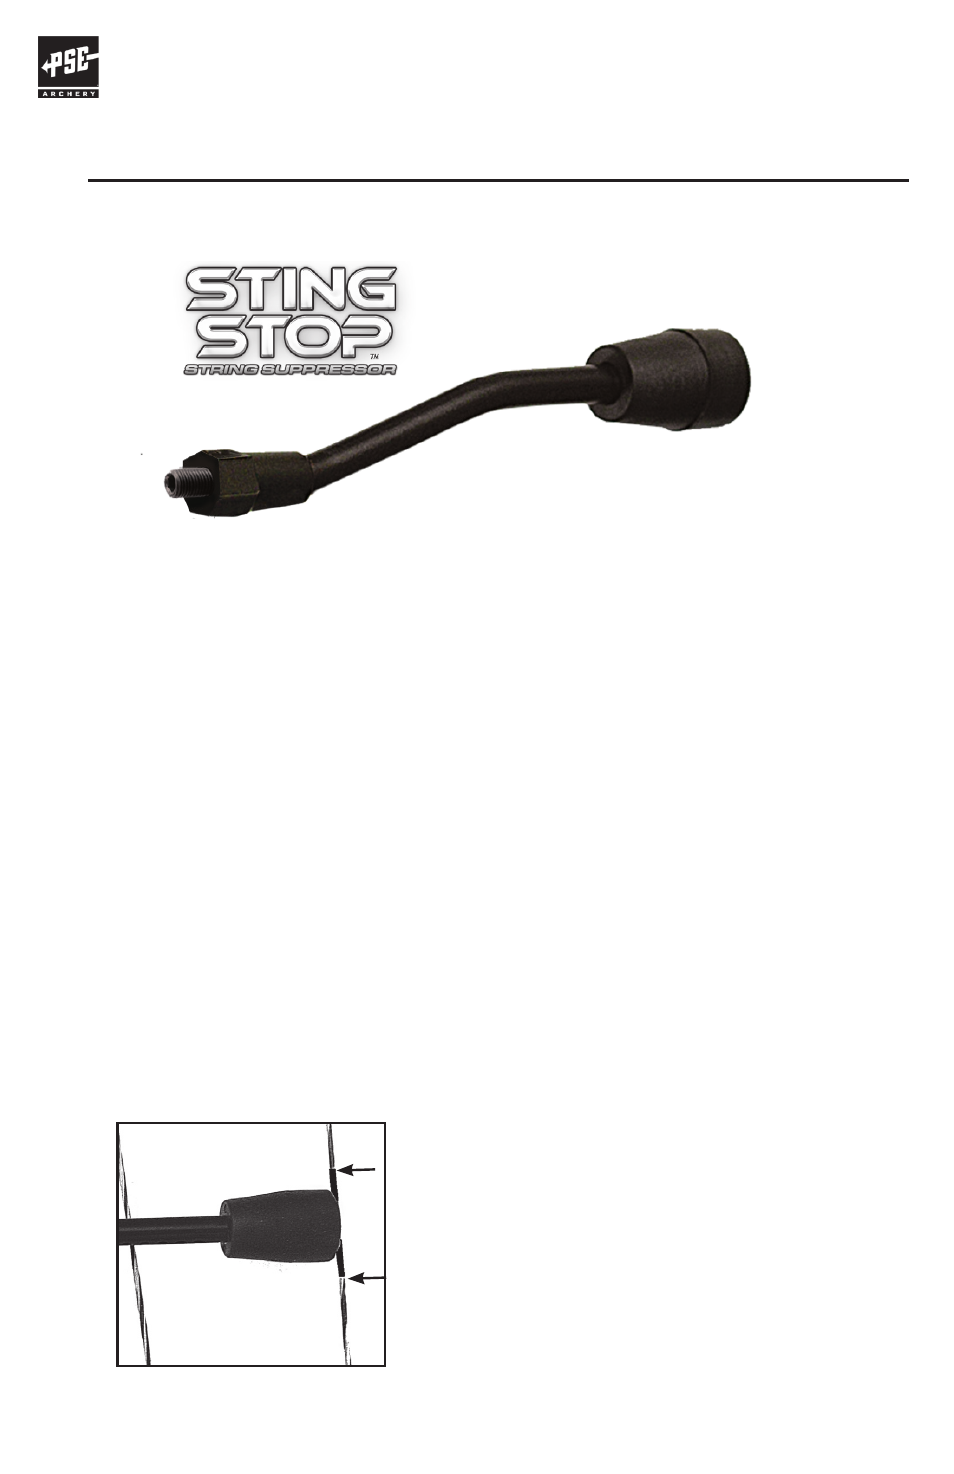
Mark the string ¼” above the rubber bumper in its highest position and ¼” below
the bumper in its lowest position. Remove the Sting Stop™ and add serving to the
marked area of the string. Reinstall the Sting Stop™.
4. Adjust the Sting Stop™ to the desired position and tighten the Sting Stop™ nut
against the riser. The Sting Stop™ design allows for the bumper to be positioned
so the string strikes the center of the bumper. It is desired to have some clearance
(approximately 1/16”) between the bumper and the bowstring at brace.
It is preferred to have the Sting Stop™ rod in the up position if possible, but may
not be possible in order to achieve the necessary clearance and contact point.
stinG stOp™ instructiOns
Serve string
in this area.