4 led displays on the flash unit – Metz MECABLITZ 52 AF-1 digital Olympus User Manual
Page 139

Setting the automatic unit switch-off
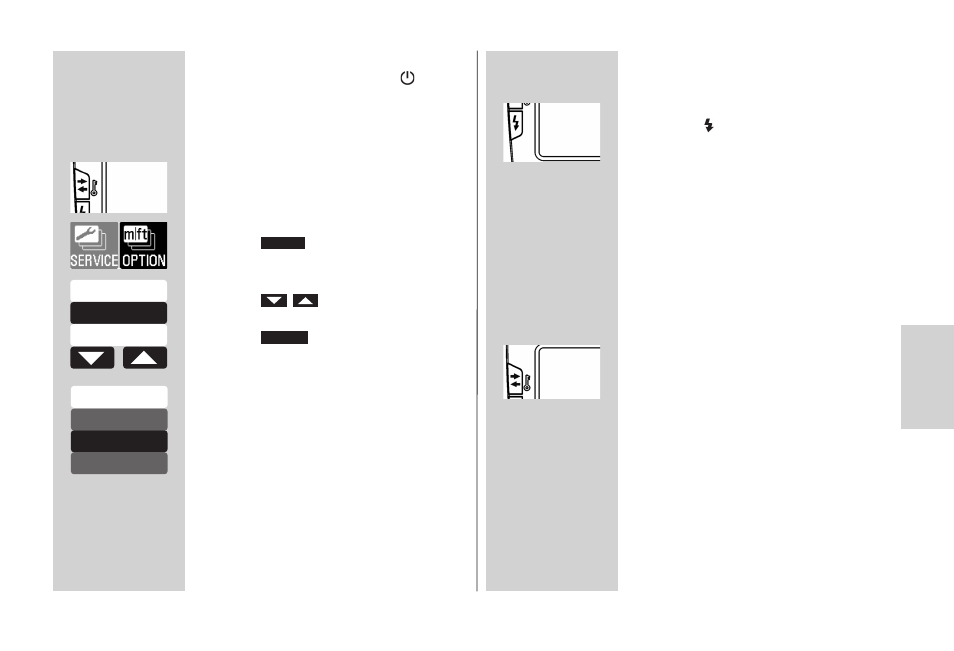
• Switch on the flash unit with the
ባ
button. The start screen appears. The flash
unit always switches on afterwards with the
mode of operation that was used last
(e.g. manual flash mode M).
• Press the
ቨ button as often as it takes
for the selection menu to appear.
• Press the
sensor button on the
touch display.
• Press the
sensor buttons on the
touch display and select „STANDBY”.
• Press the
sensor button on the
touch display.
• Tap the sensor button on the touch display
for the desired time. The setting is adopted
immediately. The operation display
appears after about 10 seconds, or press
the
ቨ button repeatedly until the
operation display appears.
The
ቨ button flashes red in stand-by
mode.
D
OPTION
STANDBY
D
D
4 LED displays on the flash unit
4.1 Flash readiness indication
When the flash capacitor on the flash unit is
charged, the
ቧ button lights up in green,
thus indicating that the flash unit is ready.
This means that flash light can be used
for the next shot. Flash readiness is also
transmitted to the camera and indicated
accordingly in the camera's viewfinder.
If a photograph is taken before flash
readiness appears, then the flash unit will
not be triggered. If the camera has already
switched to flash sync speed, the shot may
have the wrong exposure (see 13.1).
4.2 Correct exposure indication
If the exposure is correct, then button
ቨ
lights up in red for around 3 seconds if the
photograph has been correctly exposed in
flash modes TTL and TTL FP (see 7.1)!
If there is no exposure control indication
after the shot, then the photograph was
underexposed. In that case, you must:
- set the next smaller f-stop (e.g. use f-stop 8
instead of 11), or
D
139
k
STANDBY
Off
41 min
10 min
ZOOM MODE
STANDBY
MOD.LIGHT
