Connecting the usb-pdiso8/40 to your system, If your system does not detect the usb-pdiso8/40, Connecting the usb-pdiso8/40 to your system -3 – Measurement Computing USB-PDISO8/40 User Manual
Page 10
USB-PDISO8/40 User's Guide
Installing the USB-PDISO8/40
To connect the power supply to your USB-PDISO8/40, connect the external power cord to the power connector
labeled
POWER IN
on the USB-PDISO8/40 enclosure (
PWR IN
on the board). Refer to
for the location of this connector.
The
PWR
LED illuminates green when +9 V power is supplied to the USB-PDISO8/40. If the voltage supply is
less than +6.5 V or more than +12.5 V, the
PWR
LED does not light.
Do not connect external power to the POWER OUT connector
The power connector labeled
POWER OUT
on the enclosure (
PWR OUT
on the board) is used to provide power
to an additional Measurement Computing USB product. If you connect the external power supply to the
POWER OUT
connector, the USB-PDISO8/40 does not receive power, and the
PWR
LED does not illuminate.
Connecting the USB-PDISO8/40 to your system
To connect the USB-PDISO8/40 to your system, connect the USB cable to a USB port on your computer or to
an external USB hub that is connected to your computer. The USB cable provides communication to the USB-
PDISO8/40.
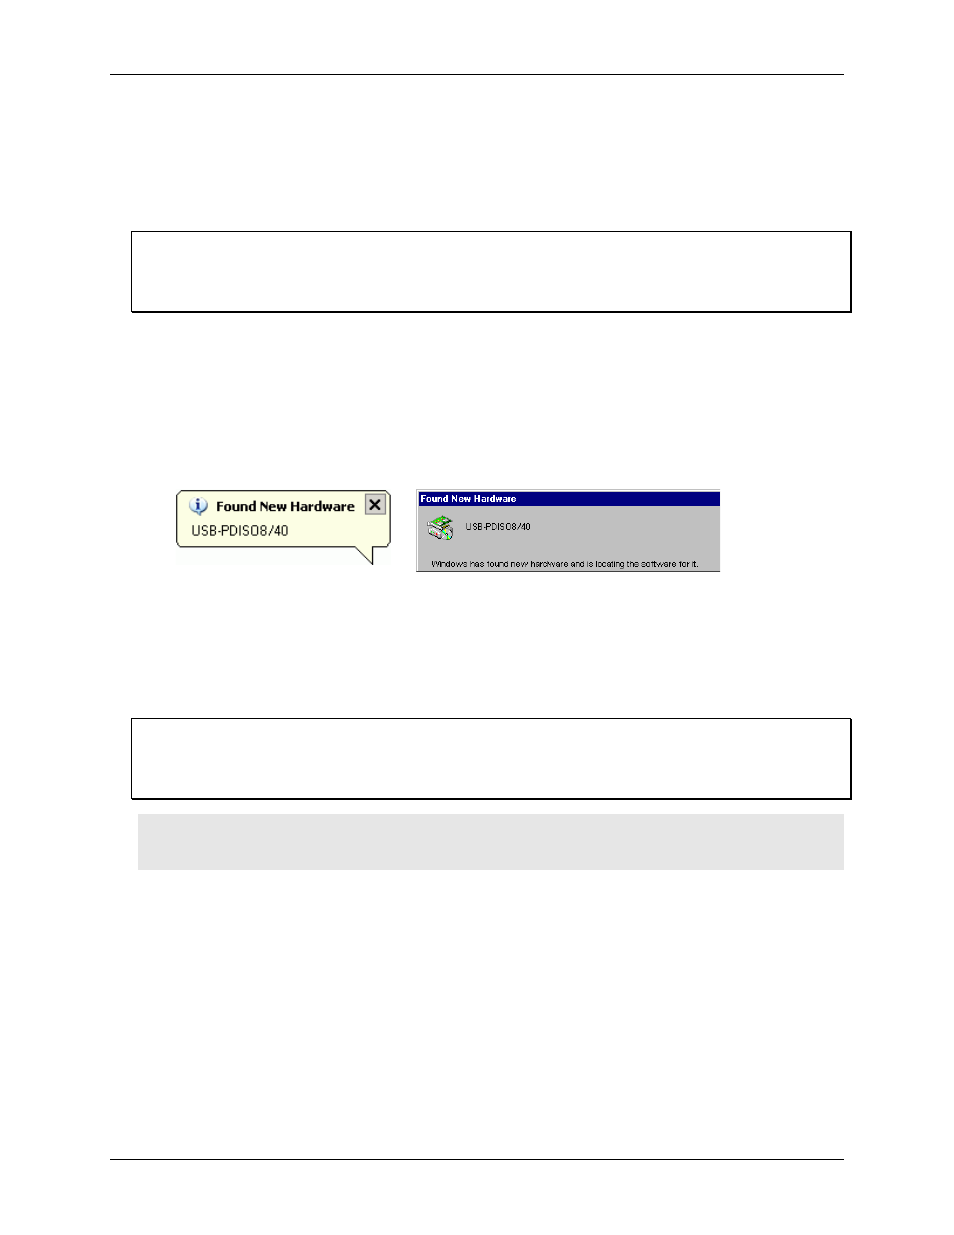
When you connect the USB-PDISO8/40 for the first time, multiple
Found New Hardware
pop up balloons
(Windows XP) or dialogs (other Windows versions) appear as the USB-PDISO8/40 is detected.
If you are running Windows XP and connect the USB-PDISO8/40 to a USB 1.1 port, a balloon displays the
message "
Your USB device can perform faster if you connect to a USB 2.0 port
." You can ignore this
message. The USB-PDISO8/40 will function properly when connected to a USB 1.1 port, although USB
bandwidth will be limited.
When installation is complete, the
USB LED
should flash and then remain lit. This indicates that
communication is established between the USB-PDISO8/40 and your computer.
If the USB LED turns off
If the USB LED is lit but then turns off, the computer has lost communication with the USB-PDISO8/40. To
restore communication, disconnect the USB cable from the computer, and then reconnect it. This should restore
communication, and the USB LED should turn back on.
Caution! Do not disconnect any device from the USB bus while the computer is communicating with the
USB-PDISO8/40, or you may lose data and/or your ability to communicate with the USB-
PDISO8/40.
If your system does not detect the USB-PDISO8/40
If a "
USB device not recognized
" message appears when you connect the USB-PDISO8/40, do the following.
1.
2.
3.
4.
Unplug the USB cable from the USB-PDISO8/40.
Unplug the external power cord from the
POWER IN
connector on the enclosure.
Plug the external power cord back into the
POWER IN
connector.
Plug the USB cable back into the USB-PDISO8/40.
Your system should now properly detect the USB-PDISO8/40 hardware. Contact technical support if your
system still does not detect the USB-PDISO8/40.
2-3