Other setting, Timer setup – Marantz MER803 User Manual
Page 44
38
ENGLISH
Other setting
You can set the timers, Audio delay, Speaker Optimize, and Auto
standby functions.
These settings are not displayed on the TV.
They are only displayed on the unit's display.
Timer setup (vpage 38)
Audio delay (vpage 39)
Auto standby (vpage 40)
Other functions (vpage 40)
Registering preset codes (vpage 40)
Timer setup
You can set the timers (Everyday timer / Once timer) for playback
input sources from “DISC”, “TUNER”, and “iPod/USB1”.
Timer order of priority
The order of priority when the times set for the different timers
overlap is as follows:
1. Sleep timer
2. Once timer
3. Everyday timer
If the current time is not set, enter timer setting mode to get time
setting mode.
Setting the timer
• Everyday timer (“EVERY DAY”)
Playback starts and stops (the power turns off) at the set times each
day.
• Once timer (“ONCE”)
Playback starts and stops (the power turns off) once only at the set
times.
NOTE
• When the input source is set to “DISC/USB2”, use CD-DA. Many
BD-Video/DVD-Video cannot be played back using this function.
Also, fi les from a CD-R/-RW disc and USB memory device (USB2
port) cannot be played back.
• If you playback with the timer by using CD-DA, do not connect USB
memory devices to the USB2 port on the rear panel.
• If the input source is “DISC/USB2”, and fi les are being played
back from the USB memory device (USB2 port) with the power on,
playback does not switch to disc playback even when the timer start
time is reached.
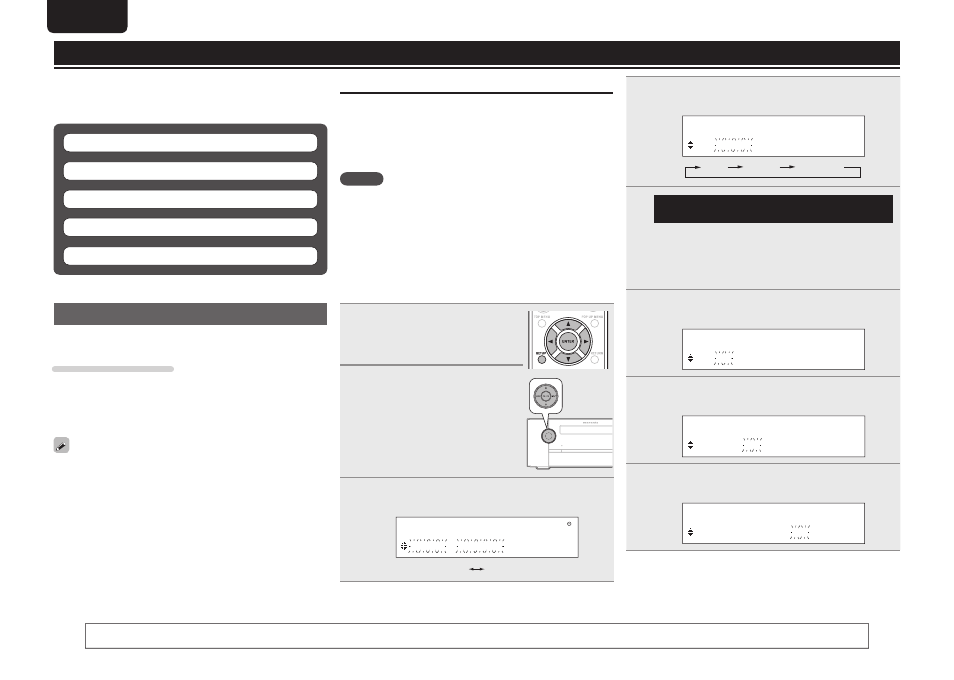
1
Press
SETUP
.
• If you perform operations on this unit, press
and hold
MODE
for 3 seconds and longer.
2
Use
ui
to select “TIMER
SETUP”, then press
ENTER
or
p
.
3
Use
ui
to select the timer mode, then press
ENTER
or
p
.
M O D E S E L E C T
O N C E T I M E R
ONCE
EVERYDAY
4
Use
ui
to select the input source, then press
ENTER
or
p
.
I N P U T S E L E C T
D I S C
DISC
TUNER
iPod/USB1
5
Only when the input source “TUNER” function
is selected
Use
ui
to select the preset number, then press
ENTER
or
p
.
• When no name has been registered for the selected preset
number, the frequency appears after the preset number is
displayed.
6
Use
ui
to select “hours” for the timer start time,
then press
ENTER
or
p
.
O N T I M E
1 0 : 0 0 > 0 0 : 0 0
7
Use
ui
to select “minutes” for the timer start time,
then press
ENTER
or
p
.
O N T I M E
1 0 : 3 0 > 0 0 : 0 0
8
Use
ui
to select “hours” for the timer stop time,
then press
ENTER
or
p
.
O F F T I M E
1 0 : 3 0 > 1 1 : 0 0
You can also perform the same operations as
o
and
p
on the remote control unit with the
MODE
button and the
INPUT
button on this unit, respectively.