Auto lip sync, Hdmi setup, Hdmi audio out – Marantz NR1604 User Manual
Page 118: To “tv, Is set to, Picture adjust

115
Video
Picture Adjust
Default settings are underlined.
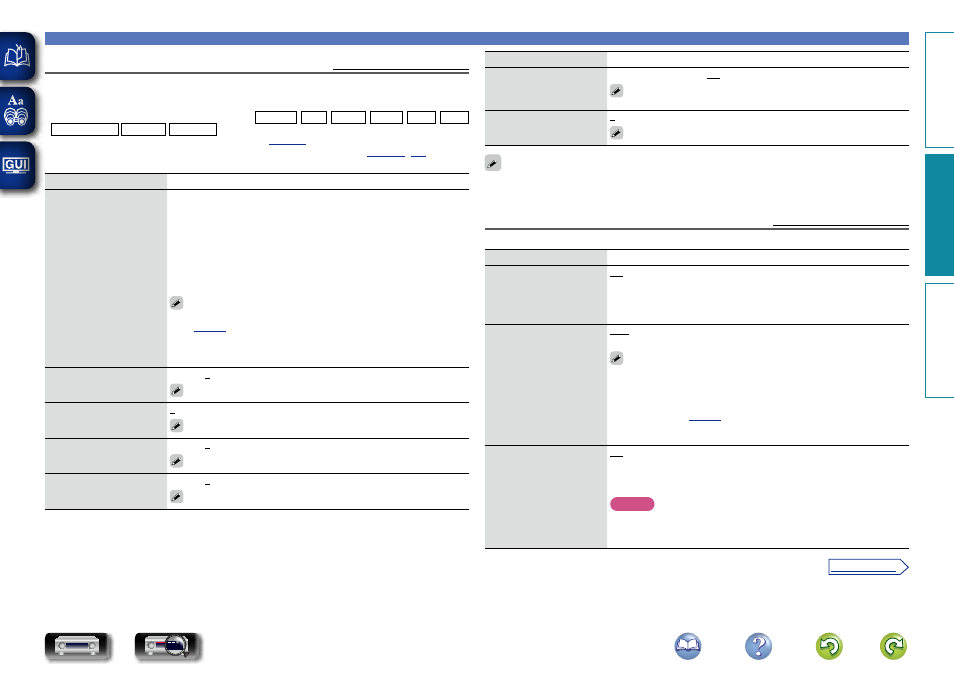
Picture quality can be adjusted.
We recommend leaving the settings unchanged from the default settings. First adjust the display image
quality on your TV, and use this menu only when you want to make fine adjustments.
• This item can be set when the input source is CBL/SAT DVD Blu-ray GAME AUX1 AUX2
MEDIA PLAYER iPod/USB NETWORK .
• Can be set when the “Video Conversion” setting (
) is “On”.
• “TV AUDIO” or “CD” can be set when “HDMI”, “COMP” or “VIDEO” (
assigned.
Setting items
Setting details
Picture Mode
Select the desired picture
mode according to the video
content and your viewing
environment.
Standard : The standard mode suited for most living room viewing
environments.
Movie : A mode suited for watching movies in a dark room such as a
theater room.
Vivid : A mode that makes graphic images for games, etc. brighter and
more vivid.
Streaming : A mode suited for low bit rate video sources.
Custom : Adjusts the picture quality manually.
Off : No picture quality adjustment is done with this unit.
• You can also press
OPTION
to make these settings from “Picture Mode”
) in the option menu.
• The default settings are as follows.
• For “NETWORK” and “iPod/USB” input sources : Streaming
• For input sources other than “Network” and “iPod/USB” : Off
Contrast
Adjust picture contrast.
–6 – +6 (0)
“Contrast” can be set when “Picture Mode” is set to “Custom”.
Brightness
Adjust picture brightness.
0 – +12
“Brightness” can be set when “Picture Mode” is set to “Custom”.
Saturation
Adjust picture chroma level
(color saturation).
–6 – +6 (0)
“Saturation” can be set when “Picture Mode” is set to “Custom”.
Hue
Adjust green and red
balance. Also called Tint.
–6 – +6 (0)
“Hue” can be set when “Picture Mode” is set to “Custom”.
Setting items
Setting details
Noise Reduction
Reduce overall video noise.
Low / Medium / High / Off
“Noise Reduction” can be set when “Picture Mode” is set to
“Custom”.
Enhancer
Emphasize picture
sharpness.
0 – +12
“Enhancer” can be set when “Picture Mode” is set to “Custom”.
• “Picture Adjust” can not be set when 4K signals are input.
• “Picture Adjust” can not be set when component video and video signals are output.
HDMI Setup
Default settings are underlined.
Make settings for HDMI video/audio output.
Setting items
Setting details
Auto Lip Sync
Make automatic
compensation for timing
shift in audio and video
output.
On : Compensated.
Off : Not compensated.
HDMI Audio Out
Select HDMI audio output
device.
AVR : Play back through speakers connected to the unit.
TV : Play back through TV connected to the unit.
• The audio signal input from the HDMI input connector can be output as
an output signal from the HDMI output connector by setting the HDMI
audio output destination to TV.
• When the HDMI control function is activated, priority is given to the TV
audio setting (
• When the power of this unit is on and “HDMI Audio Out” is set to “TV”,
audio is output as 2-channel from the HDMI OUT connector.
HDMI Pass Through
Selects how the AV receiver
will pass HDMI signals to
the HDMI output in standby
power mode.
On : Passes the selected HDMI input through the AV receiver’s HDMI
output when the AV receiver is in standby power mode.
Off : No HDMI signals are passed through the AV receiver’s HDMI output
in standby power mode.
NOTE
When “HDMI Pass Through” is set to “On”, it consumes more
standby power. If you are not using this unit for an extended period, it
is recommended that you unplug the power cord from the power outlet.
Basic instructions
Advanced instructions
Information
Advanced instructions
v See overleaf
DVD
