Working in video mode – Leprecon LP-X24 Manual v3.2 Addendum User Manual
Page 23
22
Chapter One
Quick Start
LP-X24 and LP-X48 Users Manual—Addendum
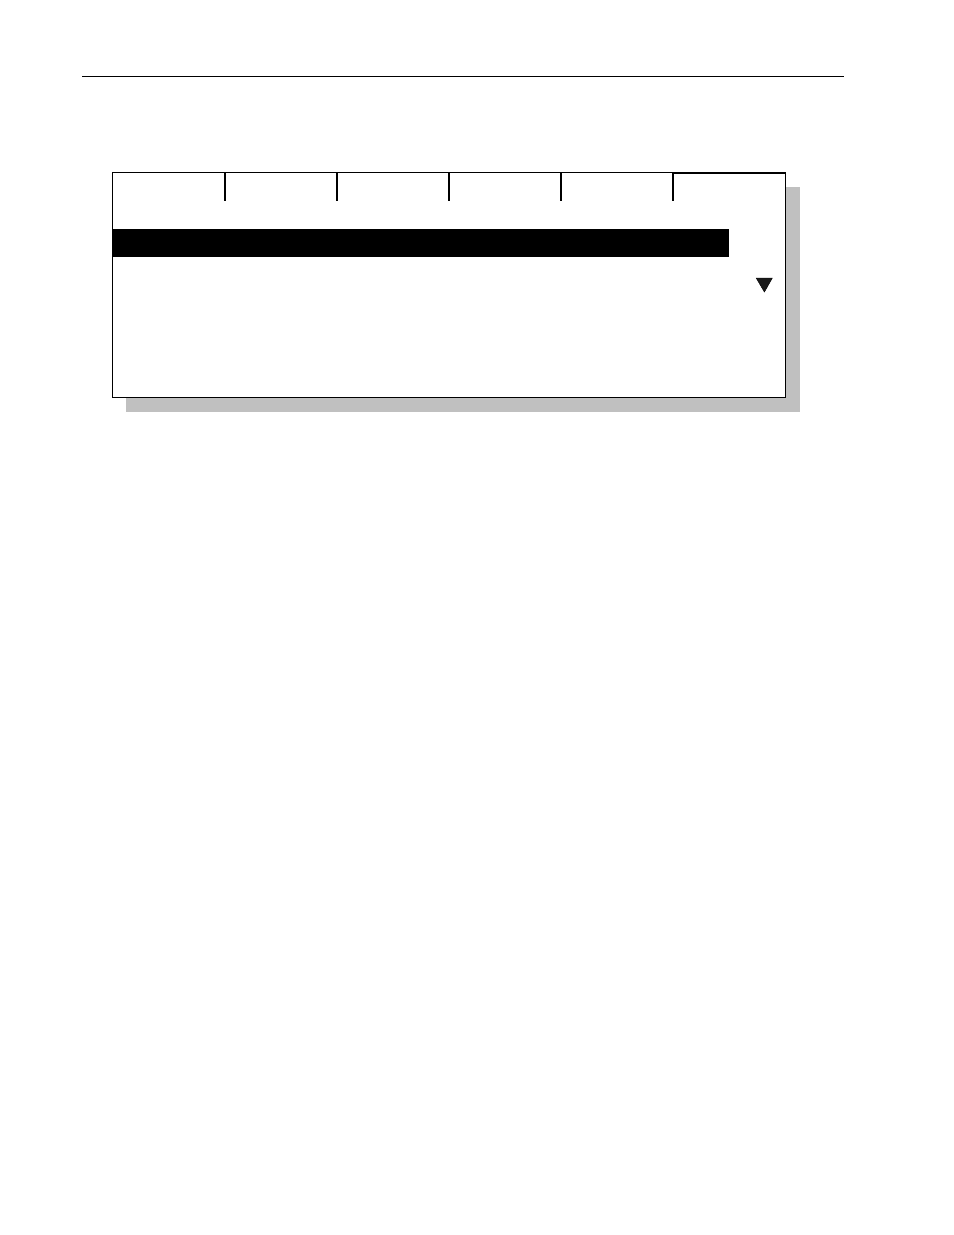
LP-X48
Edit
Move
Delete
Resrve
1 #1 I Spot 150 A 201 I Spot 150
Instrument List
2 #1 X Spot A 214 X Spot
3 # 2 X Spot A 252 X Spot
4 Empty
5 Empty
6 Empty
2. Scroll to an empty slot and press the Add softkey.
Each slot is assigned to an ML Select, so you have a total of 24 or 48, depending
upon your board type. For the LP-X24, there are 12 slots in the first bank and 12
slots in the second bank. For the LP-X48, there are 24 slots in the first bank and 24
slots in the second bank.
On the LP-X24, there are 24 additional slots that are "virtual", which is to say they
are accessible from the software but are not accessible in the hardware. Please see
"Programming Virtual Channels" beginning on page 51 for additional information.
If you prefer, you may press an ML Select button rather than scrolling to its slot on
the screen.
3. Select an instrument from the list and press the Add softkey.
4. Press the Pan or Tilt softkey to invert the pan or tilt for the instrument.
5. On the LP-X48, select the desired line—A or B.
6. Press the Save softkey for each instrument you want to add into the board.
Pressing
the
ML select for an empty slot will also save the instrument.
7. Press the No/Esc button when you're done.
8. Repeat steps 2 through 7 for each instrument type that you want to add into the
board.
Working in Video Mode
When you are familiar with the LP-X LCD Mode, it is very easy to learn to work in Video
Mode. This section describes the differences between the two modes.
Unique Features in Video Mode
The following features are unique to Video Mode.