Calibration - ltl2000s – Delta LTL2000S User Manual
Page 10

DELTA
LTL2000S(Q) Retroreflectometer
6
Calibration - LTL2000S
A calibration should always be carried out before starting a new series of measurements.
Calibration is done by placing the calibration unit underneath the instrument between the
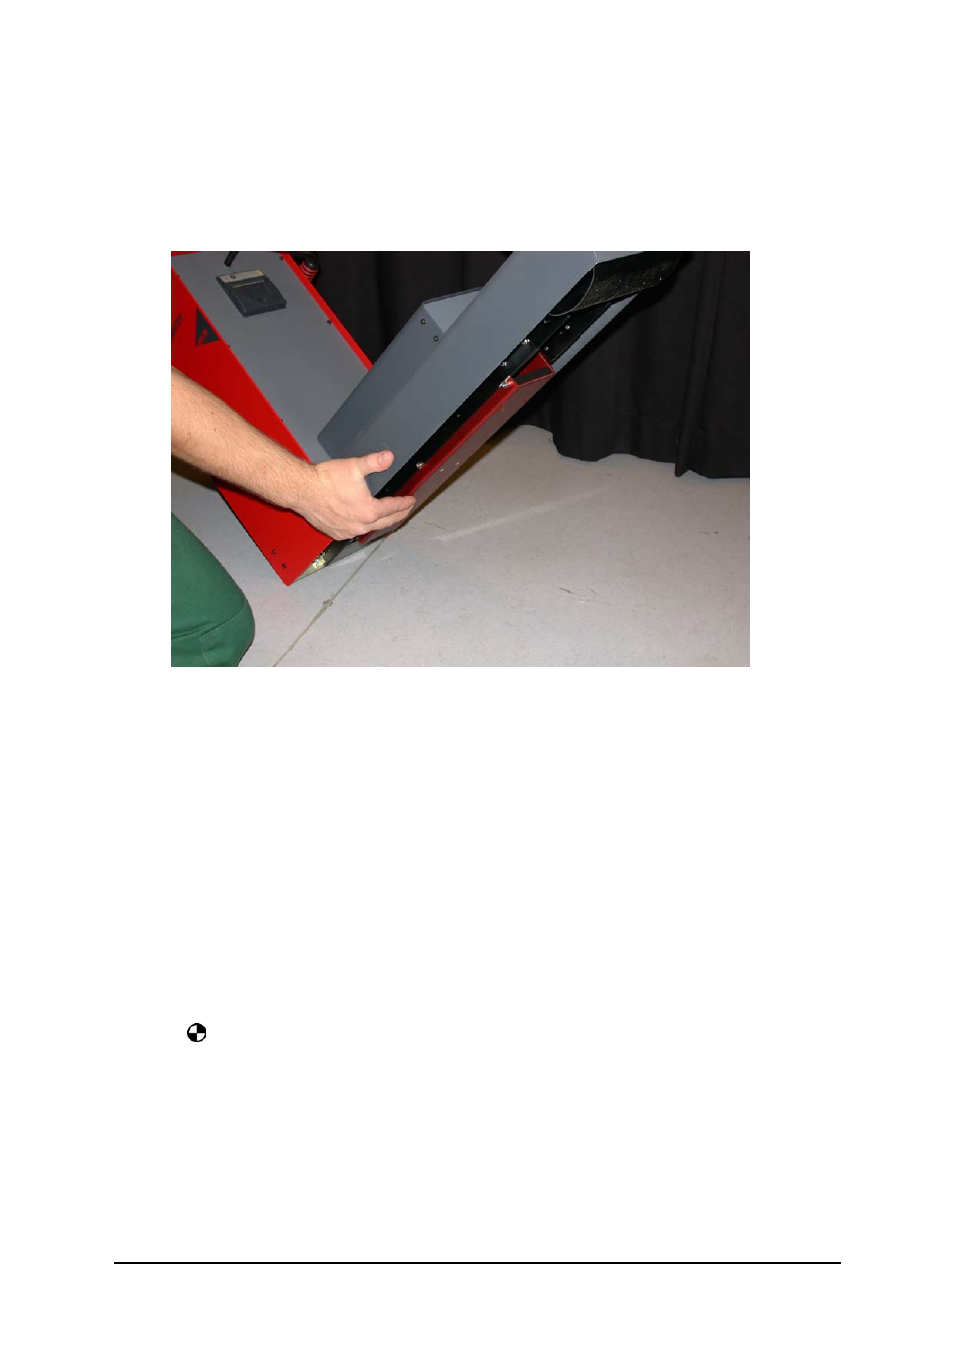
rails. The easiest way to place the unit is to tilt the instrument backwards.
Figure 1. How to tilt the instrument.
The calibration units are fitted with guidance pins on the outside. The pins mounted in the
middle of the longitudinal direction of the unit shall fit in the notch in the rails.
The instrument automatically compensates for zero signal, leakage and other possible error
sources, and calculates the calibration factor. This process is fully automatic and if the cali-
bration routine is followed precisely the retroreflectometer will now measure “true” Rl.
Rl Calibration
Rl calibration step 1 to 8 actually consists of two calibrations: a “zero calibration” and a
“normal calibration”. The zero calibration is done on the calibrator light trap and the normal
calibration on the ceramics. It is important to turn the Rl calibration unit the right way during
the calibration sequence. See figure 2 (page 9).
Press the key to enter calibration mode and follow the instructions in the display.
Note:
Step 1 + 4: See figure 2 on how to place the calibration unit.
Step 2: The message will be shown for a couple of seconds.
Step 3: The message will be shown briefly.
Step 5: The message will be shown for a couple of seconds.
Step 6: Edit the Rl Normal value according to the value printed on the calibration unit.
Step 7: Accept the shown normal value.
