Kanguru QSX User Manual
Page 13
13
2.6.1 connecting the QSX using HotSwap!
To connect the QSX using HotSwap!:
Connect the QSX via the eSATA interface.
1.
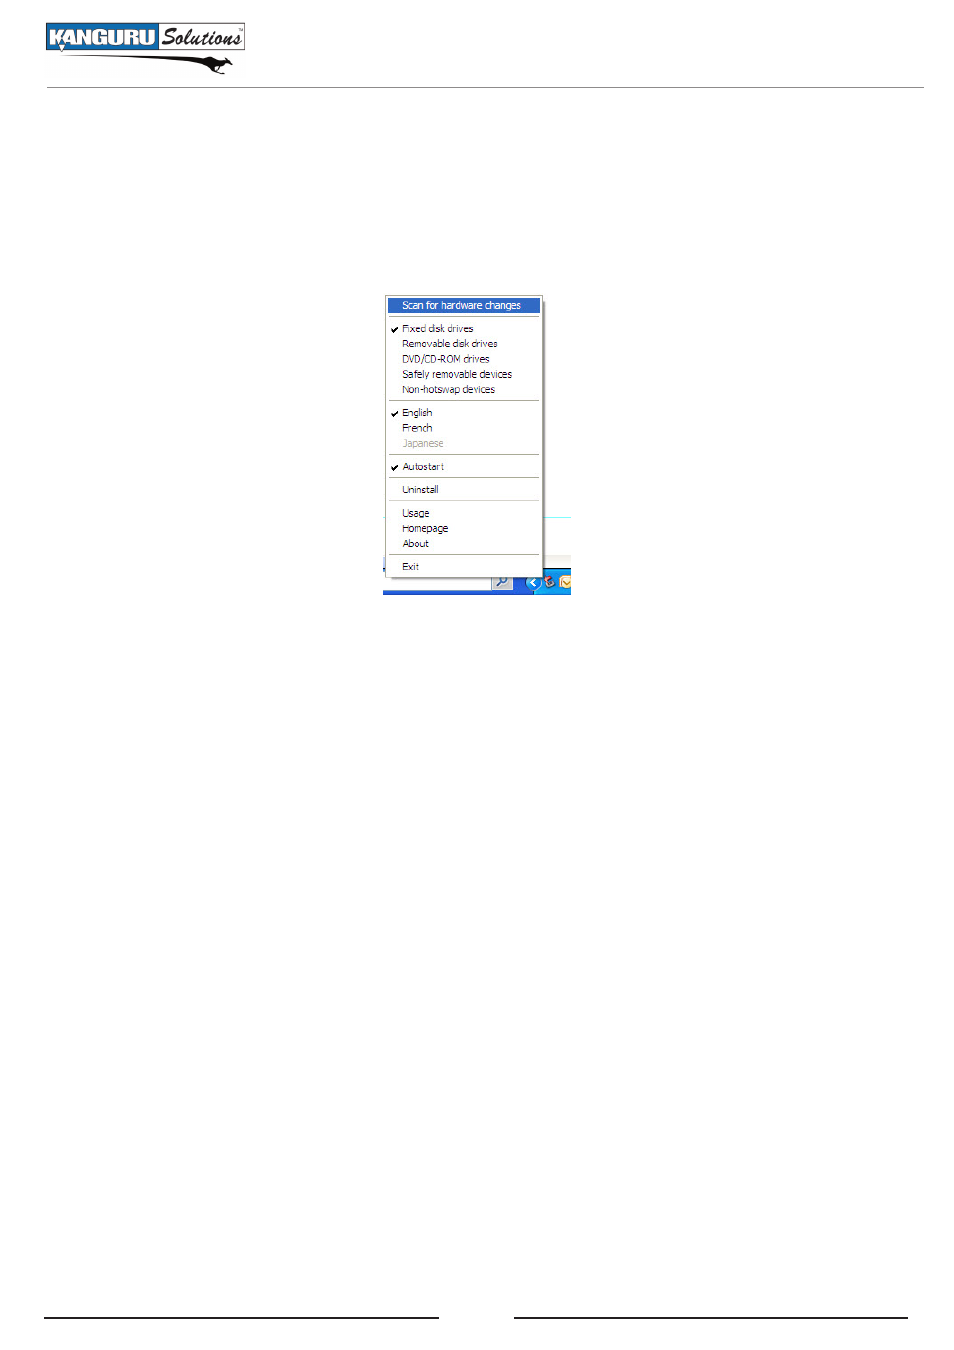
Right click on the
2.
HotSwap! icon in the taskbar.
Select
3.
Scan for hardware changes.
This performs the same action as going into the Device Manager and running a Scan for hardware
changes action. You should now be able to see your device in My Computer.
2.6.2 disconnecting the QSX using HotSwap!
To disconnect the QSX using HotSwap!:
Make sure that no data is being transferred to or from the device. The easiest way to determine
1.
that no data is being transferred to or from the device is to check that the neither of the Hard
Drive LED indicators are blinking.
Left click on the
2.
HotSwap! icon in the taskbar. A popup menu appears, listing any connected
eSATA devices.
Select
3.
QSX from the popup menu. You will receive a message notifying you that it is safe to hot
swap the hardware.
You can configure the way HotSwap! functions by right clicking on the taskbar icon. We recommend
that you leave these configurations in the default settings or that you read the HotSwap! documentation
at the link below before doing so. For more information regarding HotSwap! or to find HotSwap!
support, please visit their website:
http://mysite.verizon.net/kaakoon/hotswap/index_enu.htm
Note: HotSwap! is a free application. If you enjoy HotSwap!, you can make a donation at their
website through PayPal.
Basic Operation