Kanguru Defender HDD Quick Start User Manual
Defender hdd / ssd quick start guide
02.20.15 vrs. 1.2 © 2015 Kanguru Solutions
Legal terms and conditions available at www.kanguru.com.
Please review and agree before use. Thank you.
1. IntroductIon
Thank you for purchasing the Kanguru Defender. The Kanguru Defender is a
compact USB storage device that utilizes AES hardware encryption, keeping
your data secure and available wherever you are.
System requirements
• 1 Available USB port
• 256MB of internal DDR RAM (1GB or higher recommended)
• 500MHz internal CPU (1GHz or faster recommended)
• Supported operating system (32 and 64 bit compatible)
○ Windows XP SP3*, Windows Server 2003, Windows Vista, Windows 7,
Windows 8**
* In line with Microsoft’s End-of-Support announcement for Windows XP,
Kanguru Solutions is ending support for its line of products running on the
Windows XP platform. While our products have been quality tested internally
on Windows XP, we cannot guarantee normal product operation on an
unsupported OS.
** The Defender HDD/SSD is currently only supported by Windows 8 and 8.1
on USB2.0. The drive may not be recognized when connected through USB3.0.
Package contents
If any of the items listed are missing, please call Kanguru Solutions’ Tech
Support department at: (508) 376-4245 and replacement parts will be shipped
to you ASAP.
• Kanguru Defender Drive
• USB3.0 Cable
• Carry pouch
• Quick Start Guide
Note: This is a Quick Start Guide only. The comprehensive user manual can be
downloaded from the Kanguru Support Site under the Downloads section at:
http://support.kanguru.com/
2. Hardware SetuP
Follow these instructions to connect the Defender drive to your computer:
1. Remove the USB cable from the side of the Defender. The easiest way to
release the cable is by pulling out the USB A side first, as shown in the
image below.
2. On the other side of the drive, pull open the rubber USB cover to reveal
the USB port.
3. Connect the Micro B side of the USB cable to the Defender’s USB port.
Connect the USB A side of the USB cable to your computer.
The LED indicators on the side of the drive will light up. You are now ready to
begin using your Kanguru Defender drive.
note: If your Defender HDD is not recognized by your computer when plugged
in, it may not be drawing enough power from a single USB port. Please use the
provided Y-type USB cable to connect the device through two USB ports.
3. Kanguru defender Manager
Kanguru Defender Manager (KDM) manages your password and allows you
to access the Defender’s secure partition. It is pre-loaded on your Kanguru
Defender so no installation on your PC is necessary.
To start KDM, plug your Kanguru Defender into a USB port on your computer.
KDM should autorun itself.
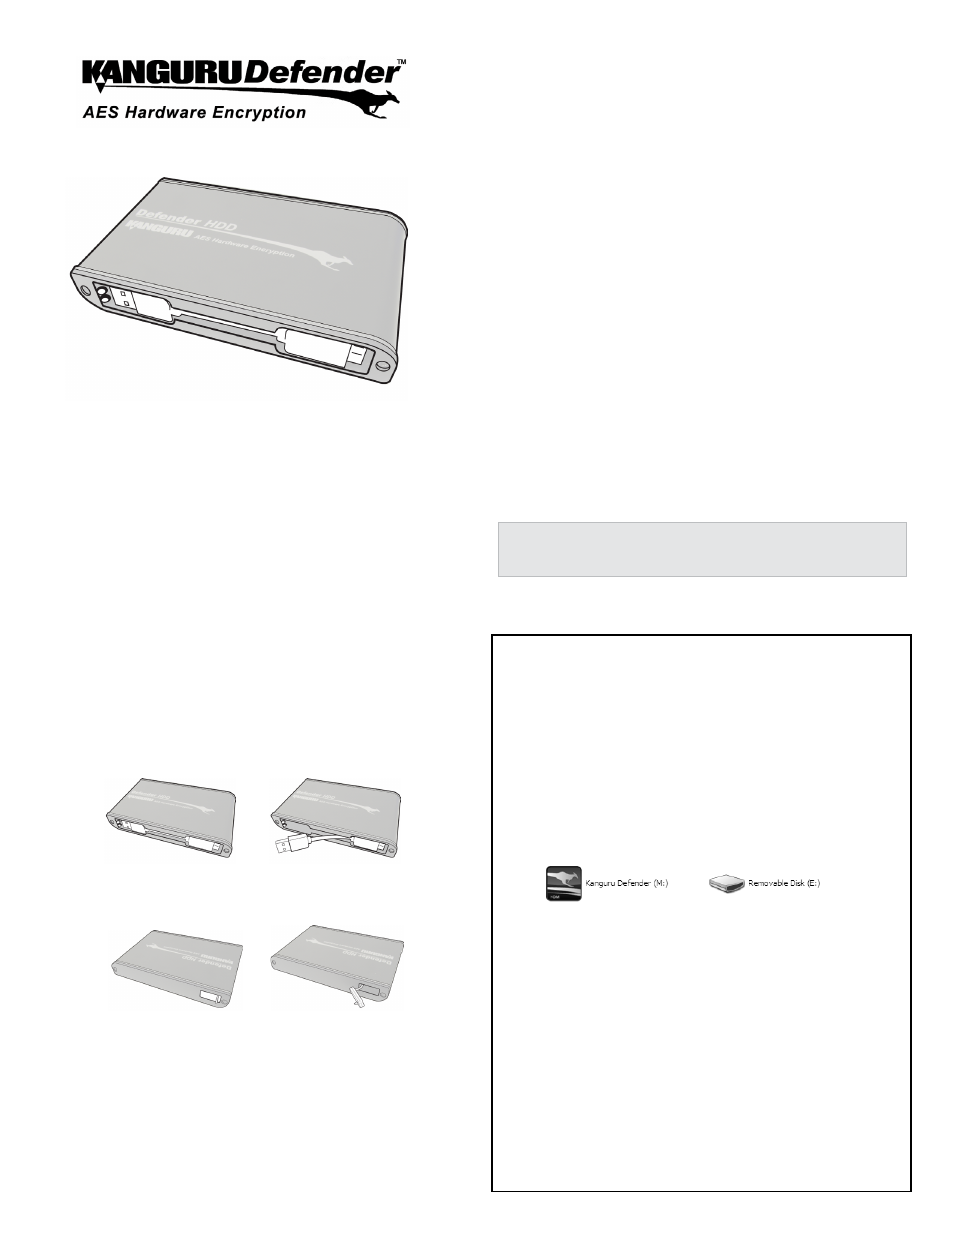
If KDM does not run automatically, open My Computer or Windows Explorer.
The Kanguru Defender will be displayed as two drive letters. One drive is the
CD-ROM partition where KDM is pre-loaded, the other drive is the secured
partition which will appear as a removable disk (the secure partition will appear
as SECURITY after you login).
CD-ROM Partition
Secure Partition
↑
↑
Open the CD-ROM partition and then double-click on the KDM.exe file to start
the application.
When you start KDM for the first time, you will be greeted by the Setup Wizard.
To begin, click on the
next button and then follow the simple instructions to
setup your Defender’s login password.
note: The KDM.exe file will remain on your Kanguru Defender’s CD-ROM
partition so that you can run the application on different computers from your
Defender. Please always run the application from the CD-ROM partition and
never from a hard drive on your laptop/desktop.
Defender HDD / SSD
Quick Start Guide