Batch & single user creation, Steps on adding single extension, Figure 5: pbx -> basic/call routes -> extensions – Grandstream UCM6510 basic setup guide User Manual
Page 10: Figure 6: create new extension
UCM6510 Basic Configuration Guide Page 9 of 29
In the figure above, the user extension range is set with a starting extension of 1000 and ending at 6299.
This allows up to 5300 extensions to assign to users. We have also created a conference extension range
from 6300 to 6399, which gives 99 conference bridges. Users can configure any extension range as they
desire.
Here we’ve configured it to use 4-digit extensions.
Click “Save” at the bottom. Then remember to click on “Apply Changes” at the top so that our extension
range will be ready for the next steps.
BATCH & SINGLE USER CREATION
So n
ow that there’s extension range configured, we can begin creating users to prepare for the
provisioning process. There are two methods of creating a user. One method would be creating a single
user. The other method would be creating a batch of users. In this tutorial, we introduce how to create SIP
extension as an example.
STEPS ON ADDING SINGLE EXTENSION
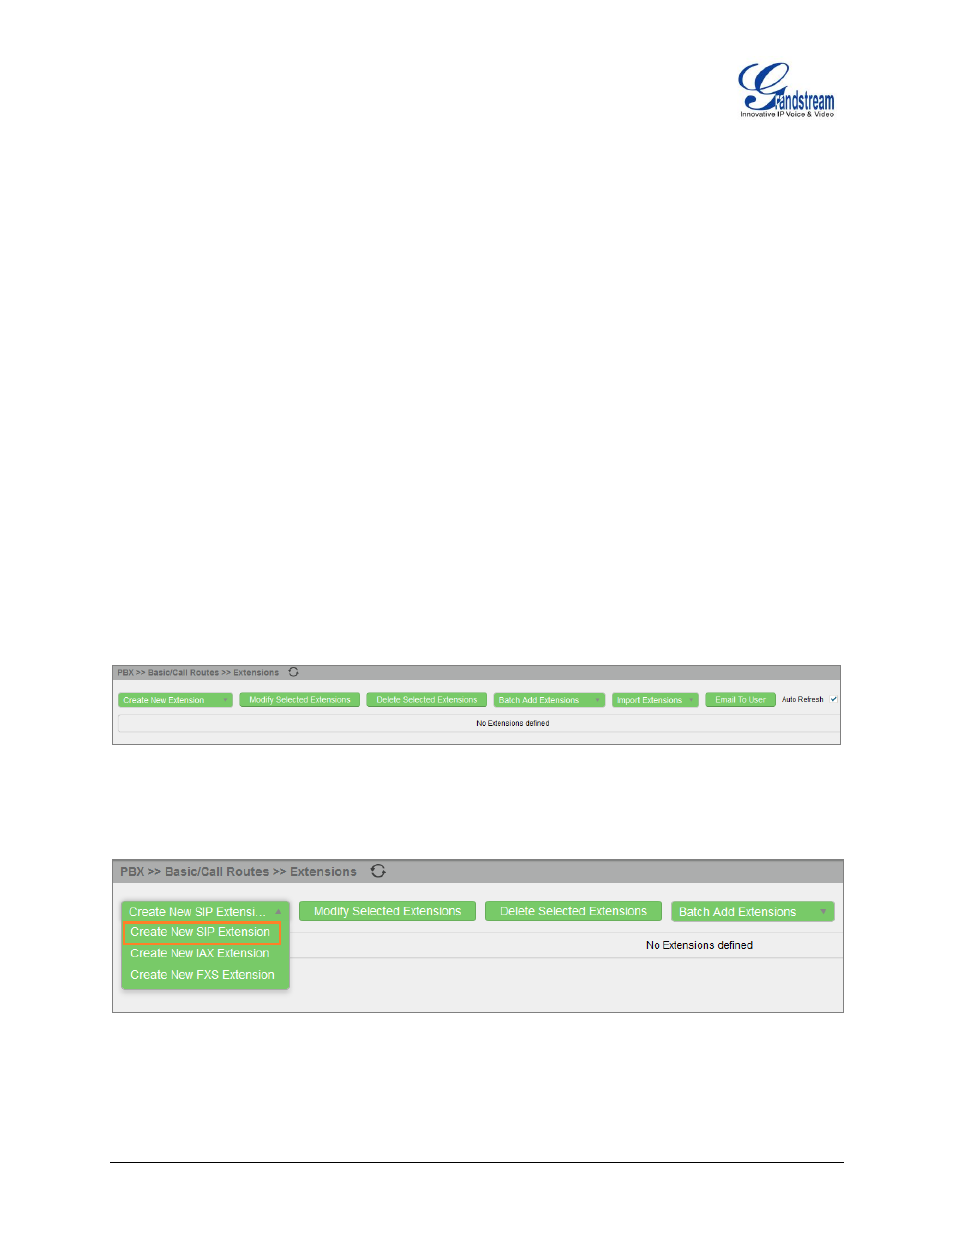
1. Navigate to PBX->Basic/Call Routes->Extensions. For first time setup,
users will see “No
Extensions
defined”.
Figure 5: PBX -> Basic/Call Routes -> Extensions
2.
Click on “Create New Extension” and the select “Create New SIP Extension” from the drop down list.
Figure 6: Create New Extension
3.
On the “Create New SIP Extension” dialog, users can enter in quite a few options, but they are not
required for this tutorial.
Click “Save” at the bottom of the page.